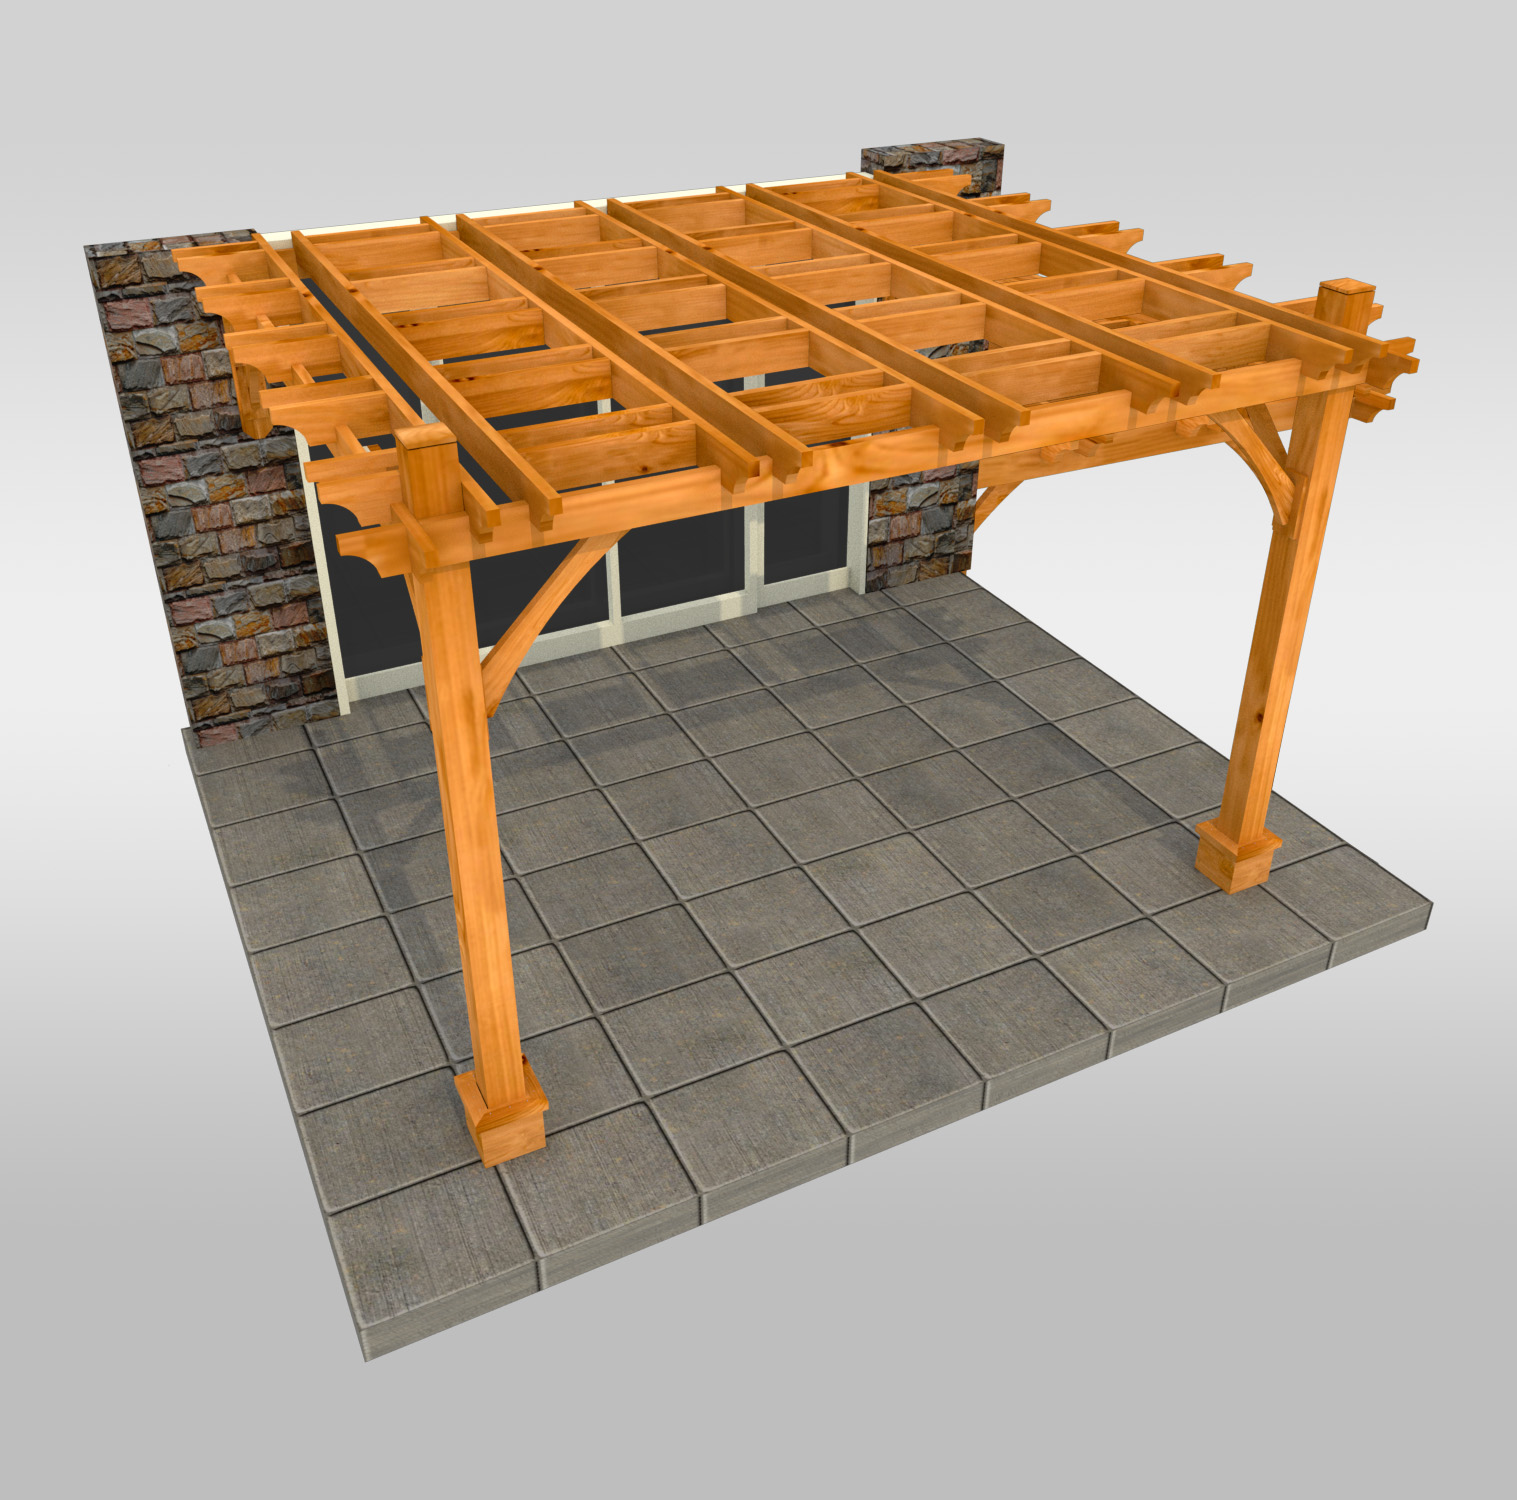
Free Shipping

Satisfaction Guarantee

Financing Available

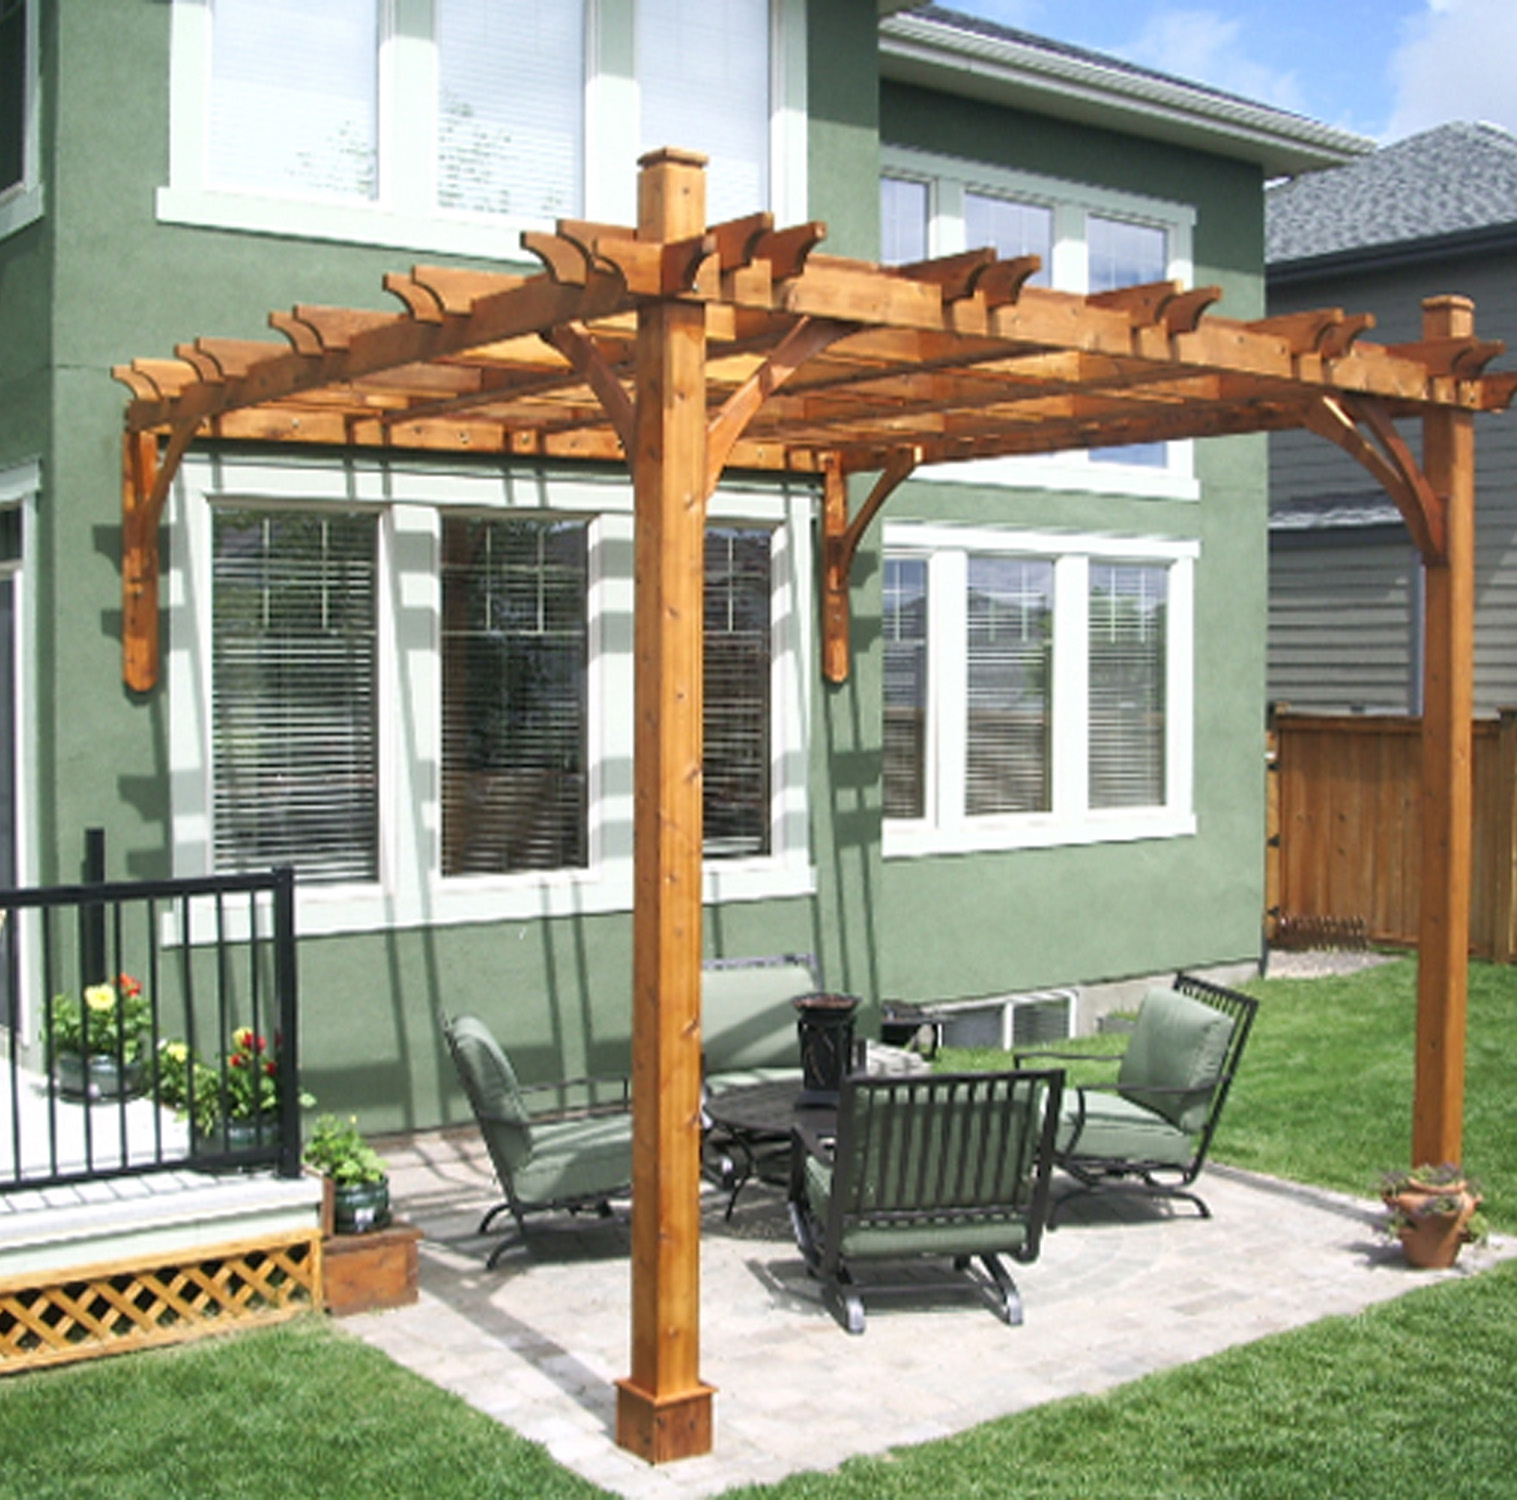
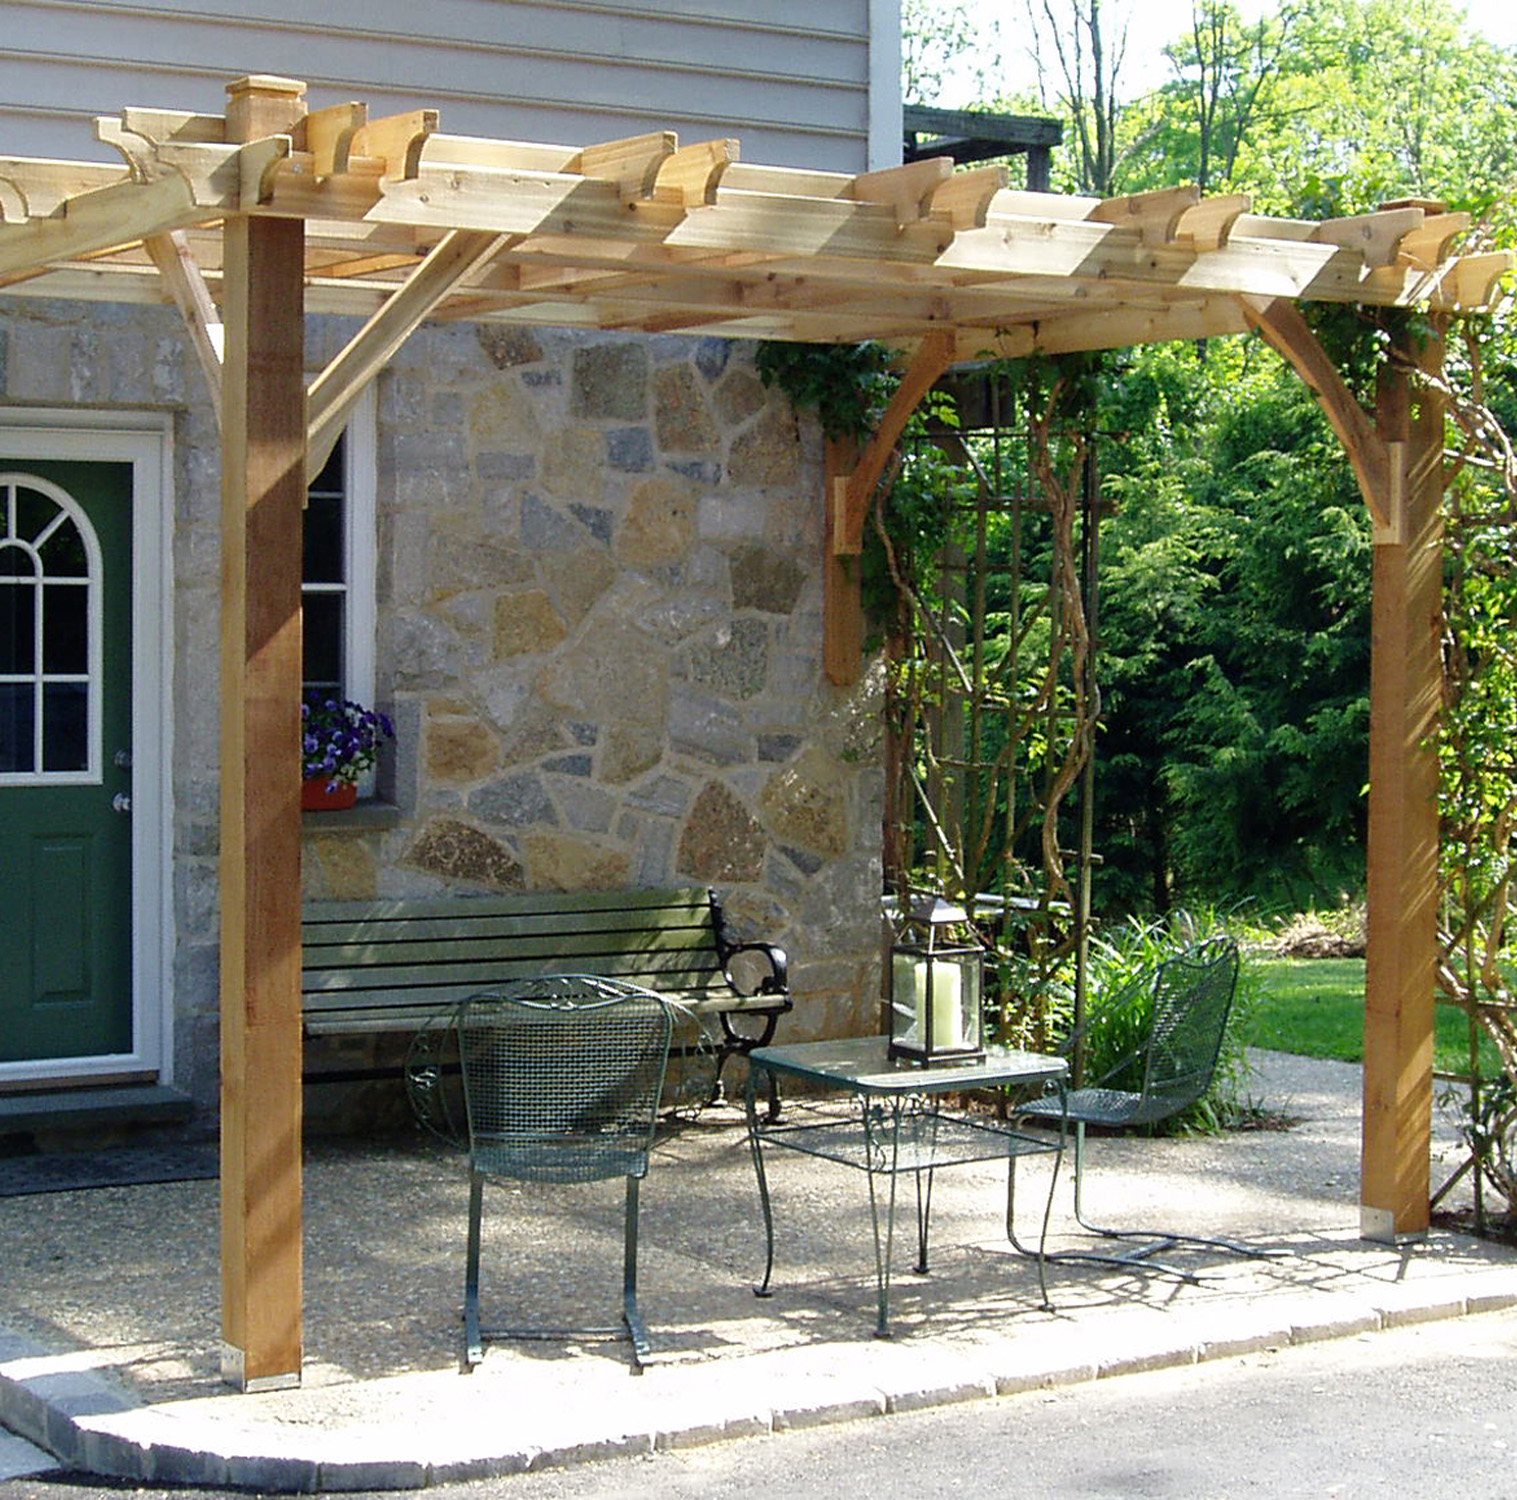
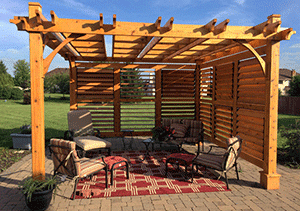
Attached Breeze Pergola | 12×12

Price Range
$3,562.00

Imagine it’s a long weekend you’re sitting back, relaxing in the cool shade on a hot summer’s day underneath your new beautifully crafted pergola watching the white puffy clouds drift over the horizon. With our attached 12×12 pergola this could be real.

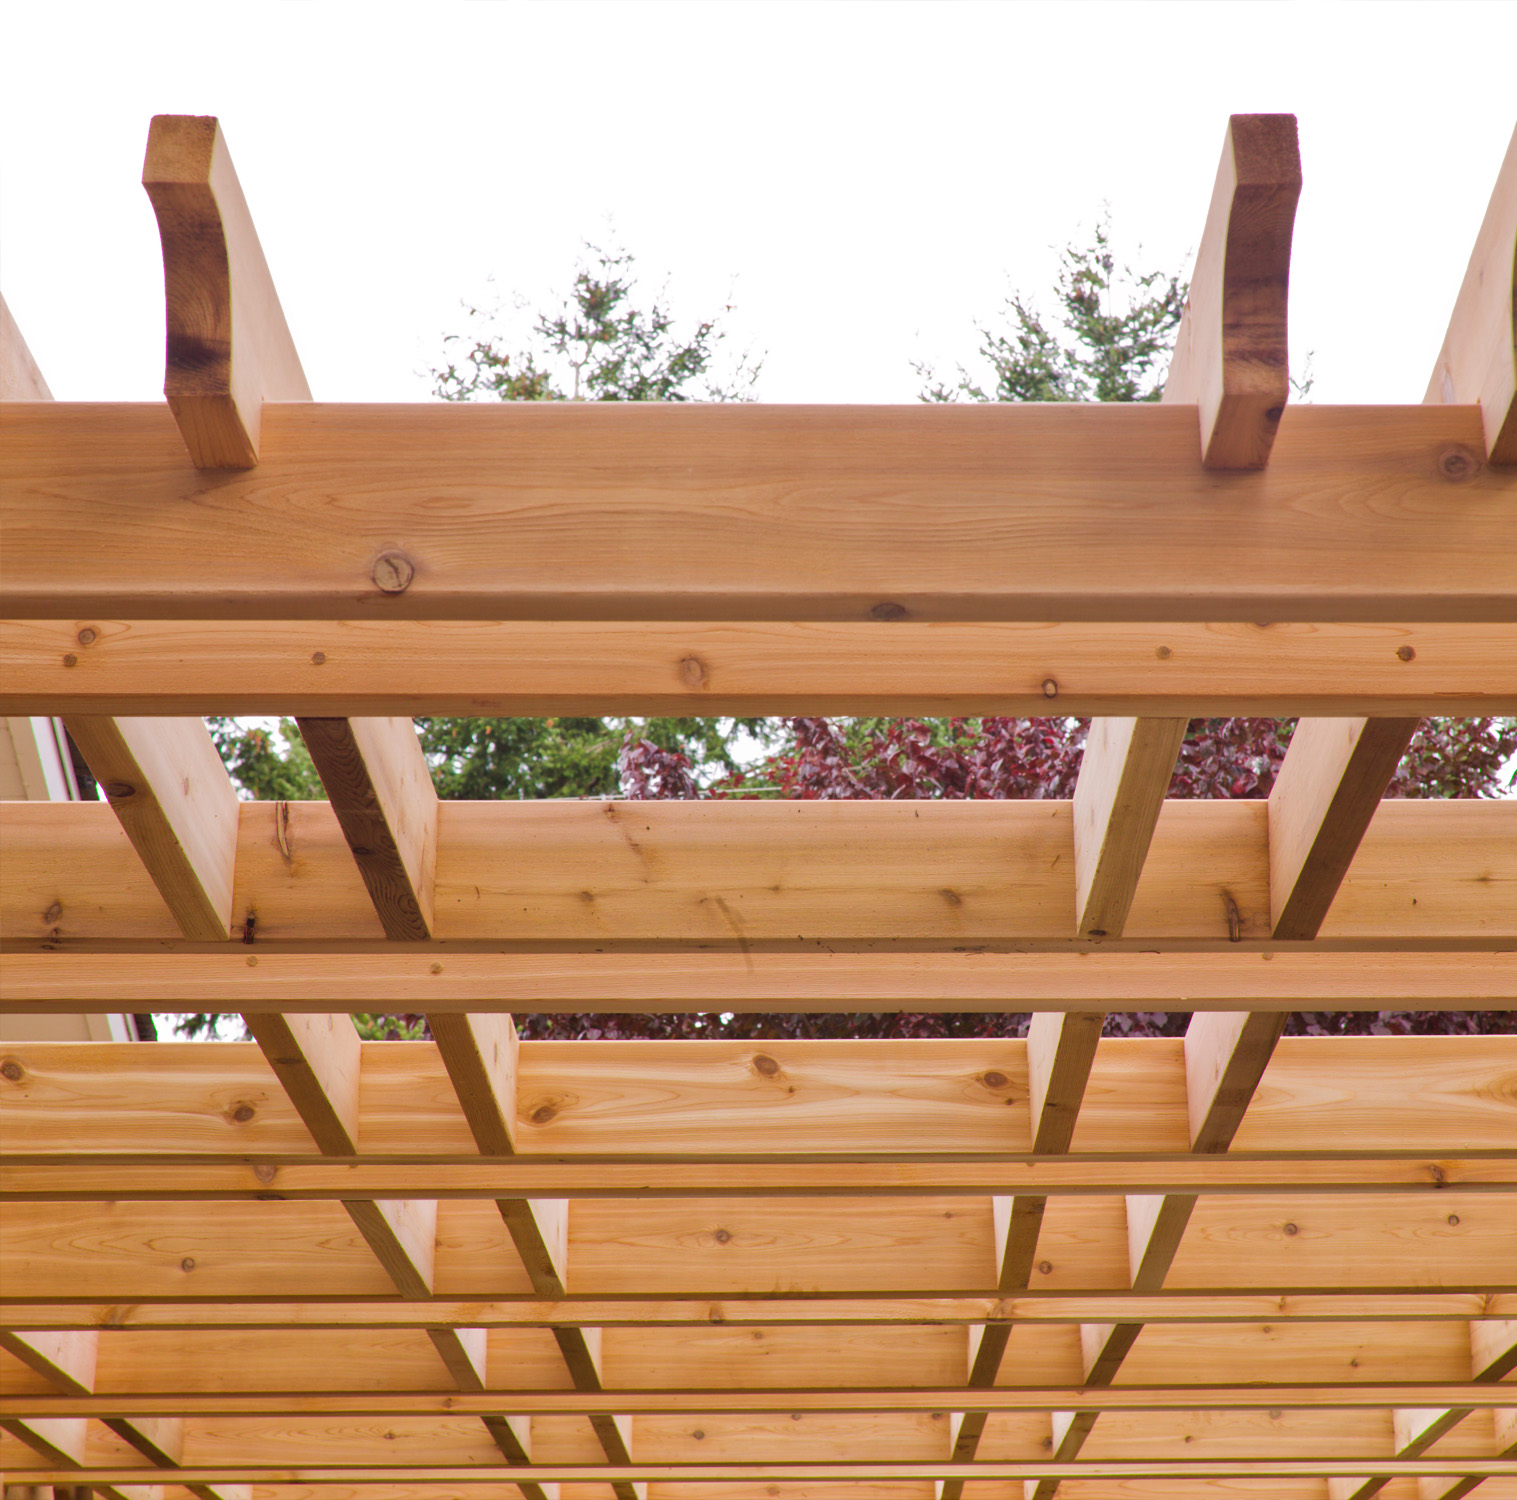
Made in North America with Sustainably Sourced Western Red Cedar

Free Shipping

Satisfaction Guarantee

Financing Available

Post Mount Brackets

Optional Liftgate Delivery

Description

Attached Pergola Kit | 12x12

Why not compliment your home or garden with this architecturally stylish and beautiful 12x12. Pergola attached to house.

Our pergola assembles using only basic tools such as a screw gun, level and wrench.  Assembly usually takes between 6-8 hours with 2 people. Post mount footings not included. (we recommend!)

Sculptured top joists and girders crisscross in both directions providing a architecturally stylish and beautiful feature.  Engineered 5 ½ in. x 5 ½ in. vertical uprights results in a structural post that will have less surface checking and twisting.  All pergola assembly hardware included with kit.

Take advantage of our weekend customer support line (1-888-658-1658) with any assembly questions.

Ships directly to your driveway.

Downloads

Features

  • Western red cedar construction is environmentally friendly, provides natural beauty and is resistant to decay and insects.
  • Outside Post to Wall Depth = 145 1/2"
  • 2 engineered 5-1/2 in. L x 5-1/2 in. W western red cedar posts provide an overall assembled height of 108 in.
  • Outside Post to Post Width = 144"
  • Includes notched and pre-marked western red cedar joists.
  • Includes notched and pre-drilled western red cedar girders.
  • Hardware included screws, nails and lagbolts, some stainless steel hardware.
  • 2 sets of post skirting manufactured from western red cedar to conceal post mount hardware included.
  • Assembly time is approximately 6-8 hours for 2 persons depending on skill level.
  • Western red cedar is naturally resistant to decay and insects.
  • Product ships unstained.
  • Accepts a wide range of finishes to help you create a personalized look.
  • Made entirely with renewable resources.
  • Minimal tools required and hardware included.
  • Check with your local building, zoning and neighborhood association to obtain all applicable permits before ordering.

PLEASE NOTE: Post Mount Brackets recommended but not included in the Kit - you can purchase these as Optional Add-Ons.

Louvered Wall Panels

Looking for more privacy? Add a Louvered Panel to any side of your pergola. Keep panels open to let the sunshine in or close easily and quickly for added privacy.

  • Add on a Louvered Wall Panel to any side of your Breeze pergola.
  • Panels are easy to assemble.
  • Louvered panels are shipped in kit form and must be assembled on site.
  • Pieces must be ordered at time of pergola order and must ship with pergola.

Downloads

Pergola-Louvered-Panel-Product-Shot

Pergola-Louvered-Panel-Shot-3

Post Mount Brackets

We recommend using a Post Mount Bracket to secure pergola posts to your foundation.

Although the pergola is stable and strong without installing a bracket, installation of the brackets will firm up the structure and lessen the amount of sway that may occur with your structure. In areas of high winds, please check with your local building authority to confirm suitability.

post mount brackets

The First Step

The First Step is to line up your posts with the post mount brackets so you can drill the proper holes. Watch our Lining Up Posts & Brackets video to the right.

Instructions:

  • Line up Post Mount on bottom of post and mark hole location.
  • Using OLT’s footprint, drill holes in your foundation for Post Mount Rebar.
  • Make sure Post Mounts Brackets are installed at the proper height, adjust as necessary.
  • Fill drilled hole with Exterior Epoxy Glue as well as apply to Rebar Post.
  • Push or bang Post Mount Bracket in hole and let expoxy cure.
  • Line up Pergola Post holes previously marked with Post Mount Bracket holes.
  • Slide 6” carriage bolt through holes.
  • Slip washer on and tighten nut with wrench.
  • Complete remaining posts.

The Second Step

Different surfaces will require different styles of post mounts. The Second Step is to follow the specific instructions for either an Existing Slab Installation (see video here), or for Concrete Set Up Installation (see video here).

Watch Lining Up Posts & Brackets

Shipping

Liftgate Delivery

If you ordered a liftgate delivery:

The driver will take your skid to the back of the truck, place it on the liftgate, lower it to the ground and place it next to the truck.

  • Use the plastic shipping tarp to cover and protect your pieces until you are ready start your project. When finished using it for this…repurpose it!
  • If liftgated down, take a minute or two to cut the straps and pull off the tarp. Check for corner damages, wood chips, sharp cuts and gauges in the product and if the pallet is broken.

Hand Offload Only:

If you did NOT order Liftgate Delivery, you will have to hand offload:

The driver will take your skid to the back of the truck, cut the straps and hand the pieces down to you.  Most individual pieces weigh no more than 30-50 lbs.

  • There is a time limit of 15-20 free minutes so it is best to have someone there to assist you.
  • If hand offloading, briefly check all the pieces as they are handed to you.
  • Click to watch our hand offloading video

On the Day of the Delivery

  • On the morning of the delivery, call the carrier to confirm your shipment is on schedule. Carriers typically deliver between 9:00 a.m. and 5:00 p.m. - make sure you are present or have someone available to receive the shipment.
  • Make sure your delivery location is easily accessible to the truck and driver. Move vehicles if necessary. Drivers are not allowed to deliver freight that they deem dangerous to themselves or that may damage your property etc.

When the Truck Arrives:

  • While the unit is still in the truck, confirm the shipping label has your name, address and is the correct product. If not, call us immediately.

Damages - IMPORTANT

  • At the time of delivery, DO NOT SIGN until you have inspected the freight! Look inside the truck to make sure the unit is not damaged before unloading.
  • Occasionally the driver will be in a rush and want you to sign quickly. It is your right to take a few minutes to inspect the freight.
  • If you notice any damages, please make the notation ‘damaged’ on the delivery receipt upon signing for the receipt of the goods. Take pictures of anything you think looks like damage, including the pallet and call our Customer support line at 1-888-658-1658.

  • If there is damage, it is usually quicker and easier to send replacement pieces.
  • It is our policy to replace any broken or damaged pieces immediately and to your satisfaction if this notation is shown on the proof of delivery on the carrier’s copy.
  • Remember - You do not have to accept the freight! If your freight shows catastrophic damage, ie – not on a pallet or with multiple pieces broken and sticking out and without our plastic wrap, you can refuse the delivery. Please call our customer support line at 1-888-658-1658 immediately so we can advise you how to proceed.

For a more detailed read: How to Receive Big Package Deliveries Over 150 lbs

Delivery Times and Delays

  • The time it takes to do home deliveries can be unpredictable.
  • Traffic and weather can cause delays.
  • Morning appointments are usually met, however it is possible that afternoon deliveries may be delivered late or not at all that day.
  • If you are concerned, contact the carrier terminal to make sure they are on schedule.
  • When making your initial appointment, request a morning appointment if possible. You can also enquire if the carrier does weekend deliveries.
  • Be sure to ask for a weekend contact and phone number.

Happy Receiving!

Videos

This video will show you just how quickly you can assemble Outdoor Living Today's Breeze Pergola.

You'll see step-by-step from beginning to end what you need to do. Don't be intimidated by your instruction manual. It really is that simple.

How-To-Pergola Videos

See our Lining Up Post Mount Brackets Video

See our Post Mount Bracket Video Existing Slab Installation

See our Post Mount Bracket Video Concrete Setup Installation

See our Louvered Wall Panels Assembly Video

Reviews

Free
Shipping

Satisfaction
Guarantee

Financing
Available

PROFESSIONAL
INSTALLATION

Free
Shipping

Satisfaction
Guarantee

Financing
Available

Free Shipping

Satisfaction Guarantee

Financing Available

Free
Shipping

Satisfaction
Guarantee

Financing
Available

PROFESSIONAL
INSTALLATION