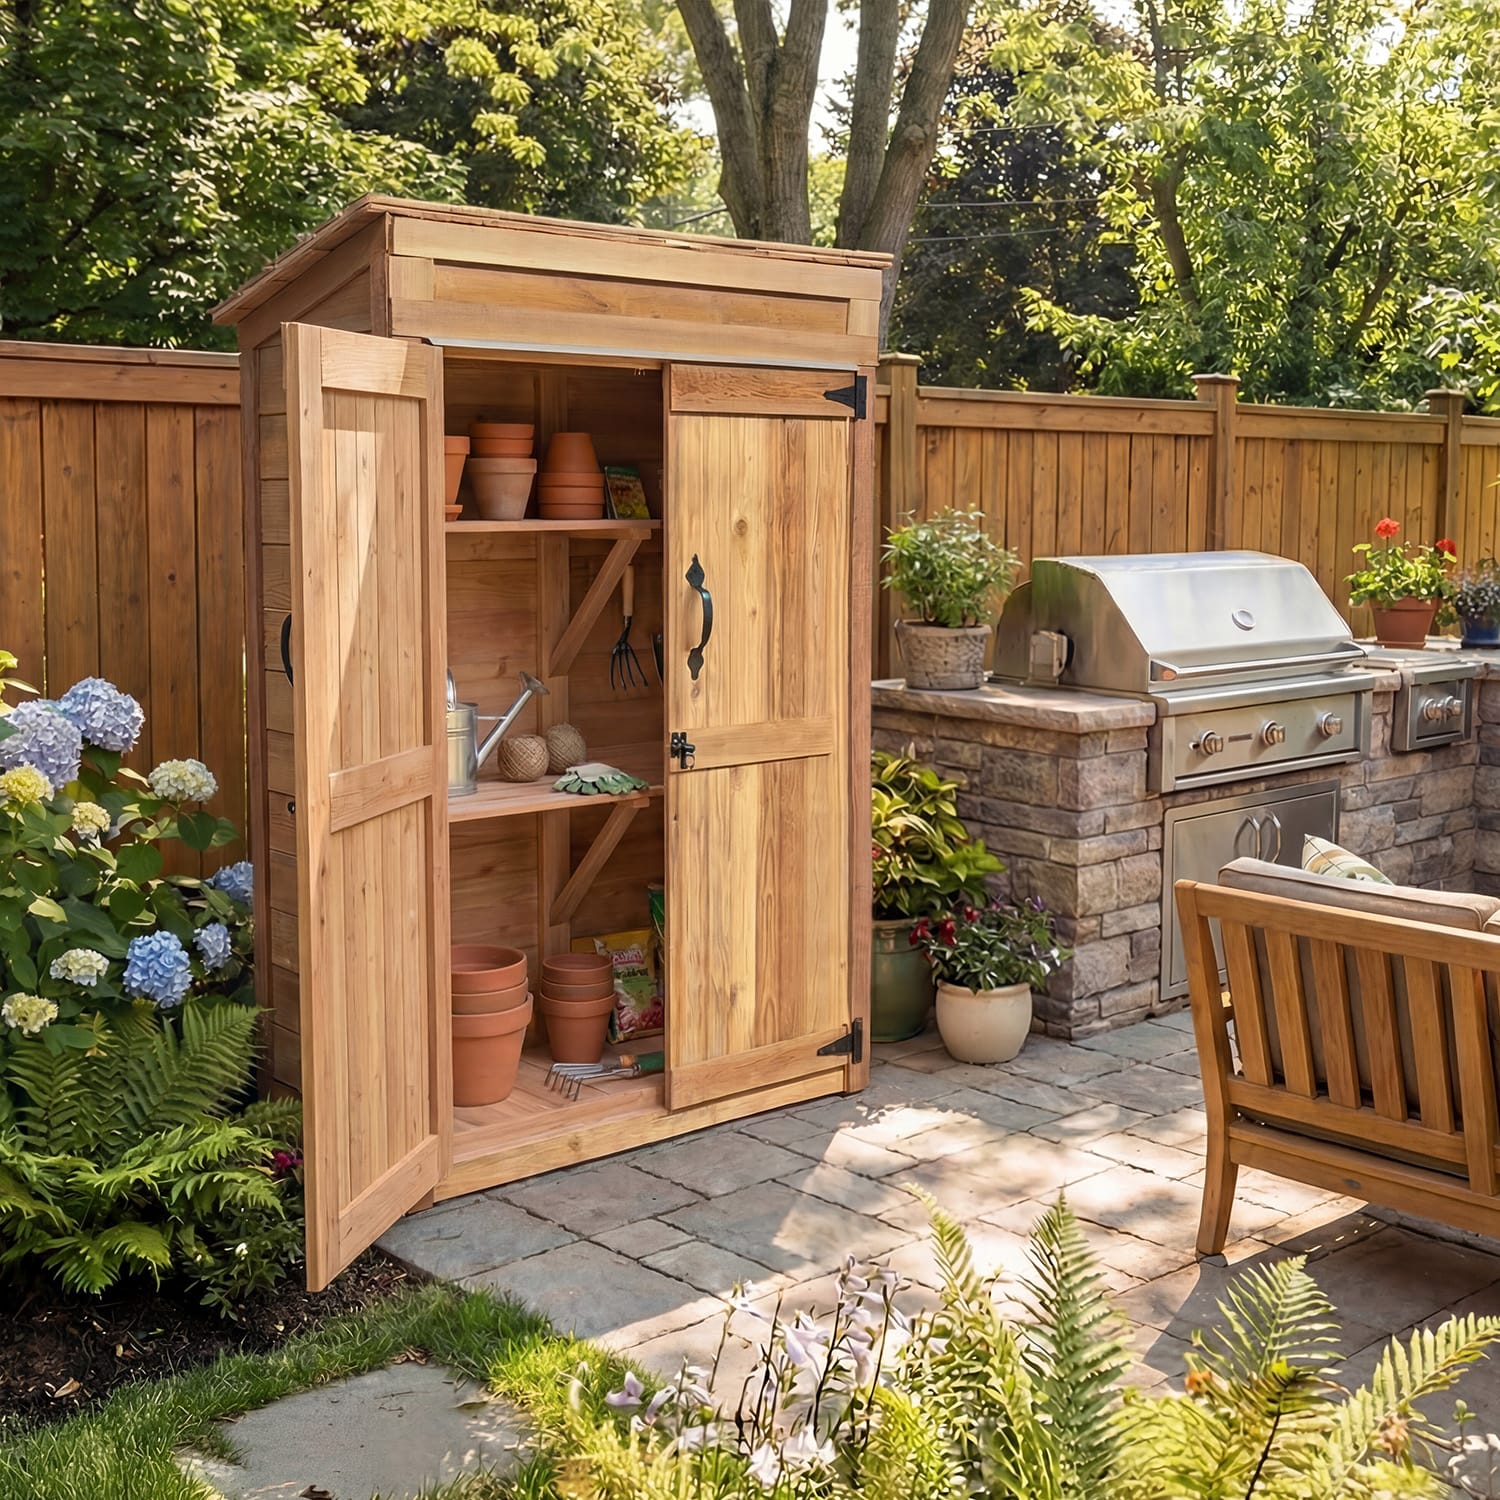
Create a functional, inviting space that brings cooking, hosting, and outdoor living together.
Congratulations! You have finally bought the DIY garden shed kit and you are ready to prepare the ground for the new shed. The Western Red Cedar panels will last a long time and naturally resist pests. The shed will be functional, but it also can turn into a focal point of your garden, as long as you go about the installation process correctly.
You can use your garden shed to store your gardening implements, but you also can use it as a hobby room, your private escape, game room for kids, or anything else you can think of. This multi-functional space extends your living space outdoors and if you add insulation, you can use it round the year beyond being just a storage place for your gardening tools, grass/plant seed, and implements.

Prepare the Ground for the New Shed
The first thing that you need to do to prepare the ground for the new shed is to level the surface. You can do this by first putting in concrete, timber decking, or a garden slab. If you don’t do this, it could result in the garden shed warping, broken windows and even damage to the wood.
Even if you use the shed base that comes with the DIY garden shed kit, the ground would still have to be levelled and the rubble removed. It is prudent to install a weed-proof membrane before placing the shed’s base to prevent weeds and grass from growing and damaging the floor and walls of the shed.
Before adding extras, focus on the core components that make an outdoor kitchen functional and enjoyable.
Putting the Base for Your Garden Shed
There are many ways you can create the base for your garden shed. Some of them are as follows:
- Concrete Base: If you intend installing a concrete base, make sure it levelled, flat, and dry before you erect the shed. Use string and pegs to mark the area where you want the garden shed. Dig a hole, about 15 cm deep, and place a wooden framework into which you will be pouring the concrete. Place a layer of stone, about 7 cm and then pour in the cement concrete mix. Spread it out evenly, level it, and let it set.
- Garden Paving Slabs: If you don’t feel like pouring concrete in your garden, go with garden paving slabs. This too requires you to remove about 7 cm of the topsoil. Then add 4 cm of cement and place the garden slabs on the wet cement. Let the cement dry, so that the slabs are firmly fixed and then erect your garden shed.
Once the essentials are in place, focus on surfaces and workflow.
Mistakes to Avoid When Erecting Your Garden Shed
Some homeowners make mistakes when they prepare the ground for the new shed. This can result in damage to the shed and also be dangerous for you and others. Some mistakes that you should avoid making are:
- Unstable base: Refrain from laying garden slabs on loosely arranged gravel. This will not create a stable base for your garden shed and can result in the wood warping and getting damaged. Remember, you are using a DIY garden shed kit and hence, it is necessary, you make the base firm and stable for your own safety. Think of your house, would you want your house being on a weak foundation?
- Not clearing rubble: If you don’t clean the rubble, garden debris, dead leaves, and garden detritus from the ground, you will not have a hard-standing base. It is important you clear the ground completely before you start laying the base for your shed.
- Not using weed-proof membrane: Timber decking base is often the preferred base, as it gives the shed a more natural appearance. However, if you intend using a timber decking as a hard-standing for your garden shed, make it a point to first clear and level the ground and then place a weed-proof membrane between the ground and the timber base.
- Using dirt, lawn or gravel for the base: Never attempt to erect your garden shed directly on bare ground, gravel, or lawn. This could damage the wood panels due to moisture from the ground and also lead to warping and subsidence.
Final Thoughts
DIY garden shed kits come with pre-cut Western Red Cedar wood panels. This means you will not have to spend time cutting the wood and making holes in it. The kit has illustrated instructions along with the necessary hardware. However, you will need another person to help you assemble the pieces and erect the shed. And, all garden shed kits will recommend installing the base. So make sure you educate yourself on the different types of bases that can be used with your shed and then select one that best suits your needs and budget.
Remember without ground preparation, you risk damaging your garden shed and also causing injury to yourself and others, as the shed may not be as sturdy as you think it is. So prepare your garden first before you erect your shed. Choose the location carefully and then prep the surface the right way to enjoy the benefits offered by a garden shed. Don’t be afraid to ask for some help. You do not want your shed slowing falling apart in the years to come. That will just invoke one conversation after another that you do not want to have with anyone who sees it.


