No products in the cart.
January 3, 2015
How to Be a Smart and Successful Backyard DIYer

DIY backyard projects can be incredibly satisfying — but only if you follow through. Too often, ambitious remodels stall out halfway, leaving a patchwork of unfinished ideas. Whether you’re building a shed, laying out a garden, or planning a complete outdoor makeover, it takes more than enthusiasm to finish strong.
Here’s a step-by-step guide to help you become a smarter, more effective backyard DIYer — so your projects don’t just start with promise but finish with pride.
🧭 Step 1: Evaluate Your Outdoor Space
Before lifting a shovel, take time to assess your yard:
Measure your available space
Consider how the space will be shared
Think about zoning areas — e.g., play zone, BBQ zone, lounge area, or garden space
Start by identifying your top backyard priorities — is it entertaining, relaxing, gardening, or something else?
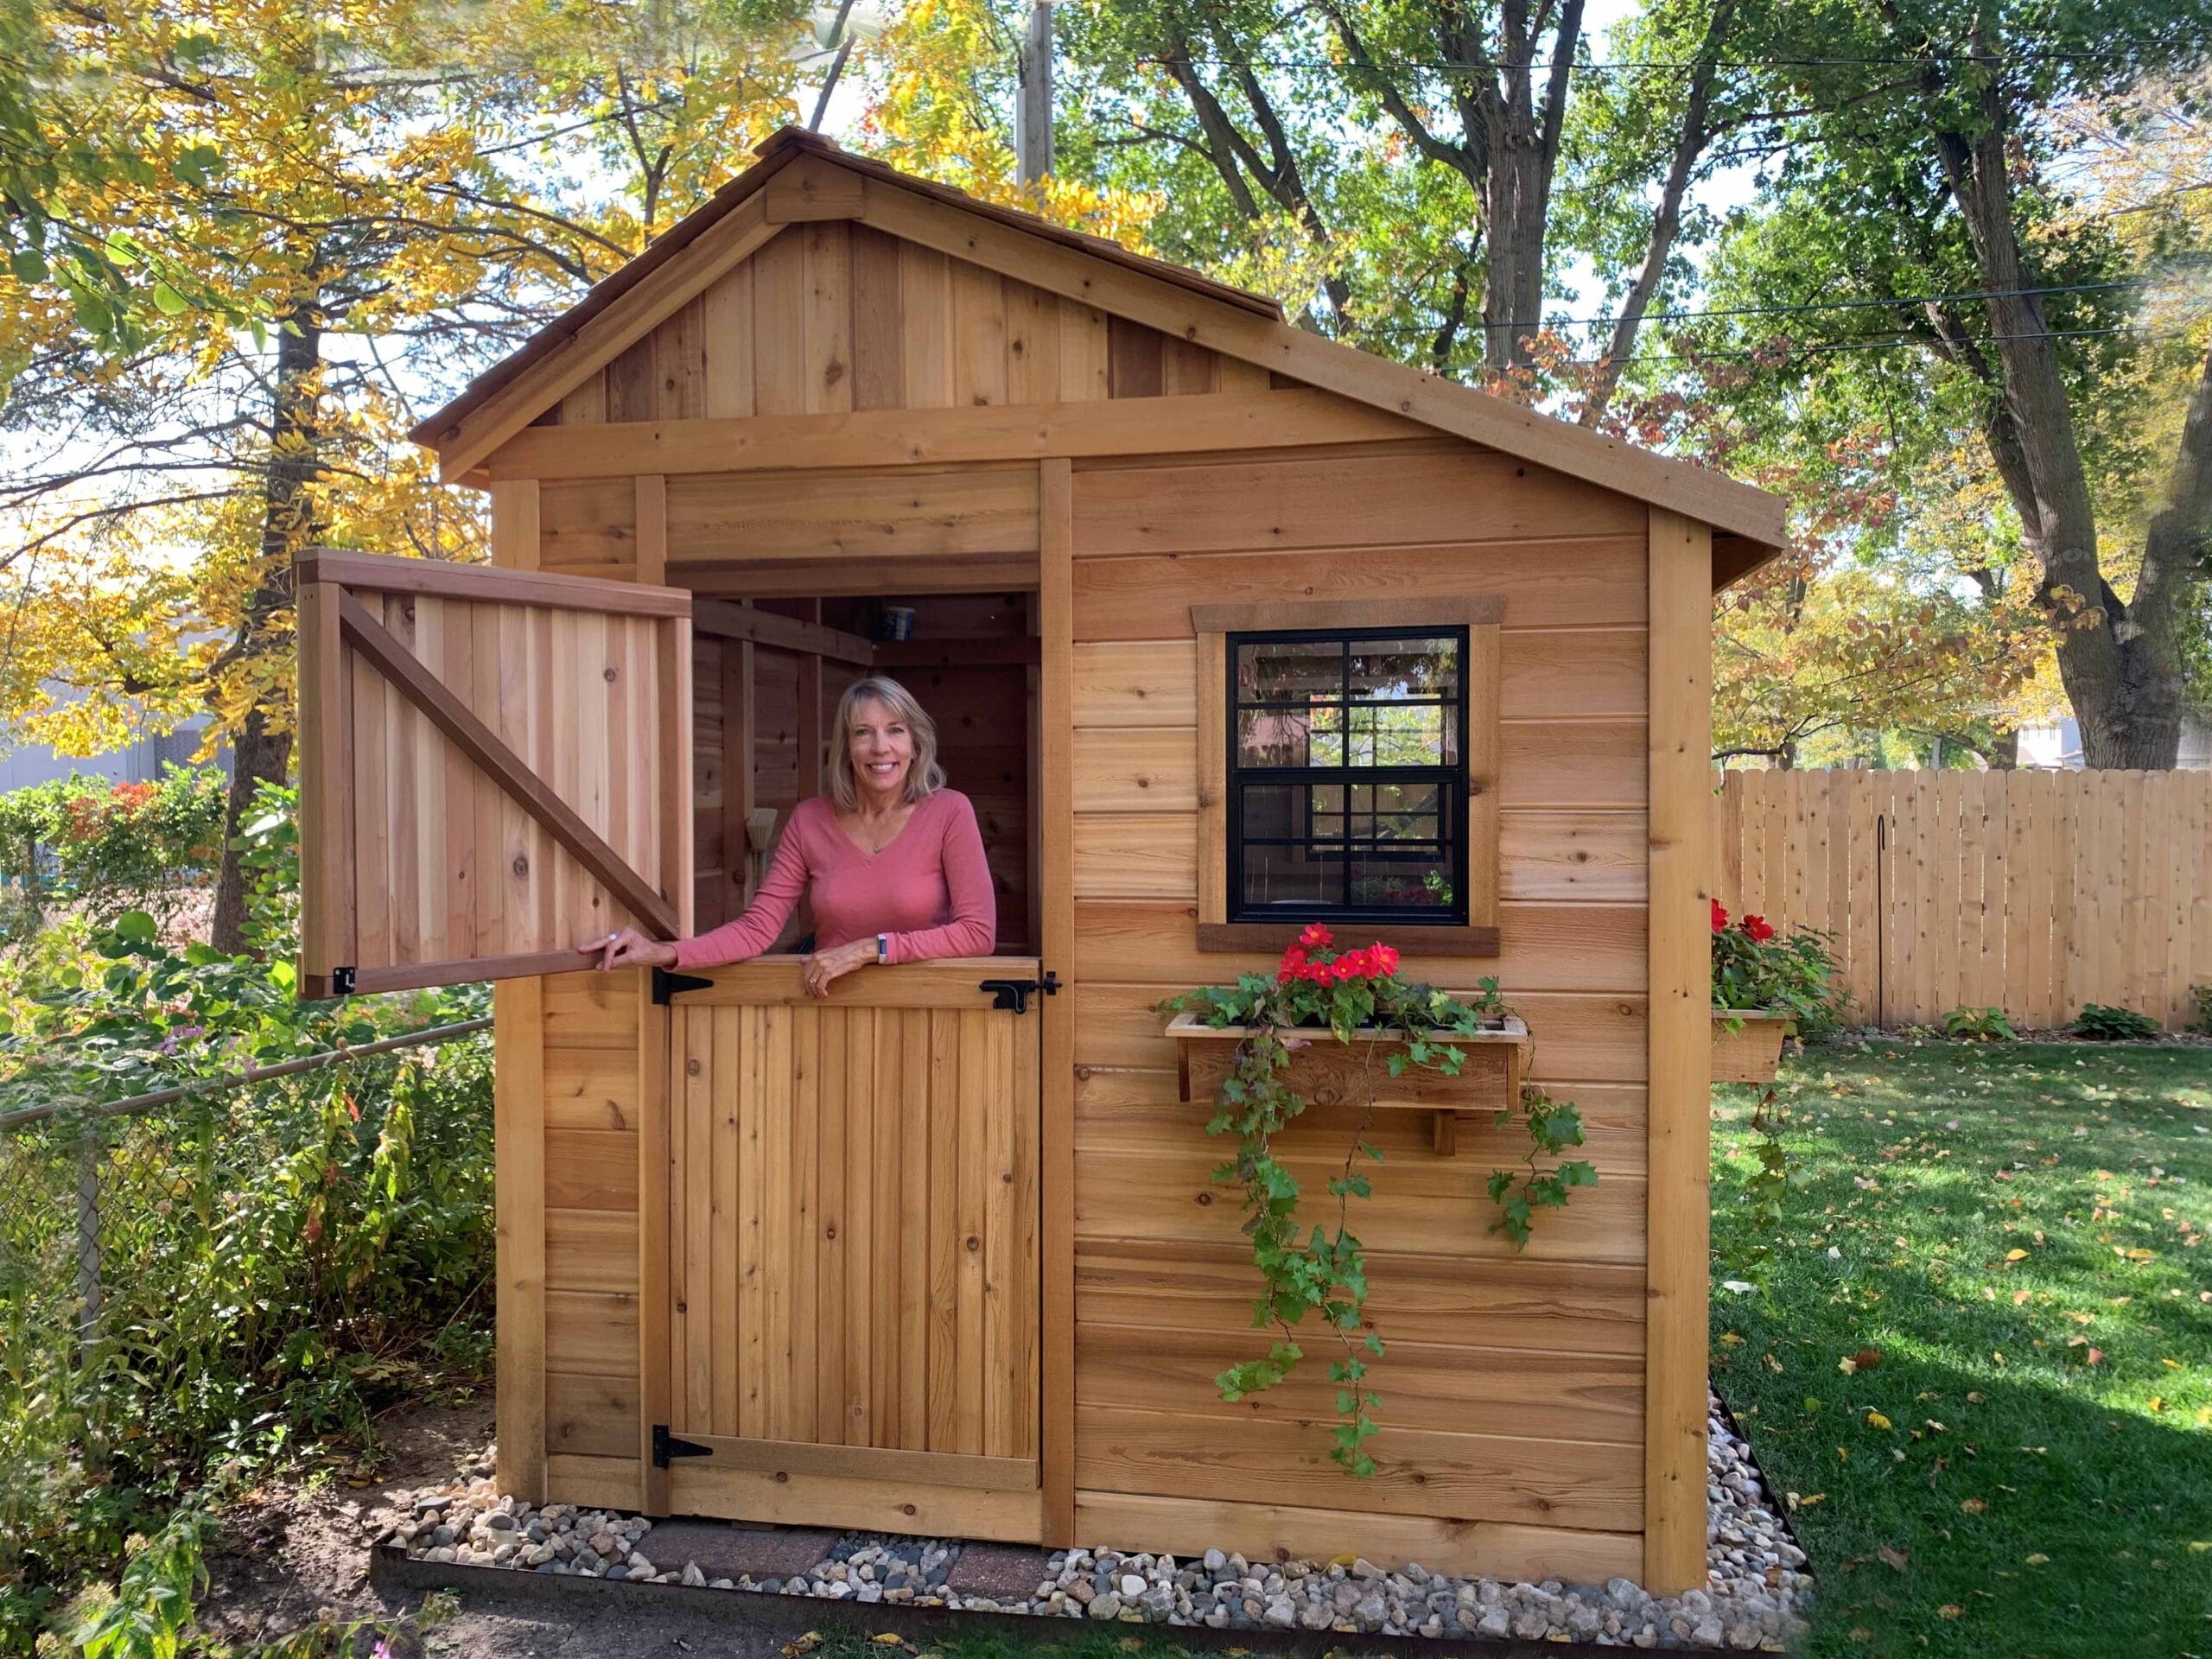
Planning a structure? Consider one of our DIY shed kits or pergolas as a functional anchor.
🏛 Step 2: Know Your Local Rules & Limits

Before sketching out your dream design, check:
Local zoning and building codes
Homeowner association (HOA) guidelines
Permit requirements for structures like sheds, decks, or gazebos
Knowing your boundaries early on will save you time, stress, and potential fines.
💸 Step 3: Set a Realistic Budget
The average backyard remodel in the U.S. can exceed $10,000, but as a DIYer you’ll save on labor. However, materials and tools still add up — especially if you’re building large structures or installing lighting or irrigation.
Tips:
Break your project into phases
Get estimates for materials early
Add a 10–15% buffer for unexpected costs
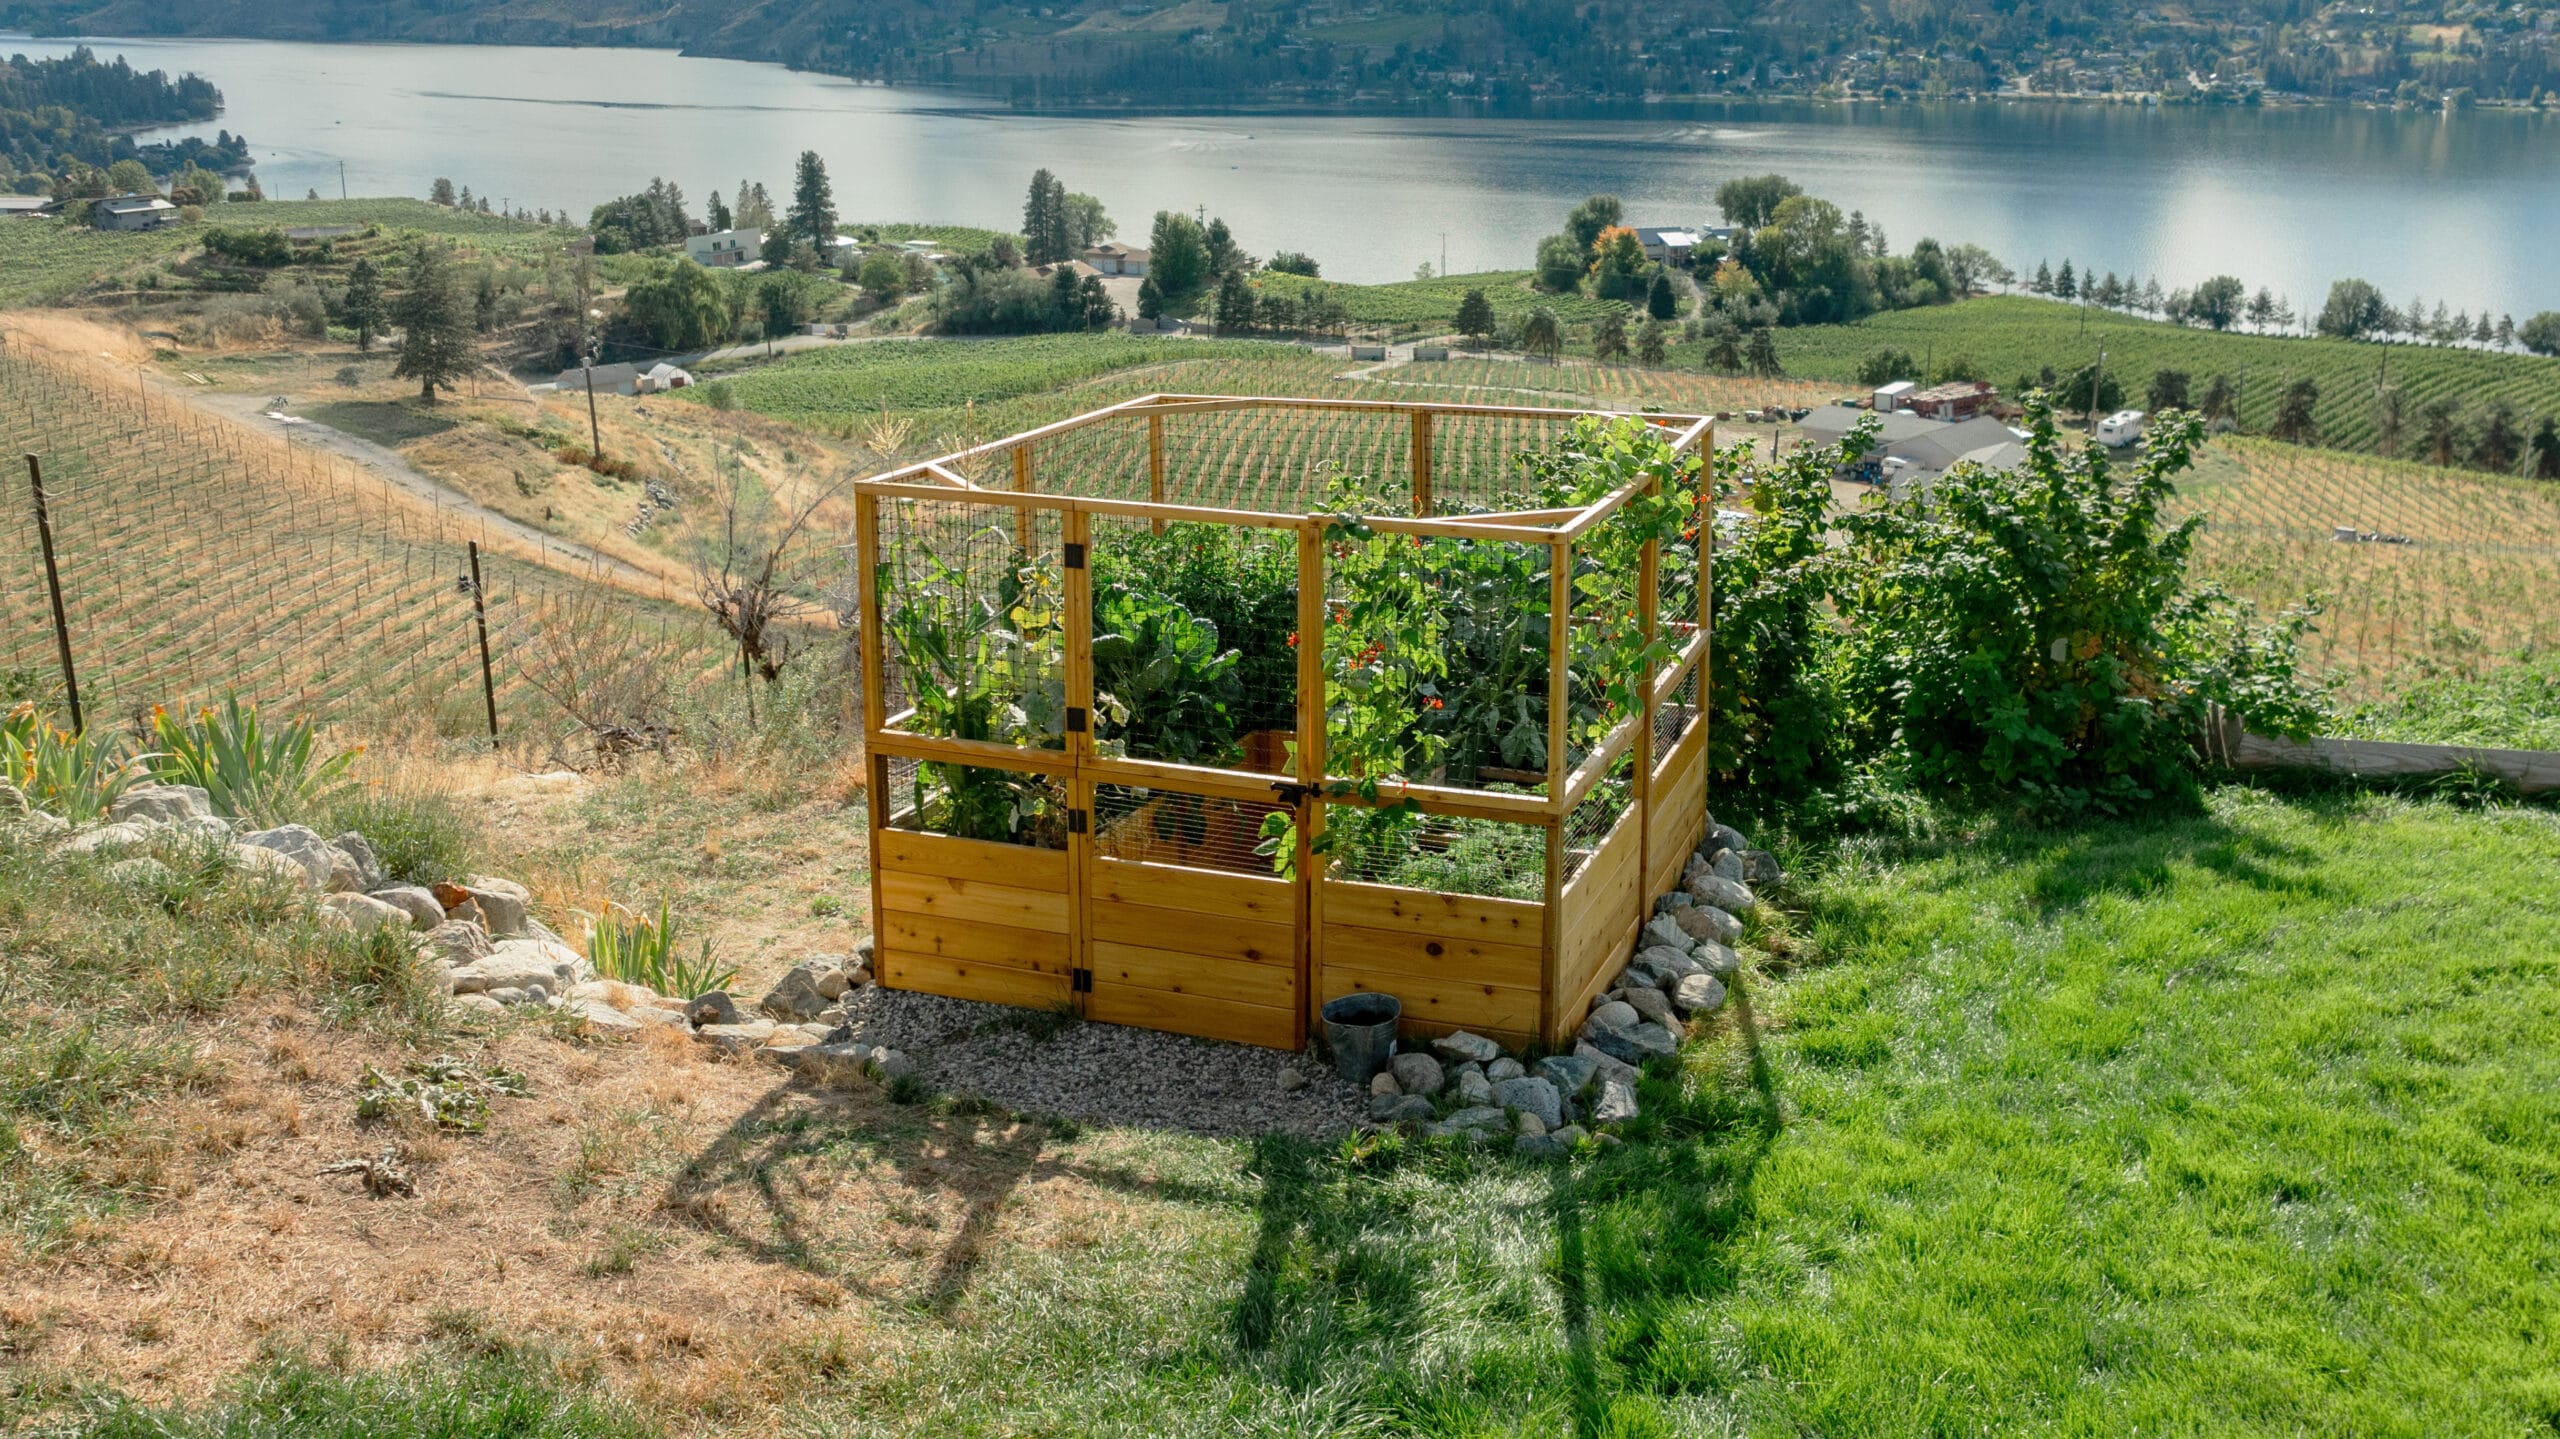
Need inspiration? Our DIY garden beds and accessories are great, budget-friendly additions.
🧱 Step 4: Design with Simplicity in Mind
Match your backyard design to the architecture of your home for visual harmony. Avoid adding too many complex elements at once. Focus on a few core features like:
A fire pit
A gazebo
A child’s play zone
A raised bed garden
You can always expand later — but overcomplicating the first round often leads to burnout.
📅 Step 5: Plan It, Then Work It
Create a detailed project plan:
Set target completion dates for each phase
Stock up on all required tools and materials before starting
Commit to 3–5 hours per week or allocate full weekends to stay on track
Not sure what tools you need? Check out our Top 10 DIY Tools for Backyard Projects guide.
🌿 Step 6: Simplify Your Landscaping

Low-maintenance doesn’t have to mean boring. Choose hardy perennials, shrubs, and native plants that require less upkeep and water.
Enhance the space with:
Potted plants in decorative containers
Climbing vines on trellises
Groundcover to reduce weeding
Want low-fuss solutions? Our urban raised beds help organize space and reduce digging.
🧰 Step 7: Know When to Call a Pro
DIY doesn’t have to mean do everything alone. Be smart about when to bring in help for:
Electrical wiring
Plumbing for outdoor kitchens or showers
Complex carpentry or landscaping
Hiring a professional for a consultation — even just an hour — can help you avoid costly mistakes and stay on schedule.
🪑 Step 8: Add Outdoor Furniture & Accessories
Once your layout and landscaping are done, complete your backyard with:
Comfortable seating and tables
A shaded structure like a cedar pergola
Decorative elements like lighting, rugs, and cushions
This is where your space becomes truly livable.
Ready to Start Your Backyard DIY Journey?

By planning thoroughly and staying organized, your backyard transformation doesn’t have to drag on for months. Be realistic with your time and budget, call in help when needed, and most importantly — enjoy the process.
Want the easiest way to get started? Check out our collection of DIY-ready outdoor kits:
Everything is pre-cut, pre-drilled, and built to last — so you can focus on creating something beautiful.


