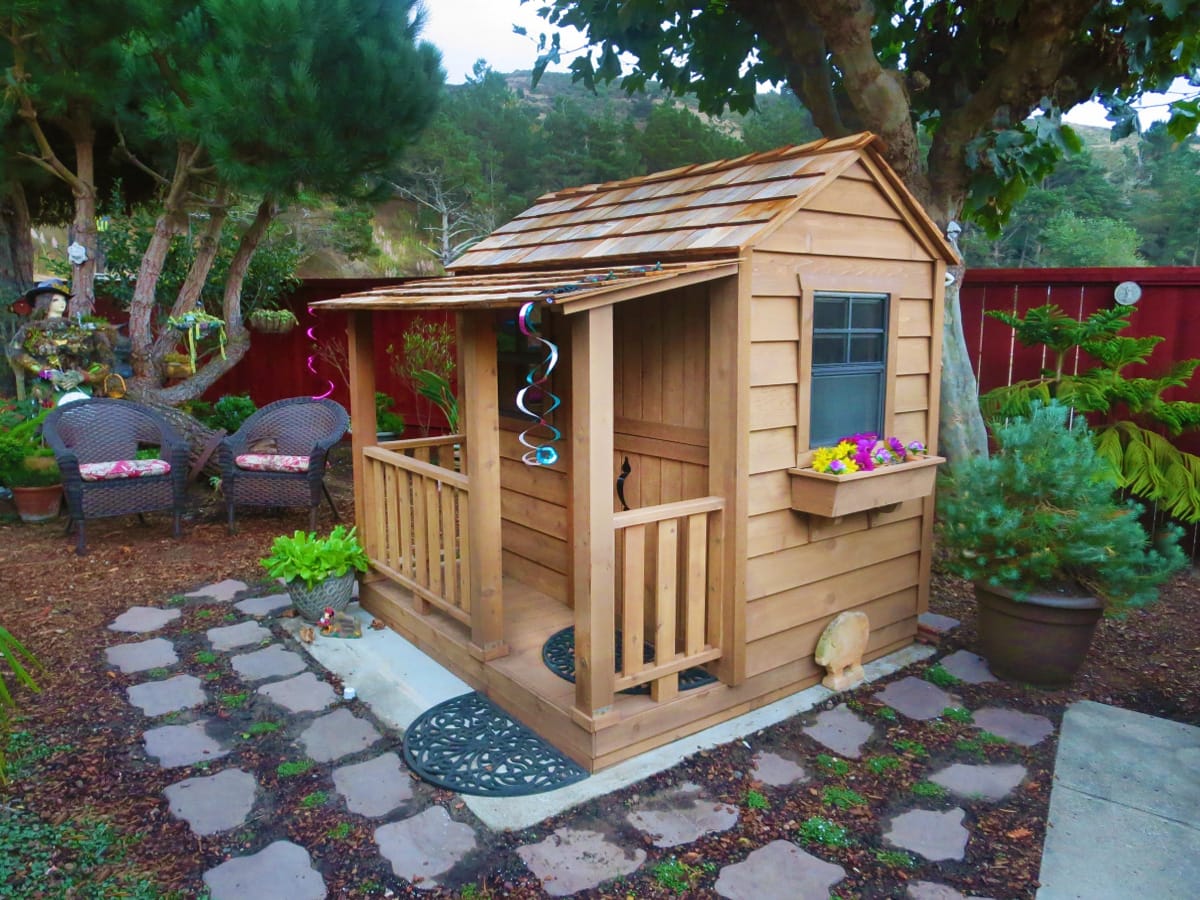
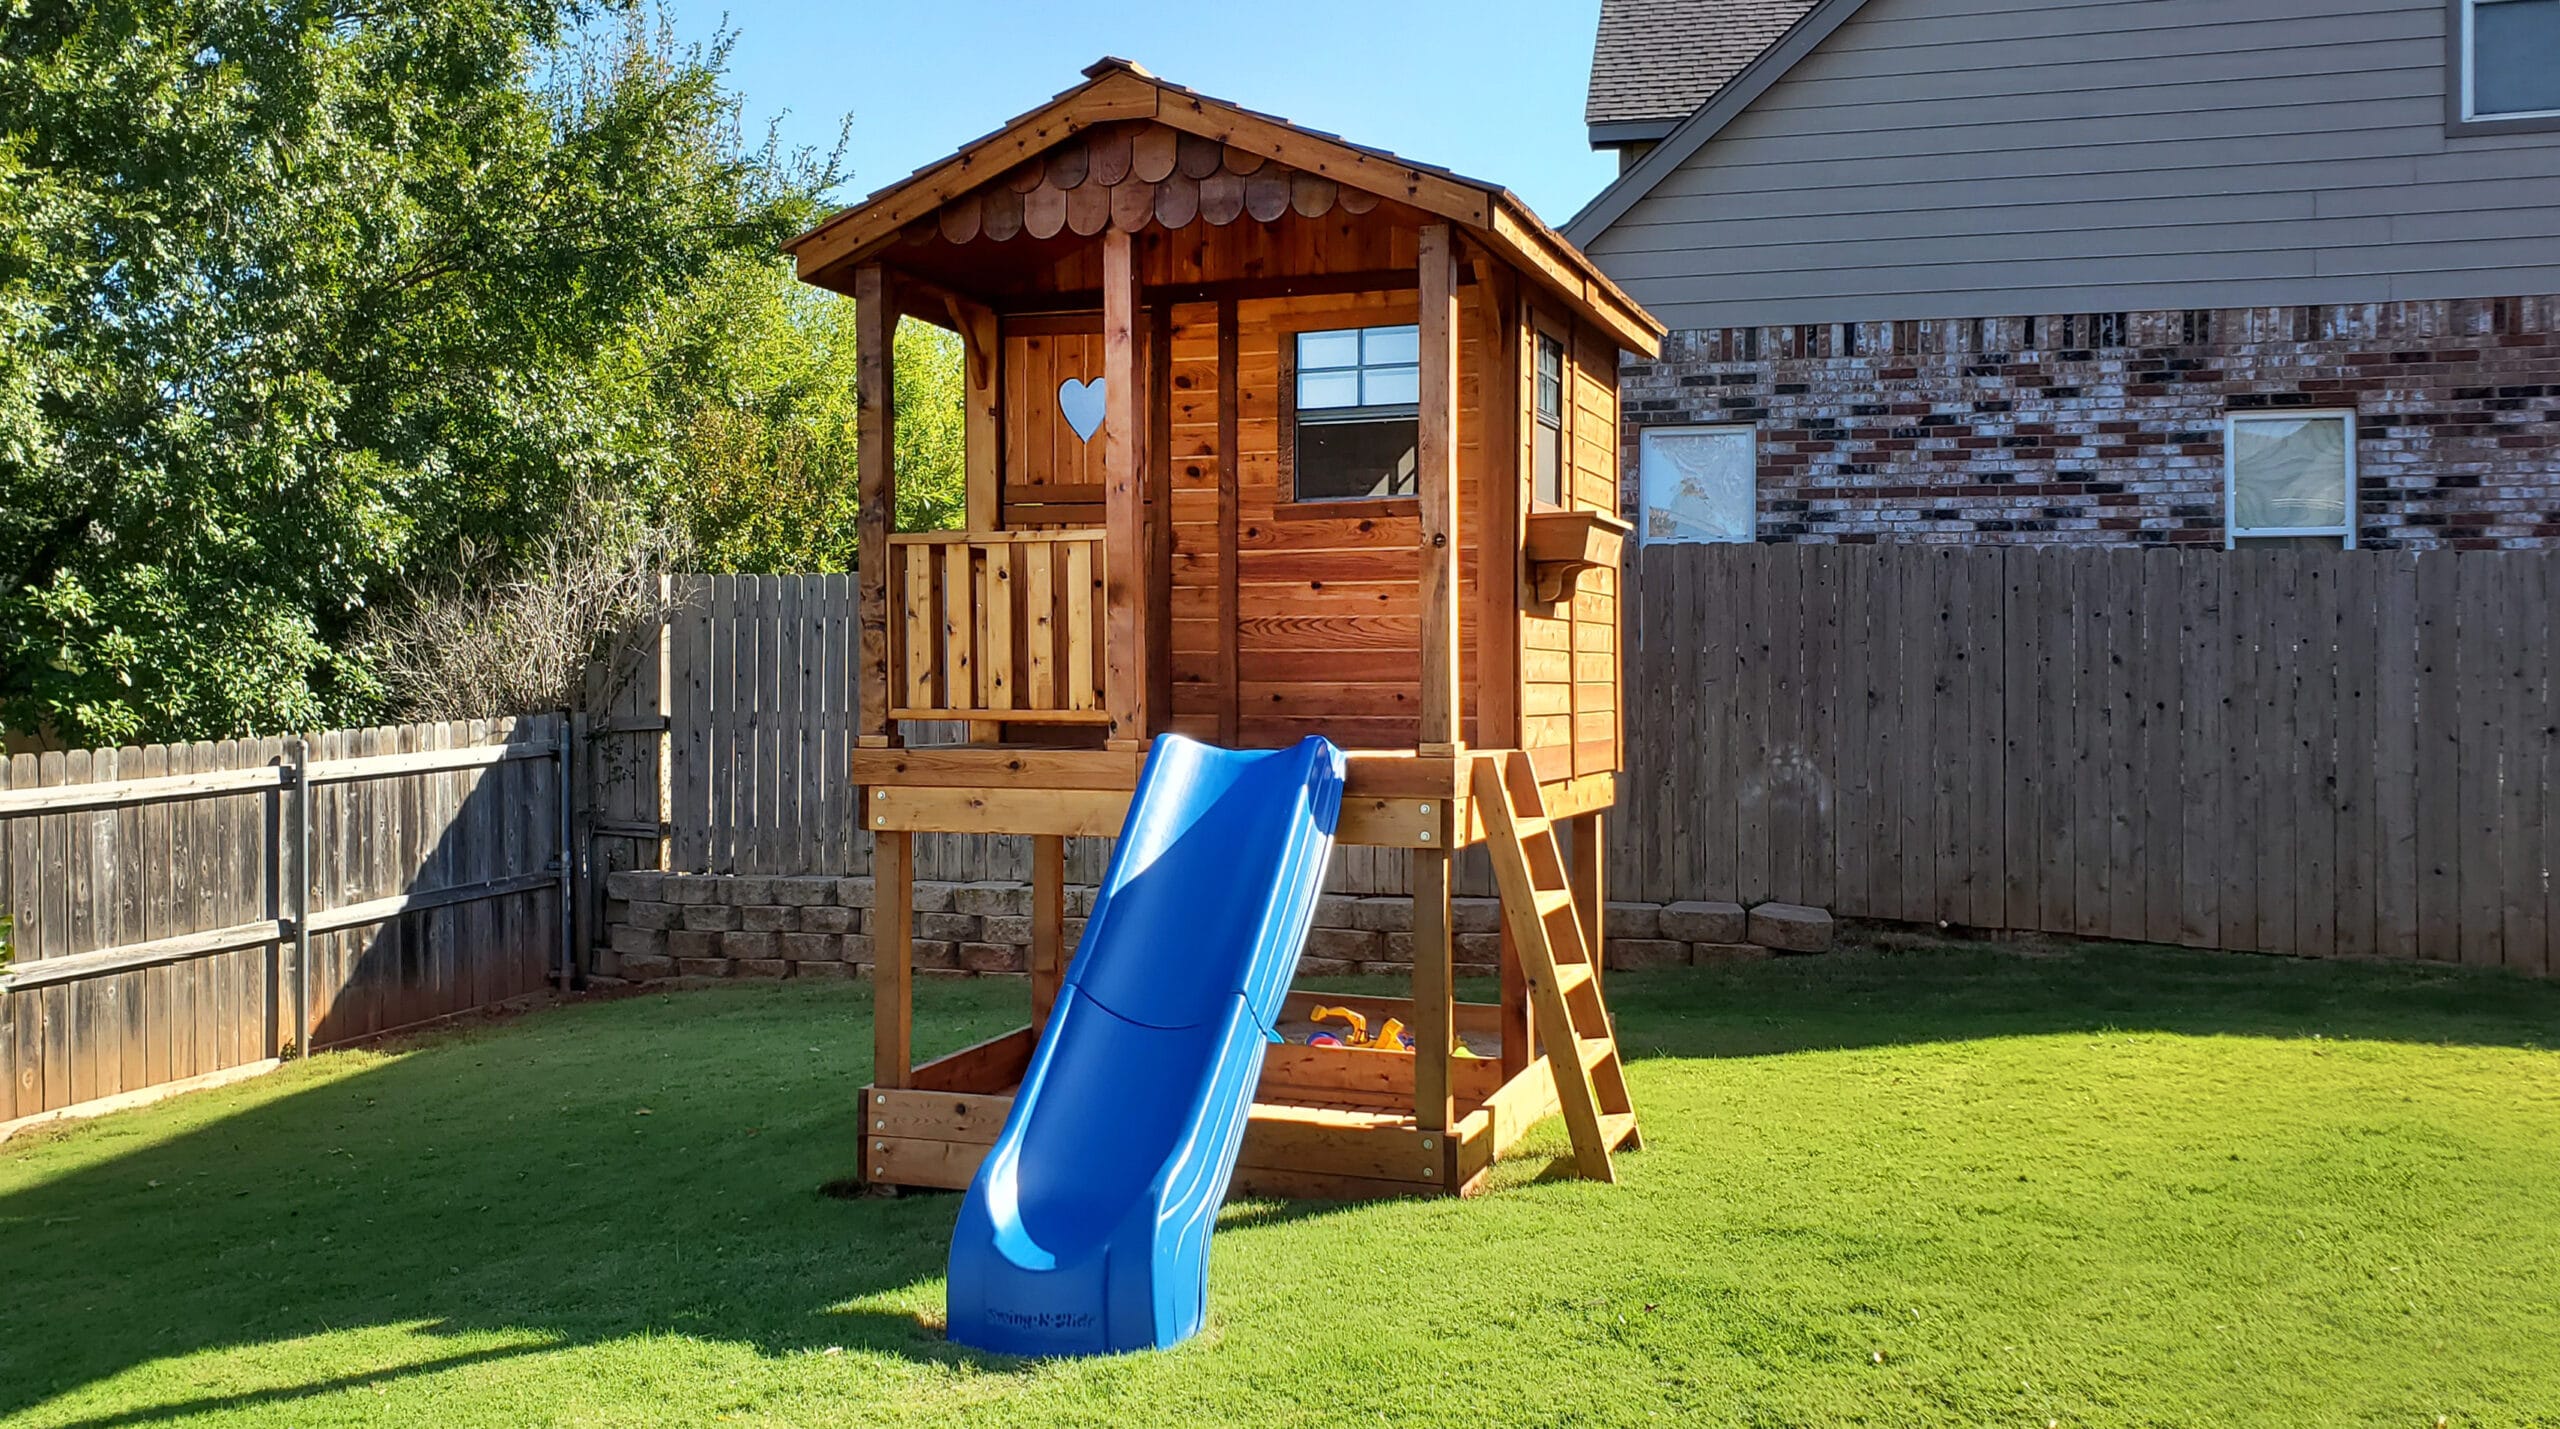
Would you like to know how to build a playhouse? Building a playhouse and building a house are the same – it is just that a playhouse is on a slightly smaller scale. To make things simple, you can make the little house’s dimensions match the pre-cut lumber that you will be picking up from the home improvement store.

A plywood sheet is 4×8 feet and 2x4s in 8-ft lengths is perfect for a playhouse. So your little house will have a length of 8 feet with 4 foot walls and a roof. This will be a lot less math and minimal work, and your kids will love you for it!

Items You will Need

  • Shovel
  • Drill driver
  • Circular saw
  • 4×4 pressure treated lumber
  • 4×8- foot plywood sheets
  • 2×4 lumber
  • Joist hangars
  • Pick
  • Speed square/rafter square
  • Landscaping cloth
  • Sandpaper

Lay the foundation: You will be keeping things simple, but it is still important to start off right. First, find a place in the yard where there is enough room for the playhouse, making sure that the ground is mostly flat already. Take your shovel and pick, break up the earth and making it level and compact. Make a weed barrier by laying down a sheet of landscaping cloth.

You may not want to build a playhouse directly on the ground. The moisture and earth will rot away the foundation of the playhouse just like it would a normal house.

Frame the floor: The next step is to set two pressure treated 4x4s (the 8-foot ones) on the foundation. Then cut four 4x4s of 4 feet each to fit between the 8-foot 4x4s. Attach the pieces together with joist hangars. This job is best done with pressure treated lumber because it is going directly on the ground, and that will ensure that it is protected from the elements as already mentioned.

You may want to have a cement foundation. You can look online or hire someone who knows more about that.

Frame the side walls: Make the bottom and top of each wall with two 8-foot 2x4s. Make the walls 4-feet high by cutting ten 2×4 studs and keep in mind that the width of the 8-footers need to be accounted for. You will need to make the studs 4 feet, taking away 1½ inches, which is a 2×4’s actual width, so 3 feet 10½ inches. Now, you can lay the lumber on the ground and screw the studs to the plates both on the bottom and top. Keep them 24 inches apart on each center.

There will be 5 studs on each wall. Next, drill a hole of 5/8th inches in the bottom plate in the open bay that is between each stud and drill another hole corresponding to the previous, in the foundation’s 8-foot lengths. As you make the walls stand up on the foundation, drive in a 5/8-inch sized bolt through each of the pre-drilled holes. To prevent the walls from falling outward or inward, secure a 2×4 between them temporarily.

Install the floor: The space between the walls should be perfect for a sheet of plywood, meaning it should be 8 feet in length and 4 feet across. Lay a sheet in the space and every foot or so, screw it into the foundation. While the walls are still open, this is the right time to install an indoor or outdoor carpet if you wish to.

Frame the walls: It is now time to frame the front and back walls. Build the end walls the same way that you did the side walls, but with the top and bottom plates at 4 feet. Each wall requires four 3-foot 10 ½ -inch studs, set so that bay in the square’s center is 2 feet wide. Drill 5/8 holes in the outer bays only and then stand the walls up and bolt them down. Next, screw the studs together where they meet at the structure’s corners and you can remove the temporary support.

Frame the roof: For this, 10 rafters (5 on each side) are required, so they match up with the studs you screwed on the side walls. Cut ten 2x4s to 2-feet 15/16 inches with an angle of 45 degrees on each end. To get the angles, mark them with a speed square/rafter square or use a miter saw.

Now match two rafters up, making a V and screw them through the angle. There should be 5 Vs in the end. Set the Vs on the side walls’ top plate so that they match the studs and screw them down. Finally, make a ridge beam by setting an 8-foot 2×4 the length of the roof in the rafters’ angle abs screw it down to each rafter.

Now, you have a completed playhouse skeleton, so the next steps are to skin the side walls, front and back walls and the roof with the plywood sheets. Once you have done that, sand down the rough edges so that the little ones do not get splinter in their skin. That can be unpleasant and ruin the day!

After that, you can add the finishing touches and give it the look you want. You can give it a rustic or polished finish – that is all up to you! You can get the kids involved by letting them help you paint the wood to protect it. If you can make it match your actual home, that could look pretty sharp! You can have loads of fun with your new playhouse.

Build a Playhouse

Read More
Kids tree houses Children love to spend time outdoors and explore their sense of adventure in kids tree houses. As a parent, ensuring that your children have an interesting and safe place to play outdoors in the yard means children who are having fun and letting their imagination take over.As long as you teach your children the basics of safety as they climb up and down their kids tree house, you will be able to help your children play plenty of imaginative games while they spend their time constructively and energetically.

Kids Tree House Ideas

A tree house will free your child’s imagination and become a castle, a ship, an island, a spaceship, or a new planet, depending only on their current interests. By building a sturdy tree house in your backyard you will be gifting your child hours of fun over the years.While kids tree houses are a fun play area in the outdoors, parents need to ensure that young children are supervised when using it. Also, a tree house can cause stress to the tree, so select only mature trees that can withstand the weight of the tree house and its occupants.If possible spread the weight of the tree house over more than one tree or branch. You might also need to obtain local and municipal permits before you build a tree house.Constant trampling of the soil around the kids tree house will compact it, making it difficult for the roots to breathe. As such you need to take additional care of the soil around the tree house each year, adding more compost or loosening the soil to prevent damage to the tree.Kids tree house Ask your landscape expert to check the soil around the base of the tree and treat it to prevent long term damage to your tree and tree house.

Effect of the Wind on the kids tree house

A strong wind will make the tree house function like a sail and put additional pressure on the truck of the tree. To minimize this stress, you need to place the tree house a third of the way from the base of the truck, not further up.

Best Trees for Tree Houses

The first step to building a tree house is selecting the right tree. Ideally, pick a hardwood tree such as oak, hemlock, beech, or fir. The load bearing branches should be at least 8 inches in diameter.While the branches need not be very high, they should be high enough that people do not bump their heads against the floor of the tree house as they walk past.

Build the Tree House Platform

The platform for the tree house should be built as close to the main trunk as possible. Moreover, it should be braced using diagonal bracing that is secured to the base of the trunk.The tree house platform is unlikely to be a square, but that is okay, as long as the platform balances well and can support people on it.

Leave Space for Tree Growth

When building the platform and roof, leave some space, two or three inches around the trunk to allow for future growth. This will ensure that the tree is not constricted or strangled.tree house for kids

Keep the Tree House Floor Level

Before you build the rest of the tree house, you need to ensure that the platform or floor is level. This can be done by spreading the weight of the platform across other tress or branches, or bracing the weight against the main trunk or cantilevering the platform.

Assemble the Kids Tree House at Ground Level

Before building the walls and roof of the tree house on the platform, complete as much of the tasks at ground level as you can. This means assembling the walls and roof at ground level, and taking the help of another person to hoist them to the platform where they can be fixed as needed.

Floating Bracket Support

One of the main issues with building a tree house is ensuring that the tree is not damaged and it continues to grow. You can use floating bracket supports that do not cause much harm to the tree. They are flexible and ensure that the tree continues to grow.You should use large bolts instead of through bolts since this will cause less harm to the trunk. Also, you need to use fewer large bolts instead of many small bolts since the latter will cause more damage to the tree.A tree which is not damaged and constricted by the tree house will live longer, enabling the kids tree house to survive for a longer period of time without any danger to the children and kids who play in it and underneath it.
Read More
Stain Your Shed or Playhouse So you have decided to stain your shed or playhouse from Outdoor Living Today.com. Western Red Cedar has a reputation for holding finish exceptionally well, and for good reason too. After all, Western Red Cedar is pitch and resin-free and is usually milled with a rough finish. This means there’s nothing to interfere with the bonding of your finish and stain adherers to the rough fibers of the wood better.Here are a few tips to help your shed or playhouse stay beautiful for many years to come.

Before Your Shed/Playhouse Arrives

Western Red Cedar will actually start to weather to a silvery-grey even 3-4 weeks after being exposed to the sun. If you want to keep your product looking “new” and you can’t assemble your unit for some time after it arrives, make sure you cover the unit and protect it from the elements until you can get at it.If you have enough garage space available, that could be an ideal location – sheltered from the sun and also dry and safe. Consider clearing out additional garage space to store if possible.

After Your Shed/Playhouse Arrives

When your OLT product arrives, it will either be unloaded with a power tailgate to the ground on a contained pallet or off-loaded piece-by-piece by you and some helpers. If power tailgated down and you can’t get at it immediately, request the driver pallet jack the entire unit in that great space you made in the garage.Shipping companies sometimes can’t accommodate you but always ask! If the unit is left on your driveway, try to pick a spot not always in direct sunlight if possible.Either way, remove the protective plastic cover from the unit and cut the plastic banding holding the entire unit together. This will let the unit breathe to reduce moisture from the wood which will be great when you stain later. Consider removing various pieces from the package so they can start to dry and slowly reach the moisture equilibrium in your area.If your unit is hand offloaded from the delivery truck, sort pieces according to assembly section such as floor, walls, roof and trim. This will make it easier to locate pieces later and also get a game plan for what can be stained before and after assembly. If pieces are left outside, be sure to cover if exposed to direct sunlight or moisture for any period of time.

Stain Choice

Walk into any home do-it-yourself paint and supply store and you’re bound to be inundated with finish-stains. These products provide protection and also dress up the wood’s surface, enhancing cedar’s natural colors and textures or changing its face altogether. Three common choices are solid-colour stains, semi-transparent stains, and transparent stains.Solid-colour stains act as a barrier between the elements and the wood, forming a film around the wood. Semi-transparent stains are ideal when you want to maintain western red cedar’s natural finish without weathering. Semi-transparent stains penetrate the wood’s pores, to varying degrees based on product. Transparent stains enhance the wood’s colour and act as an invisible protectant.We here at Outdoor Living Today.com have experimented with many name brands, and in our opinion, a couple have stood out: Cabot Stain and Sikken’s. Both of these companies offer an opaque stain as well if your desire is to ‘color’ your shed.Expert Advice – bring a sample of cedar from the package and test the color so you know exactly what it will look like after you stain your shed or playhouse! The bottom skirting trim supplied with your shed/playhouse is a great piece to try this with.Test various stains and colors on the inside of the skirting. These won’t be seen when the assembly is complete, and will help you decide on your stain choice a lot more definitively than some arbitrary ‘color guide’ on a sample rack.

When to Stain Your Shed or Playhouse – Before or After Assembly?

There are many benefits to staining pieces of your shed or playhouse prior to assembly and some negatives. Staining pieces before assembly allows you to work in a safe, comfortable position. It has the added benefit of allowing you to apply a finish to all sides of your wood before installing it, thus ‘protecting’ every surface of your shed or playhouse.A good example of pieces we recommend staining prior to assembly would be the roof panels, filler shingles and roof ridge caps. The inside roof panels do not need to be stained! These pieces are much easier and safer to stain on saw horses. The entire trim kit can also be done prior to assembly.One negative is you will probably use more stain and it may take longer to complete the job as opposed to staining after you assemble the entire unit.

Brush versus Spraying?

While it may be easier and quicker to stain your shed or playhouse with a paint sprayer on certain components such as the walls and roof panels, we still recommend you brush the stain in after spraying to get an even and penetrating coat. Conditions must also be right (temperature and wind) if using a sprayer so with that said, a brush will most likely be your most effective tool.The brush is also very effective on wall siding and end grains of trim pieces. Using a brush will give you the most control. Brush application (natural bristle) is the preferred method because it works the stain into the wood fibers and cells more effectively.To avoid lap marks, make sure that the leading edge is kept wet and that the wet stain is brushed into the wood. A very good method is to brush the stain over an area, and then follow up with a sponge to catch any puddles or drips. Any stain left to sit on a surface will soak in more than surrounding areas and appear darker. Work in small manageable areas. Try this technique: brush with one hand, and a sponge in the other. Brush an area with the stain, and follow up with the sponge if there are drips and puddles. It won’t take long until you have developed a rhythm and the job will be done in no time.While stain brands recommend a drying time of 12 to 24 hours, allowing the cedar to dry between 24 and 48 hours ensures that it is completely dry before you handle it for assembly.There’s always the low-maintenance option of letting your western red cedar outdoor projects weather to a beautiful silver grey. But if that doesn’t suit your personal palette, follow these tips when you decide to stain your shed or playhouse for a beautiful finish that will last for many years!Enjoy your Shed or Playhouse from Outdoor Living Today.com!
Read More
Converting-Existing-Garden-Structures-into-a-Playhouse As your children grow older, they require some space away from you to develop their independence and creativity. While you need to ensure that you are not stifling them with over protectiveness, you also need to ensure that they are safe.One way of doing this is building a playhouse in the garden for your children. This will let them play independently while having some protection from the elements.
Repurposing Existing Garden Structures

While a playhouse is a terrific idea to provide children with their own secure space, most homeowners have space and budgetary concerns about this. One way to overcome the problem is to convert an existing garden structure into a playhouse.You can convert any garden structure such as the garden shed, gazebo, or arbor into a charming playhouse for your children.

Check the Sturdiness of the Structure

Before you begin the conversion process, you need to check the sturdiness of the garden shed, arbor, or gazebo. Check that the foundations, walls, and roof are strong and can handle vigorous play by the children. If there are problems, reinforce the foundation, walls, or roof to ensure that they are strong.

Ensure Adequate Ventilation

Since the children are likely to spend a lot of time playing in their playhouse, you need to ensure that it has adequate ventilation. You also need to ensure that it can be weather proof if needed to ensure that the children’s treasures, toys, and other possessions are not damaged by moisture or exposure to sunlight.

Paint the Interiors and Exteriors

Next paint the interiors and exteriors in washable paint. Choose bright and cheerful colors and trim to make the playhouse stand out in the garden and appeal to the children.

Provide Furniture

Depending on the size of the room, the number and age of the children who will be suing the playhouse, place suitable furniture. These can be low chairs and benches as well as tables. If possible, include seating and other furniture that can be cleaned easily and also double up as storage. A chest for toys can also be used as a table or seating if needed, ensuring that the small space is well used. You can also use child size furniture that will make the place more comfortable for the children. When putting in furniture for the playhouse, make sure to include individual storage areas for each child.

Add Furnishings

Once you have placed a few pieces of furniture in the playhouse add furnishings. This can include curtains, a rug or two, and a few colorful cushions.

Decorate the Exteriors

Once the interior has been fixed and decorated, you need to decorate the exterior. As the playhouse is situated in the garden, you can cover it with growing vines, place flowering plants around it, and so on. Another incredible way to make the playhouse appealing is to install a short wooden picket fence around the playhouse and place a swing or hammock in the garden.

Convert an Arbor into a Playhouse

To convert an arbor into a playhouse, ensure that there are plenty of vines growing up the walls and roof of the arbor. Create a green wall on three sides of the arbor, by either using vines trained on trellises or by planting a tall hedge along one side. Leave space for a doorway.In the interior of the arbor, place a few benches or chests that can store toys and double up as seating. Cut a few window openings in the walls of the arbor to let in light and let your children enjoy time in the arbor. You can spread a canvas sheet on the floor of the arbor to keep the place clean. Well, that will enable cleaning more easily at least since the canvas sheet can be swept.

Convert an Gazebo into a Playhouse

A gazebo can also be converted into a playhouse or play pavilion by hanging cheerful curtains or blinds along the sides. This will provide a cozy and covered place for the children to use in the summer.As the gazebo is likely to have some seating space, just include a set of lockers for each child and provide your children with hours of fun in their own space. Make sure they lockers are tight so no bugs can gain access to them.Providing a playhouse for your children will enable them to become more independent and creative while you can enjoy quiet time indoors or in the garden. Any existing garden structure can be converted into a playhouse by adding furniture that provides both seating and storage and a few rugs and cushions. The cushions can have bugs on them if left overnight so this option is up to you.Before you furnish the playhouse, you do need to check that the structure is sturdy and that there are no sharp edges or ledges that can injure children when they are playing. A playhouse with very basic furniture will encourage the creativity of your children since they can convert it into whatever they wish – a castle, a ship, theater, Optimus Prime, and so on.
Read More
It’s so much more than simply an outdoor area for your kids!A backyard playhouse is more than just a beautiful physical structure in your yard. It’s memories that will last a lifetime.It can be a wonderful place for your kids in your backyard to explore or play among themselves. Or, they can invite friends over for hours of fun and adventures. But be warned, your backyard will become the go-to place for your children and their friends.Need inspiration? Just contact us or have a look at the many pictures sent to us. Create your own magical backyard adventure at Outdoor Living Today.the-playhouse-how-to-play
Read More
Kids-Outdoor-Playhouse Remember how amazing it was to have a fort when you were a kid? Was it the central hub of your group of friends?Almost every child enjoys a fort. A fort provides a secret hideout, a sense of adventure, and a place that only close friends are invited to share.A fort can be as basic as a sheet spread out over a group of chairs or a more elaborate structure. Gift your child an outdoor fort playhouse and watch their imagination soar. Your child is sure to develop a superior sense of adventure and have hours of fun.Depending on your budget, space availability, and time available, you can design an elaborate fort and a simple one. However, the fort must have a few basic features.

Playhouses for Kids Should Be Small

A fort should ideally not be a very large room. A small space, enough for your child and a couple of friends is just the right size. You can build a small room and ensure it has a door and few windows.Maybe a moat with a bridge will enhance the authenticity of the fort. Your fort could also have a small turret or tower if you are building more than a single story structure.

Provide Appropriate Décor for Your Backyard Playhouse

To make the fort authentic provide some appropriate décor. You and your child could create a flag that can be draped on one wall, install pictures of weapons, and so on. Apart from this, you should also add basic furniture such as a chair, table, rug, and some lights.To maximize space utilization, ensure that the furniture can do double duty. For instance, a trunk or chest can be used to store stuff while also providing a seating or surface space.Make sure that the furniture, and any outdoor structure for that matter, can handle the rigors of Mother Nature. Make sure there is some insect repellant in the fort or spray all around there before you want to out hang out in the fort.If you do not like insects, then perhaps you only need to hang out in the fort in the winter. Make sure there is no rough housing since someone can get a splinter and that could wear out the fort even quicker.Backyard-Playhouse

A Secret Opening Adds Mystery to Childrens Playhouses

If you have a tree or some shrubs close to the fort site, you can also consider installing a secret opening. This could be concealed behind the tree or shrub, and require your child to crawl or stoop to enter the room. Make the opening smaller than for adults to ensure your child feels it is more exclusive to them.

Low Lights Bring Wooden Playhouses to Life

A well-lighted fort is more like a playhouse. Instead, provide shutters and low lights including glow sticks to ensure that the fort can be converted into a place of mystery and secrets.It is possible to build a fort using pallets or pieces of timber. All you need is a flat surface and timber for walls, floor, and roof. Another idea would be to purchase a basic playhouse and redecorate it to convert it into a fort.

Playhouse Kits or From Scratch?

When building a fort from scratch, include defensive features such as a moat, windows from which one can keep watch for the enemy, and a secret entrance.  Here’s how to build a pallet fort playhouse:
  • Begin by laying one or two pallets on the ground to provide a level surface for the floor.
  • Next, check if the other pallets you have fit around the floor to form walls.
  • Once you have tested that the pallets are the right dimensions, you can fix them to the base pallets using screws. Use OSB sheets for the floor.
  • As pallets can have splinters (as already mentioned), use sandpaper to thoroughly remove all splinters from the pallets and make them smooth for little hands.
  • You can place a couple of pallets over the walls to for the support structure for the roof and use galvanized sheets to ensure that the roof is water proof.
  • If the walls of the pallet fort are too low, you can place 2x4s along the sides of the room and place the wall pallets on them.
Finally, if you want to provide more privacy to the fort, simply fix a few sheets of OSB at intervals along the walls. You can add tiles or rugs to the floor to ensure that the pallet fort is comfortable and cozy.

An Outdoor Play House Brings a Lifetime of Memories

Outdoor-Play-House1Whether your child wants a fort to ensure their privacy as he or she reads and dreams or wants to imagine more adventurous games, a fort playhouse is an ideal gift for a kid.Another advantage with a fort playhouse is that you do not need to spend a lot of time decorating it with curtains and pictures.Instead, a fort by definition is expected to be basic, providing a sturdy structure for your child to call their own without the trappings of their room.The few furniture and accessories will leave your child with plenty of space to improvise and innovate, unleashing their creative side. Their imagination is really the guide here.Situate the fort playhouse in your backyard and provide some additional privacy by planting shrubs or plants in front of it. As your child grows older and wants to enjoy time on their own, you will be able to provide the space they need while still ensuring that they spend time outdoors.Building a fort playhouse can be an incredible activity for parents and children to do together and the child will have the satisfaction of acquiring their own personal space.
Read More
How to Maximize your Backyard Space for PlayResearch states that children love to play outdoors and they should play outdoors as well when they can, and preferably, in natural surroundings. Children also show a marked fondness for natural creations like flowers, plants, animals, or insects when selecting play mates!Thus, natural spaces like back yards have tremendous potential for offering a suitable playground for children. Researchers White and Stoeklin believe that given an opportunity, children would design play grounds in open, outdoor spaces—richly decorated with plants, flowers, a small pond, fish, turtles, birds, or whatever else their wild imagination would include.So, now you may explore how you can free up some space in your crowded backyard to provide a play area for your children. This article will not only provide you tips on freeing up space in your back yard, but also some marvelous design ideas for building an attractive play area for your children.Cut off trees or bushes If your back yard has too many trees or bushes, this is definitely the time to clear them out. An open, green lawn with a shed on one portion of the yard may be more amenable to designing a play area. You can redesign your yard by cutting off long trees or bushes, planting multi-colored, flowering plants, and trimming your grass. This will not only free up space, but also create a clean, clutter-free look for children to enjoy.Clear rotting plants or weedsAs you review the ground in your back yard, you have to ensure that all the rotting plants or are cleaned out to recoup space to build the play area. Unless your ground is maintained well, you cannot design a flower garden or a pond. Research states that children are easily attracted to bright, open, colorful spaces—so ideas of a flower garden, a fountain, or a sand box may be right on.Remove odds and endsIn most families—odds and ends such as toys, broken bicycles, lawn mower, gardening tools—fill up much of the space in the back yard. You may have to identify all such odds and ends, and remove them to an attic, to a basement, or to a closet to make space in your back yard. You could also take items that do not work and that could be a hazard to the dump or to a recycling operation. After removing all the unnecessary items, you will regain some free space in your back yard.Place foldable furnitureThis is another poignant idea for freeing up outdoor space. Although wood is the popular choice of furniture in back yards, you may want to replace them with foldable, plastic furniture. This way, whenever the furniture is lying unused, they can be folded and tucked away in the covered plastic shed for storage. If you manage to discover foldable, outdoor furniture in another material, you are free to choose that rather than plastic outdoor furniture. The idea is to create free space.Enlist the support of childrenNow that you have created space for the children’s play area in your back yard, involve the children in your household to complete the next few steps. Your children, with their natural creativity, are ideally suited to provide you with some awesome design ideas or tips for building a functional and attractive play area. If you are planning to go ahead with the next designing steps, encourage the children to voice their ideas at this stage. The best ideas, as you know, are always born out of collaboration.Create a shed Once you have the necessary amount of space for a play area in your back yard, the next step may be to build a shed. A plastic shed is practical and suitable, but you may select another material such as western red cedar to build the shed out of. A shed comes in handy for storing stuff. At other times, children can even use the furniture in the shed to relax or play board games as the long as the furniture includes a table.Multi-level beds or stepsOne unique design philosophy that rules outdoor play areas for children is “multi-level platform.” These ideas can take the shape of multi-level flower beds, multi-level sitting areas, or simple steps to enchant small children. So depending on your available back yard design and available budget, you may think of creating some steps around a small pond or a two-level concrete platform for sitting and playing with nature’s creations.Install hardware for play area Once you have all those ready, now you can carefully select a special area, and install some hardware items to add to the functionality of the play area. Most surveys on children prove that children have a fascination for water and sand; so you can certainly add a pond, or a fountain, or even a sandbox. You can add animals, birds, insects, or whatever else you think your children would love to play with. If your ground is ready for hardware installation, you can think of installing a swing, or a seesaw. Children should have more alternatives than just video games to play with.
Read More