how-to-prepare-your-garden-for-autumn While spring is the time to plant new plants and seedlings and summer the right time to watch them grow, your garden needs care during fall as well. As the weather cools the plants mature and move towards hibernating during winter. However, preparing your garden during the fall will make your spring garden much better.

Examine the Garden

To prepare your garden for fall, first walk around it and examine it with care. Look for bald patches of soil that require soil amendments, over grown plants that need to be divided, note down which bulbs need to be removed before winter, and which herbs need to be moved indoors.

Remove Herbs Indoors

Rosemary, mint, lavender and other herbs in the pot
Remove potted herbs indoors before the weather becomes cooler and you will be able to enjoy fresh herbs for a longer period of time. Simply move the pots to a warm corner of the porch that gets some sunlight and is not exposed to the snow or frost.

Add Soil Amendments

Fall is the best time to add soil amendments as the slow releasing fertilizer will enhance soil quality throughout the winter months. During spring and summer, the nutrients in the soil are depleted by the growing plants. Add soil amendments and turn them into the soil using a gardening fork. Ensure that you cover all areas where there are no plants either because you have removed spring and summer flowers, or bulbs, or because some plants did not thrive during the growing season. While chemical fertilizers work for feeding the plant directly, organic fertilizer works by enriching the soil. Mulch, manure, and compost are all organic fertilizers that release nutrients slowly into the soil. By working them into the soil in fall, you will reduce the number of gardening chores you have to perform in spring. When it comes to a large patch of ground such as a kitchen garden, you should begin by first tilling and soil and removing roots and weeds. Next add the mulch or soil amendment to the soil and till it again, working the nutrients into the soil. This step is easier to perform in fall before the ground becomes hard during winter frost or soggy after the spring thaw. The soil is also warmer, letting the microorganisms thrive. By tilling the soil in fall, you will be introducing oxygen into the soil when it is still warm, ensuring a healthier soil for spring planting.

Apply Weed Killer on the Lawn

Most gardeners recommend that weed killer be applied twice on the lawn each year. In fall you need to apply weed killer to get rid of the seeds that have landed in the summer. This will mean the emergence of fewer weeds in the spring when the lawn revives. golden-retriever-on-porchIf you have pets be careful how you distribute the poison. You may want to keep your dog(s) inside your home for a couple or hours to allow the poison to penetrate the weeds before you allow your dog to run around in your backyard. If you are only worried about weeds in your front lawn then you should not have too much to worry about. While the poison is being absorbed by the weeds, you can walk your dog during this time so they are not too restless inside your home waiting for the poison to seep inside the plant.

Collect Seeds

If you have been growing heirloom plants from seeds, fall is the time to collect seeds from both flowering and kitchen garden plants. For this you need to avoid harvesting a few fruits and flowers and instead let them ripen or dry out on the plant. Fruits that over ripen on the plant will have mature seeds that can be collected by soaking the fruit in water and removing the pulp. The weaker seeds will float to the top and can be discarded and the heavier seeds collected and dried before being labeled and stored in a clean, cool, and dry environment.

Empty the Rain Water Barrel

rain-water-barrelIf you have been collecting rain water in a barrel for your gardening needs, you need to drain it completely before the onset of the first frost. Drain the barrel and clean it after removing pipes and tubes. This will reduce the chances of damaging it by frozen water.

Remove Mulch from Stems and Trunks

As you go around your garden in fall, remove mulch from stems and trunks of trees and perennial shrubs. This will help prevent the formation of mold or mildew as there is no moisture trap on the shrubs.

Examine Perennials

You should also examine all the perennials in your garden for signs of disease. Look for spotted leaves or rotting stems and either apply treatment, prune the branch, or remove the plant before the disease spreads to healthy plants in the vicinity.

Check Trees for Damaged Branches

To make sure that people and property are not damaged by rotting branches, check all of them for signs of damaged branches. This is easier in fall when some of the trees shed their leaves, leaving the branches bare and easier to inspect. If you spot signs of danger, get the branches removed. Preparing your garden in fall can help you have a better garden in spring and summer. Many of the fall garden chores will ensure that the soil is healthy and ready for spring planting. By doing this you will be able to plant your spring crops after minimal soil preparation, getting a head start on your fantastic and enlightening garden.
Read More
The porch While most people spend plenty of time outdoors in the warmer months, they feel compelled to head indoors during fall. However, with a few changes in décor and furniture you can make your porch, deck, balcony, or other outdoor spaces welcoming and usable in fall as well. All it needs is a few touches and some additions and changes to convert your airy summer porch into a warm and welcoming fall porch.

Fall Porch Decorating Ideas

To make your porch more welcoming as the weather cools, add plenty of warm colors to your porch. You can do this by covering benches and chairs with warm throws in orange, yellow, and red as well as place pumpkins, dried flowers, wreathes, and apples in bowls and other arrangements to provide color to the space. Fall-Porch-Decorating-IdeasPlace pumpkins in wicker baskets, apples in glass bowls, and hang wreathes on the walls to enhance the porch and make it glow with fall colors. You can also cover pillars with straw or other colorful natural materials. Your porch will be more welcoming in fall if you can add more depth to it. Place wickerwork chairs and recycled wooded furniture covered with cushions in weather proof material to provide a cozy appearance to the porch. While summer décor should be light and airy, fall décor and furniture should have deep browns and natural materials. Use dried flower arrangements, throws, and rugs as well as arrangements of pumpkins and other gourds to add texture to the porch. This will help make the place inviting even as you provide other comforts to the space.

Porch Lights and Additional Lighting

As the days become shorter, you will need additional lighting to make the porch usable for longer. This can be done by using camping lanterns placed strategically around the porch. These lanterns will provide sufficient light while enhancing the rustic appeal of your décor and create the right ambience for fall. Depending on the décor you are using you can also use scented candles or even string fairy lights on one wall to brighten up the porch and make it attractive.

Porch Ideas To Keep Warm

Fall evenings can be cool, especially in the northern parts of the country. While throws and rugs can be used to provide a warm and comfortable feeling, a portable fireplace, a fire pit, or even an outdoor built in fire place can be a great way to enhance your porch in fall. Porch-Ideas-To-Keep-Warm If you are building an outdoor fireplace, you can do so on against the wall of the house. A stone fireplace can be used during fall to keep you warm and can be filled with a basket of flowers in spring and summer to enhance the décor. If you are not comfortable using a fireplace or the porch does not provide the space for this, you can install a space heater to keep you, your family, and guests warm and comfortable during the cool fall evenings. Fall breezes can be cold and quickly chill people trying to spend time outdoors. To prevent this install screens and other wind breaks around the seating area. Even a simple tarp covering can help make your porch warmer and more enjoyable during fall. Keeping movable screens and tarps around will help you quickly covert your summer porch for fall, ensuring that you can spend time outdoors even as the weather cools.

Outdoor Porch Entertainment

Outdoor-Porch-EntertainmentEntertaining outdoors can be a joy when you prepare properly. While everybody enjoys a cool drink in summer, fall evenings call for warm drinks and foods. Stock up on hot cocoa and cookies that can be warmed up quickly. Keeping an electric kettle close to the porch or a food warmer to store pies and other baked goods will enable you to serve hot drinks and warm food to your family and guests on fall evenings. Freshly heated apple pie and similar foods will be welcome on cool evenings as you enjoy time amidst nature. While spending time outdoors will help you appreciate the sounds of nature, you can also fix a music system close to the porch. This will enable you to play soft music of your choice as you enjoy the mellowness that fall brings to nature.

Keep Insect Repellants Handy

Many insects mature during fall and can still be found outdoors. To keep them at bay, keep insect repellants handy. You can light incense sticks around the porch or spray repellants on yourself to keep the pests away.

Stock up on Fall Themed Plates and Cups

To enhance the mood of fall evenings, stock up on fall themed plates, cups, and napkins. This will add to the ambience of gatherings and set the mood for fall festivities such as Halloween, Thanksgiving, and so on. By preparing your porch for the transition to fall, you will be able to prolong its use during the cooler months.
Read More
Outdoor Lighting Options Enjoying the outdoors when the weather is cooperative is a marvelous way to maximize the use of the garden. While most people spend warm summer evenings in their garden, you can extend the time spent outdoors by adding appropriate lighting. Garden lights can be decorative in much the same manner as indoor lights and can add to the ambience and mood. And your quality of life!

Outdoor Candle Lanterns

You can use scented or decorative garden candles to make your garden attractive in the nights. Candles scented with citronella oil will keep insects at bay while adding an enticing perfume to the garden. As the outdoors can be breezy, you need to place the candles in special glass holders that can keep out the breeze. Colored glass lanterns that can be hung from hooks or branches can convert your garden into a fairyland at night. The dim light of the candles can provide a soothing background for family get-togethers or an evening with friends. Choose from frosted glass, colored, or other lanterns such as miner’s lantern depending on the overall effect you aim to create. Rope lanterns as well as lanterns made of steel or metal are also a fantastic way to enhance the ambience of the garden for a night time party and they look great even during the day. Outdoor-Candle-Lanterns Candles provide an ideal combination of safety and beauty in the garden. The flickering flames add an element of drama and motion to the garden, making it come alive. The play of light and shadows can enhance the beauty of a garden. Candle flames are also easy to contain, making them a safe option, especially if your garden will be used by children as well, even in the night.

Battery-Operated Lights

Battery operated lights can be placed in strategic places in the garden, especially in those areas where it is difficult to get wiring for electricity operated lights. This is so if you have a large garden and special arbors or areas that need to be lighted only occasionally. Instead of investing in expensive wiring, you can stock up on a few battery operated lights and enjoy the outdoors even at night.

Outdoor String Lights

While candles, especially aromatic candles, can create a special atmosphere in the garden, you need to also add electric lights to the open areas. These will provide better light for activities such as reading, dining, or even cooking. Outdoor String Lights

Outdoor Light Fixtures

Just as you have different lights for different purposes at home, you need to have different intensity lights for various activities in the garden. The choice of lights depends on the purposes you have planned for your garden. If you will be cooking outdoors, you need bright task lighting over your barbecue, grill, or outdoor kitchen counter and stove. Similarly, you might want to install hanging lights over the tables set around the cooking area, to provide islands of light for the diners. Pathways will need to be lighted with sufficient light that is not too bright to ensure that people can navigate the garden safely while still keeping the garden cool and pleasant.

Landscape Lighting

Landscape LightingApart from functional lights, the garden should also have decorative lights that can add to the beauty of the plants and water features at night. These can be colored lights that can highlight certain trees, plants, and shrubs, as well as the water features and other parts of the garden. A fountain that includes colored lights will make an interesting attraction in a garden and can be switched on when entertaining. Similarly, if you have a waterfall or pool, these too can be decorated with colored lights. If your garden includes a swimming pool, you will be able to host pool side parties or relax by the pool with your family even at night if you get lights installed in the pool and by the pool side. Installing lights in the pool and close to it is a specialized job that should be undertaken by an electrician who has the certification to do so and can follow local codes.

Patio and Deck Lights

Apart from lighting the garden, you can also make the outdoors more usable at night by providing a mix of lighting options for the patio and deck. Include lights of varying intensities or install lights with a dimmer switch to provide yourselves with the option for mood based lighting. The only limitation is your imagination.
Read More
Landscaping-Ideas-for-Small-Backyards Is your small backyard causing you planning problems? Not sure how to make the most of the space? If you have a small backyard, you may be wondering how to design your garden and still have enough space for kids and friends. You needn’t worry. There are many ways to enjoy nature and the great outdoors, even if you have a small backyard. With well-arranged flowers, decorative pottery, and small shaded areas for entertaining, you can transform your small, cluttered yard into a beautiful oasis.

Small Backyard Plans for Simple Living

People today are leading busy lives. This hardly leaves time for things we enjoy. So people are choosing an avenue towards simple living. Taking this concept a little further, and set the stage for simple planting. This basically means not cluttering up your small backyard. Instead, space out the tree and shrubs in such a way that there is still sufficient space to move around and create a haven that becomes your escape for privacy, quiet, and tranquility when you want it. Moreover, when deciding your small backyard, be sure to pay attention to the type of shrubs, trees, and flowers you want in your garden. Take into account, their growth pattern, as it could crowd your backyard and make it appear even smaller than what it is. Remember the maxim – less is more in this case.

Small Backyard Landscaping

Before you start landscaping the backyard, check it out from all angles. Write down the features you want to get rid of and the ones you want to showcase. Here, you also need to take into consideration the architecture of your home, so that you plant shrubs and flowers that complement the style and design. Small-Backyard-Landscaping Remember a small backyard requires more formal gardening than a sprawling one, as you are dealing with limited space. This lets you maximize the usage of space and still have sufficient space for entertaining and relaxing. You can go with a classic look, and fence your small backyard, so that you can get the privacy you need and also use the area along the fence to create flowerbeds for vibrant flowering plants.

Small Yard Ideas and Themes

There are many themes that are ideal for small backyards and you can use them to recreate a garden to your vision. Here are some themes to get your creative juices going:

Tropical Getaway

Use the space along the fence to plant bananas and heliconias. Along the wall of the main house, erect a trellis and let vines climb up. Get a small water fountain for the side to add a water element. The musical sound of the water will relax you and ease away the rigors of modern life.

Relaxing Backyard

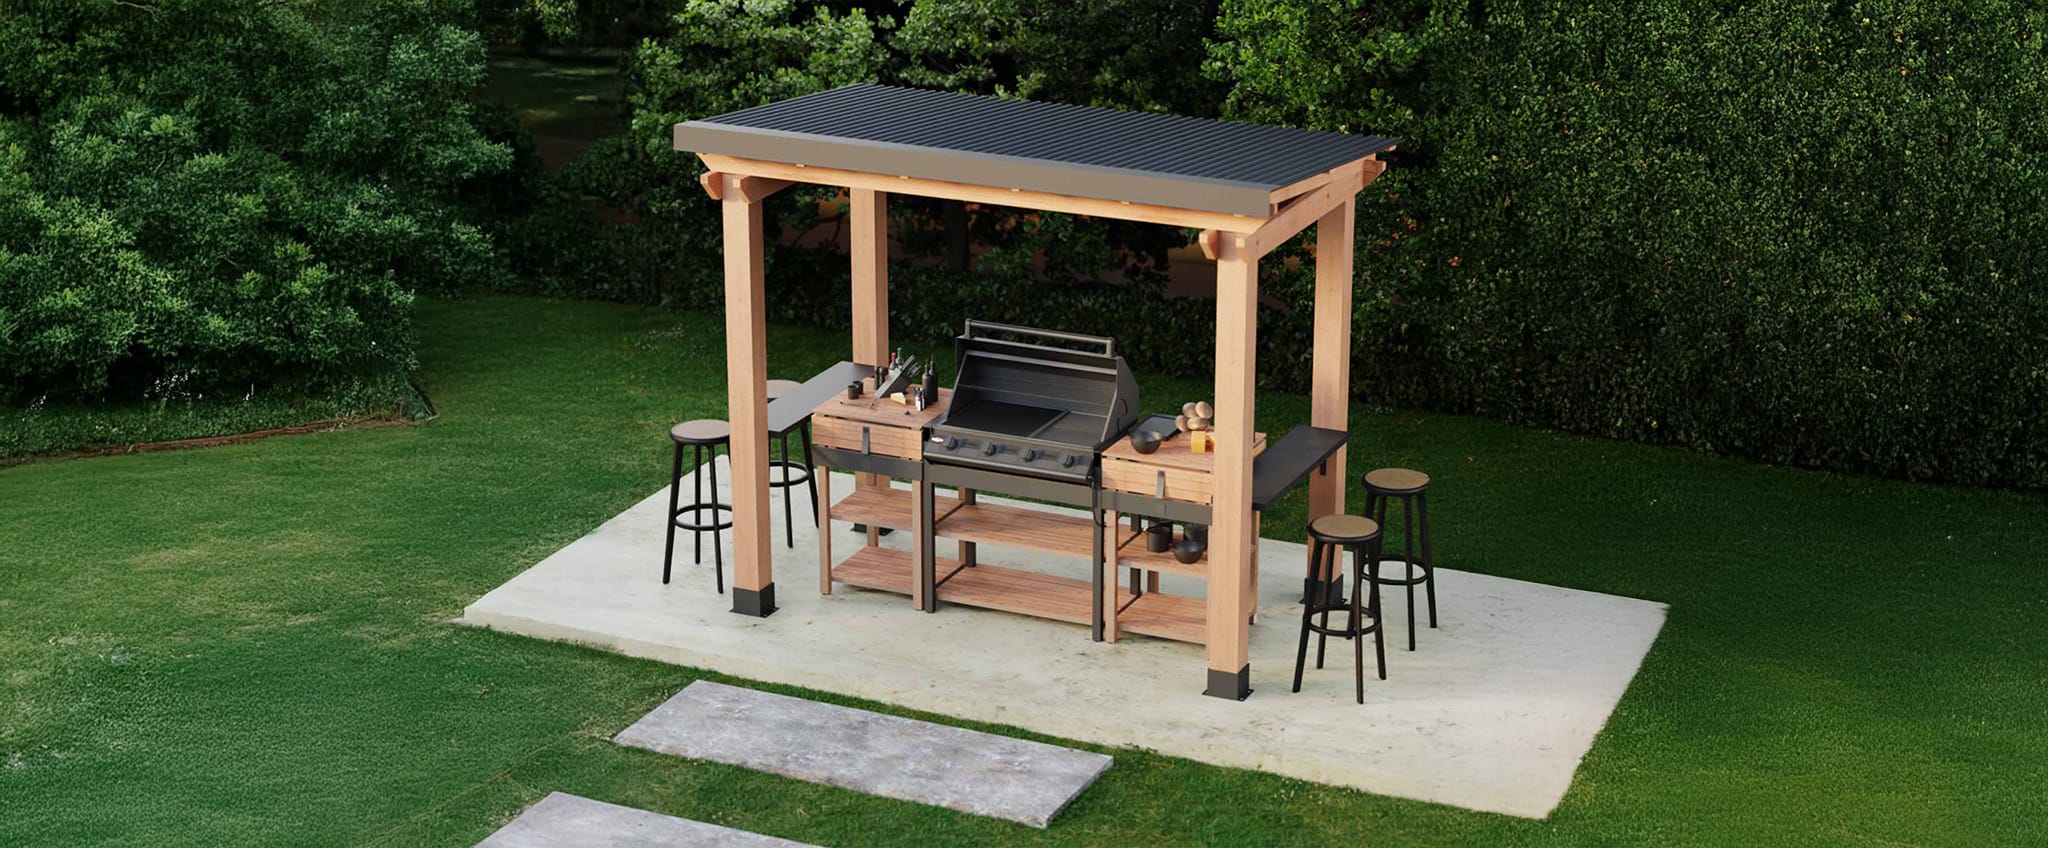
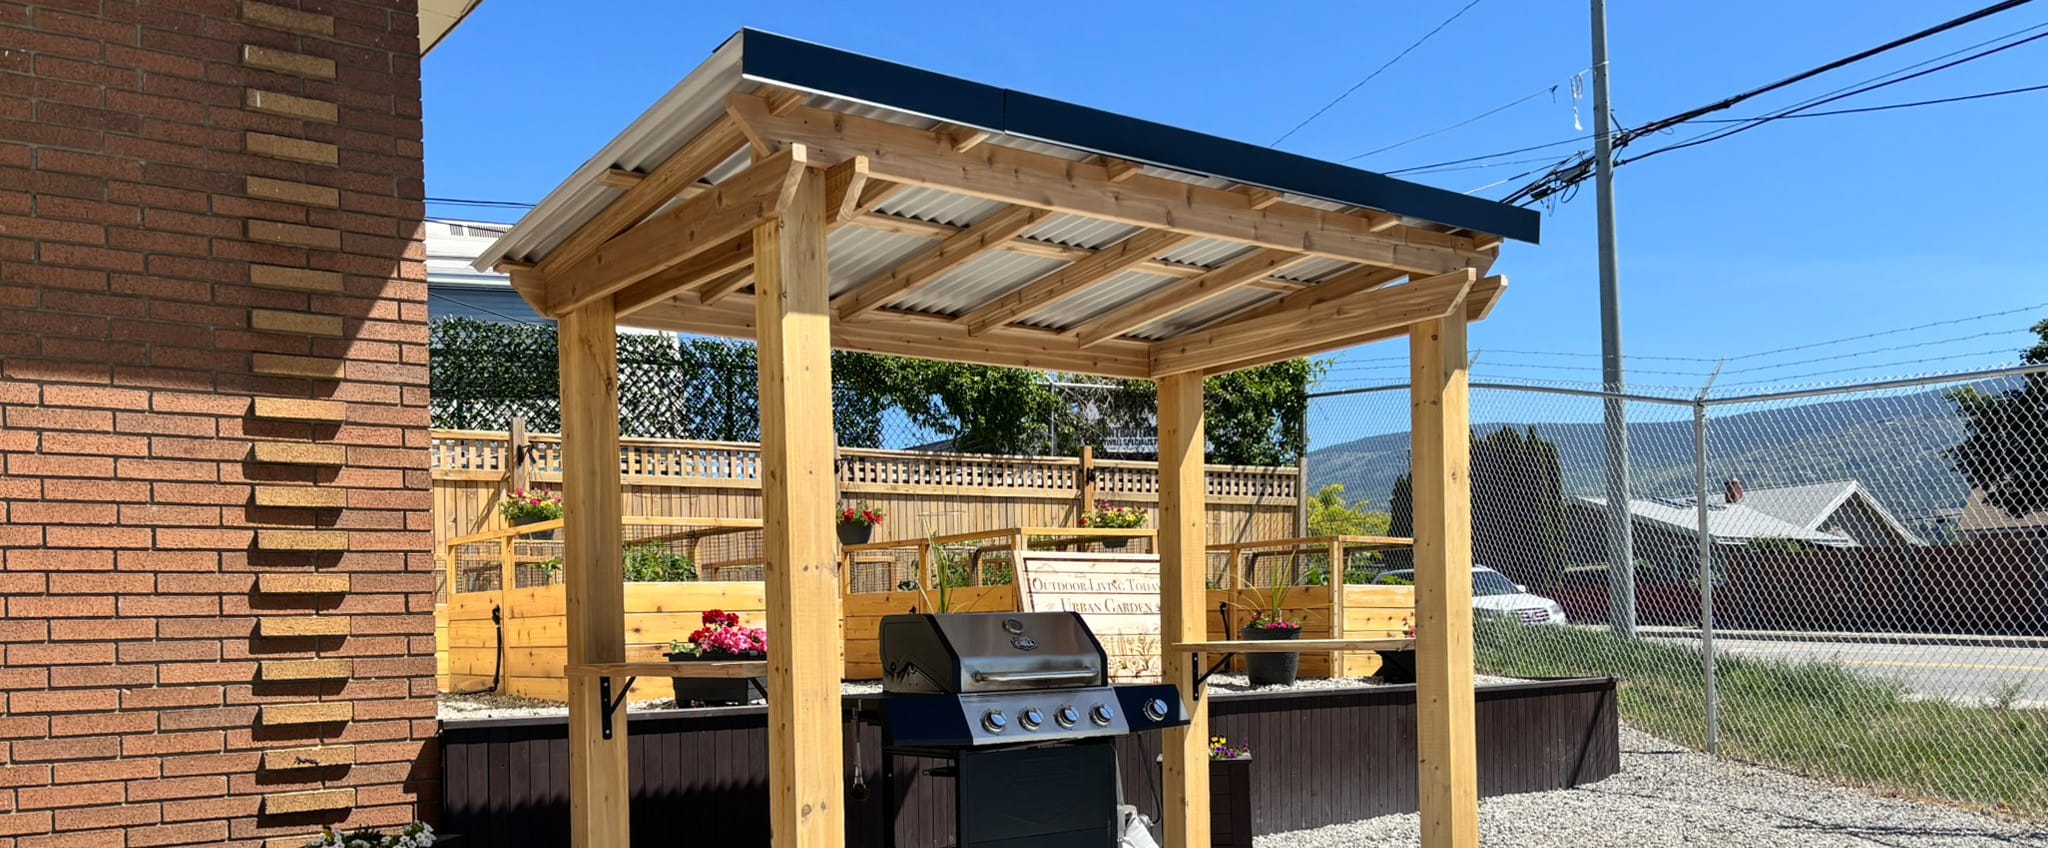
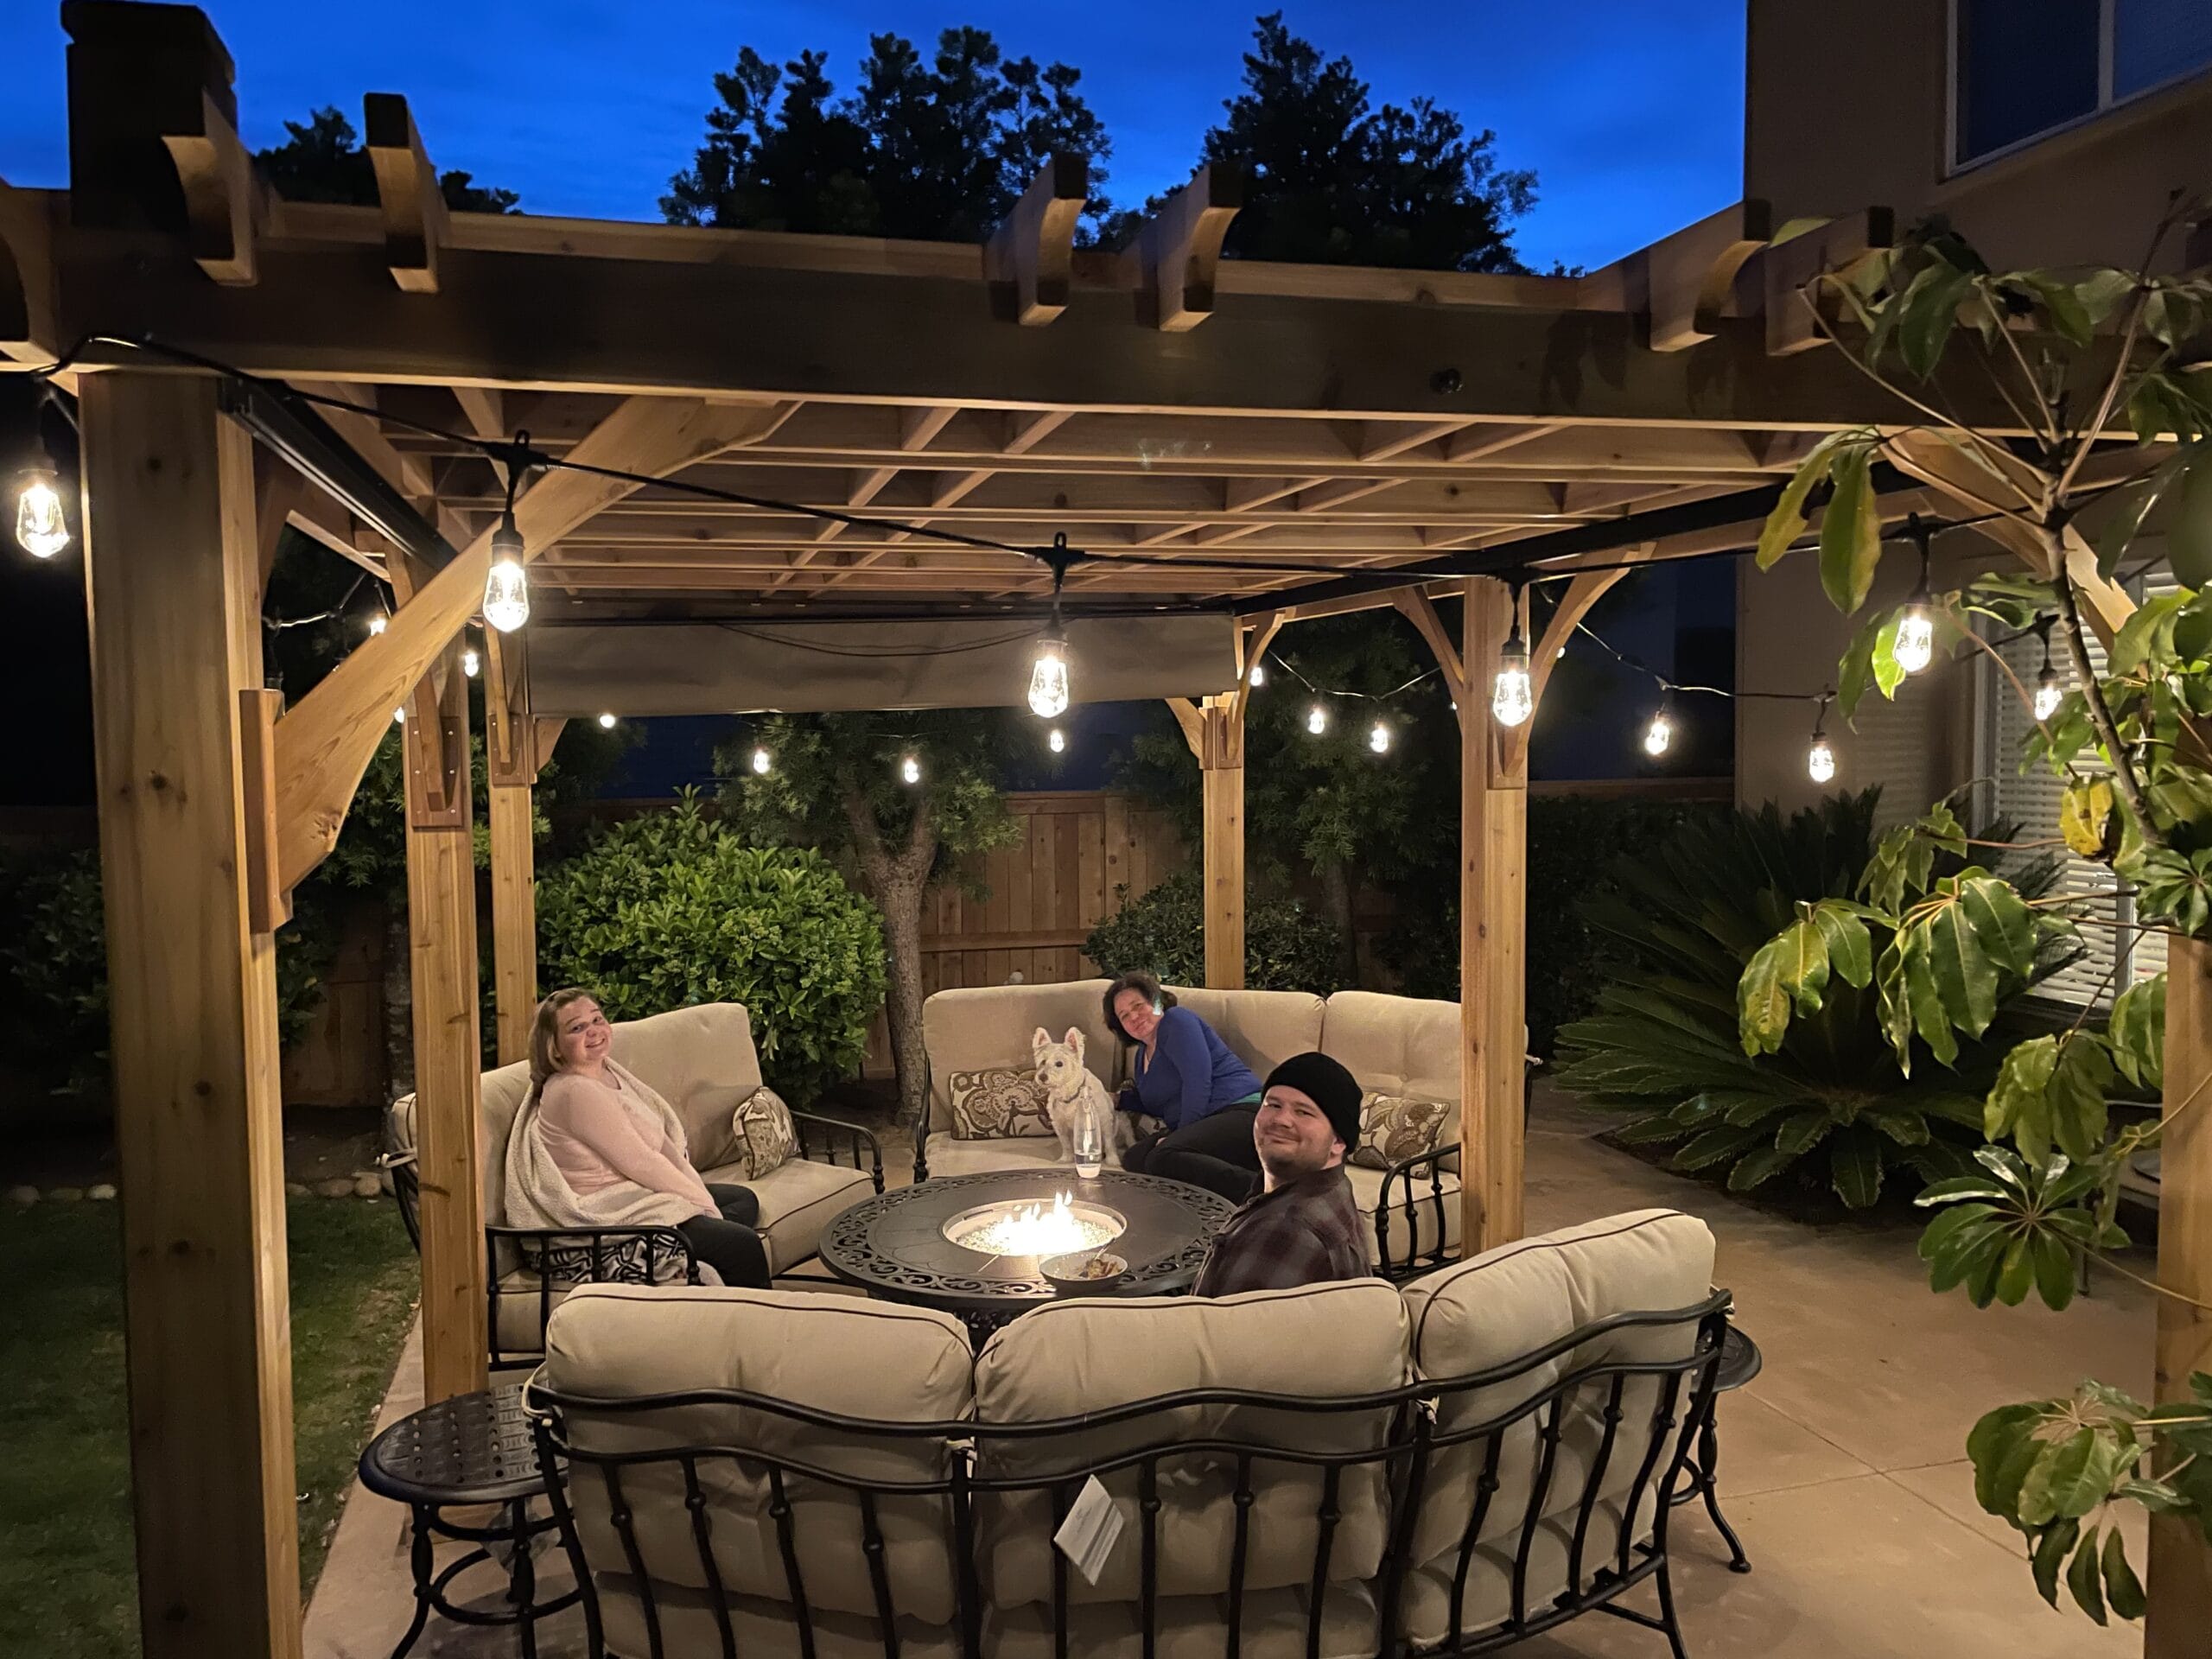
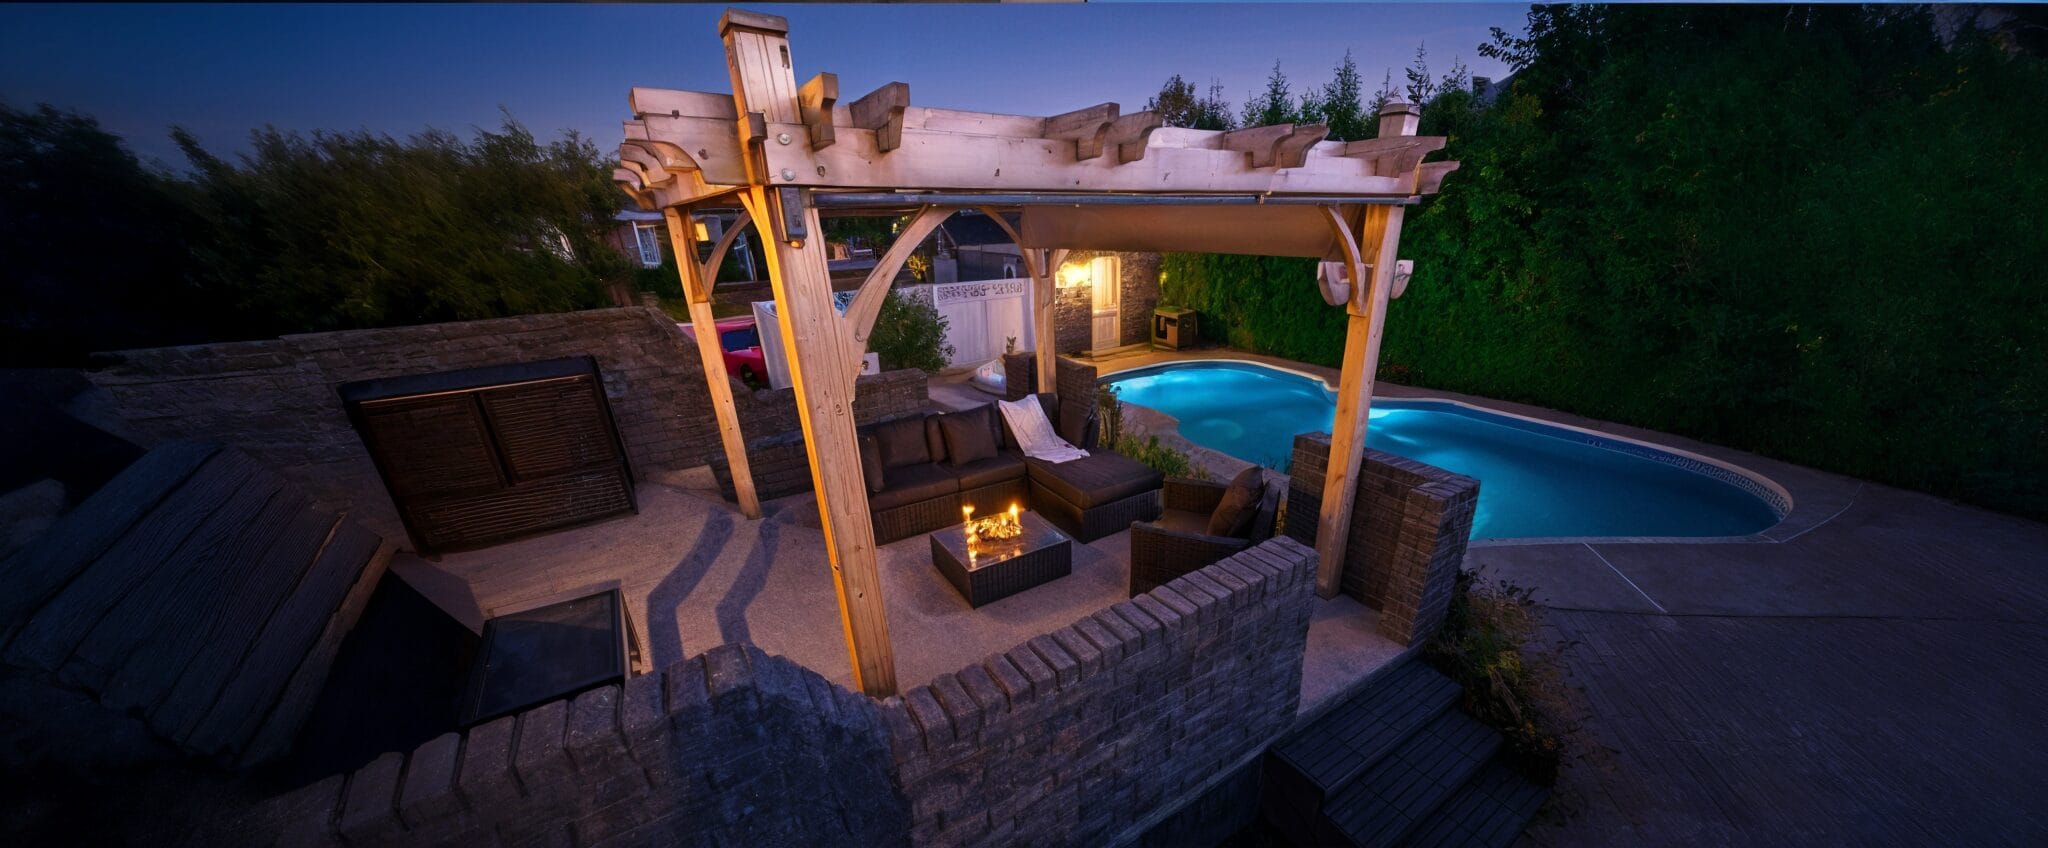
Even if you have a small backyard, you can still install a pergola. Get a customized DIY pergola kit that comes with precut parts and all the hardware and instructions you require to set it up. This is perfect for homes that want to have a place for entertaining without using up precious space to installing an outdoor patio. Select a customized DIY pergola kit that uses Western Red Cedar, as this wood is durable, gorgeous to look at, and naturally repels pests. Once the pergola is up, you can decorate it with flowering pots, have a portable barbecue and a few cushions and pillows where you can sit and relax. You can paint the pots with glow-in-the-dark paint and get the illumination you seek. Alternatively, place many candle stands and use candles to create a romantic ambience.

Romantic Backyard

Install a hot tub under a Red Cedar gazebo. Make sure you have a privacy fence around the backyard. Plant hibiscus, passion flower, and other sweet-smelling flowers around the gazebo for that romantic feel. Use tiki torches to light up the backyard in the evenings. You don’t have to install the gazebo from scratch. Just invest in a DIY gazebo kit designed for hot tubs and you are done. It will take you just a couple of hours with a helper to get the gazebo up and over your hot tub.

Family-Friendly Backyard

If you have kids and an active family life, such as barbecues, you should choose a pergola with a retractable canopy. This way, you can enjoy your garden, even when the weather is not your best friend. Use this space to add a portable barbecue, music system, and a few strategically placed outdoor furniture pieces to ensure adequate seating. Focus on planting perennials in flowerbeds to enjoy vibrant colors and a relaxing fragrance. A small backyard actually gives you many opportunities to showcase your taste and personality. It hardly takes a couple of weekends to get the landscaping done and you will be able to enjoy your handiwork for years to come. Use these tips to make your small backyard into a haven where you can create outstanding memories and increase the value of your property simultaneously.
Read More
cedar-gazebo-couple-relaxing Like to have more living space? How about getting that space and enhancing the look and feel of your garden by installing a gazebo? Besides being aesthetically pleasing and creating a focal point in the garden, a gazebo creates a shaded place in your garden that can be used for entertaining, leisure activities, relaxation, and taking in the lush beauty of your garden. It helps to expand your living space where you can enjoy the different aspects of outdoor living.

What is a Gazebo?

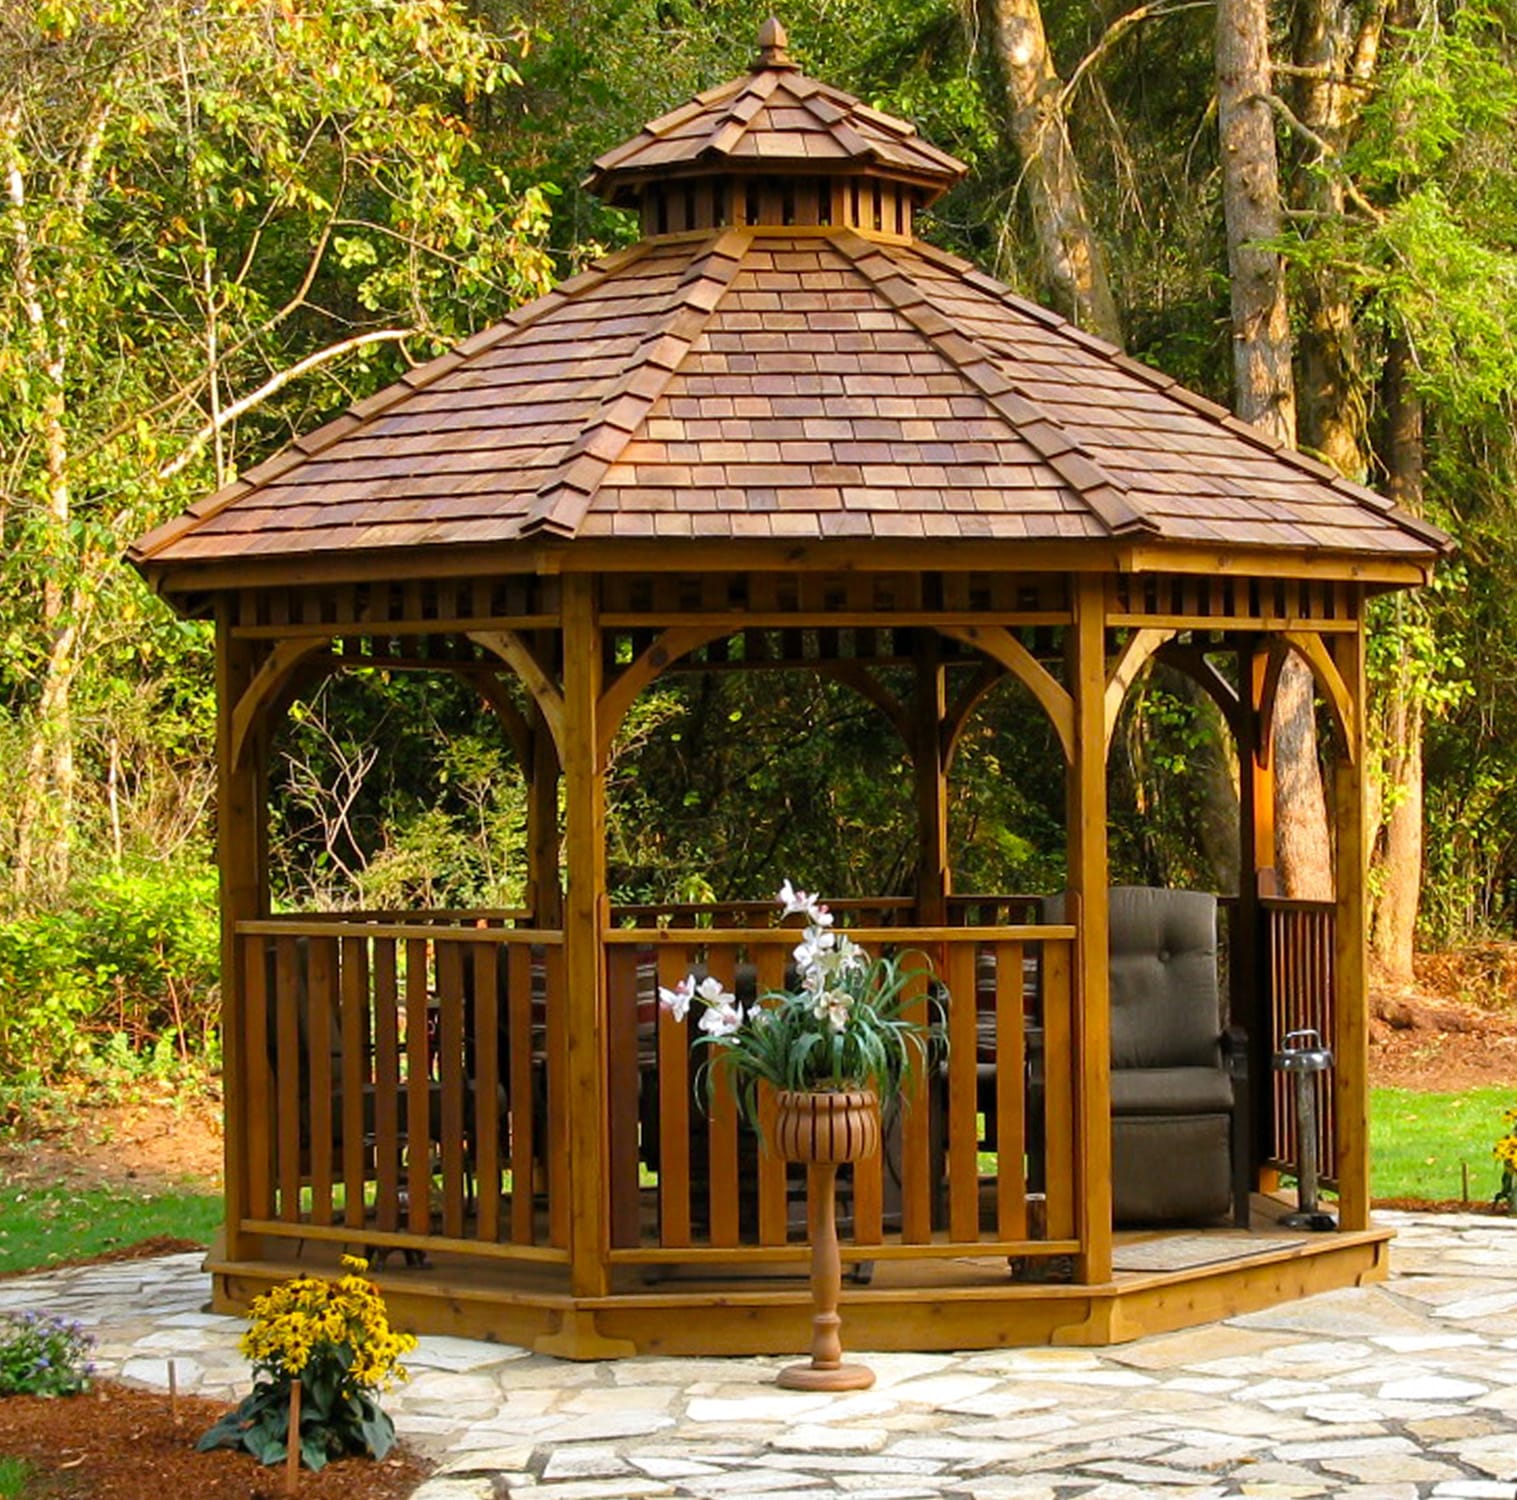
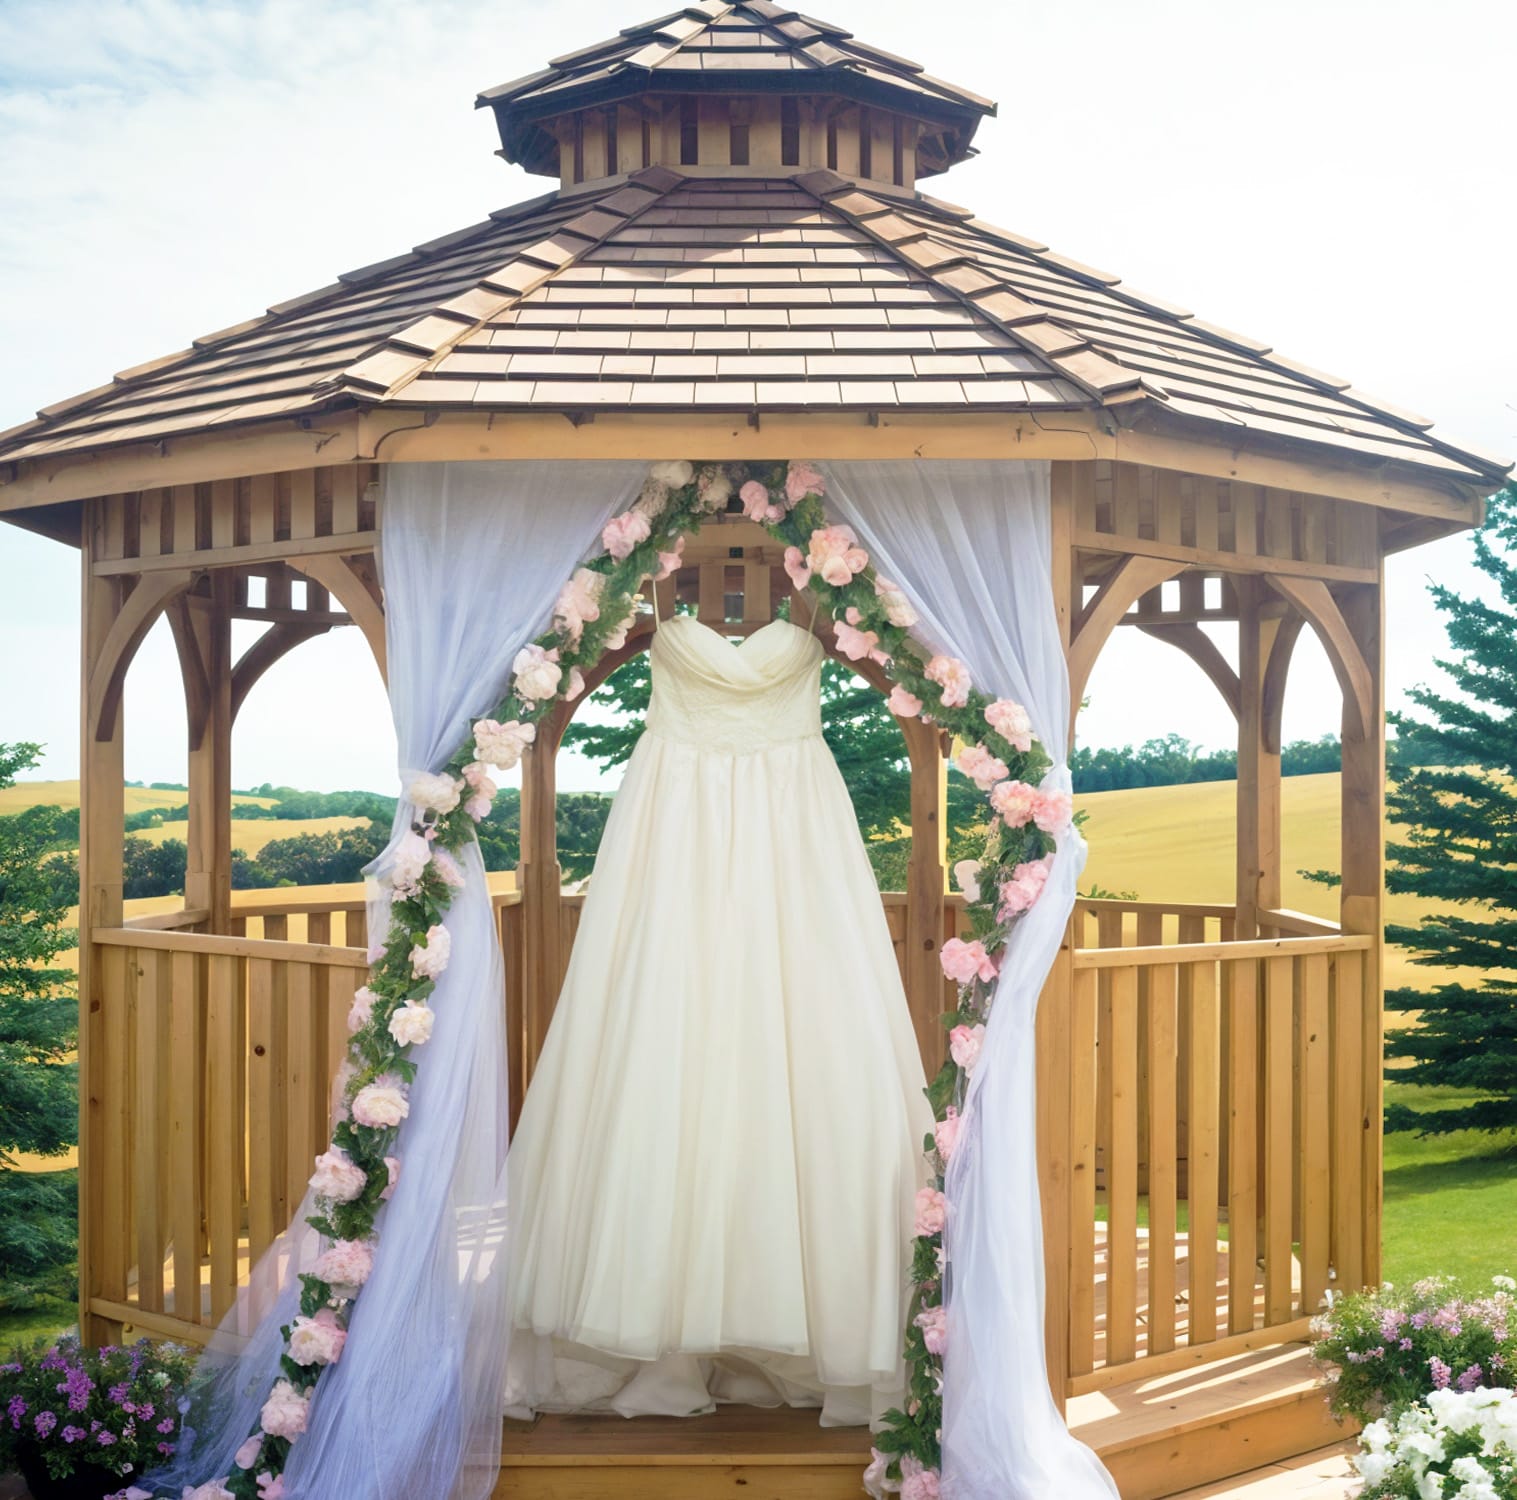
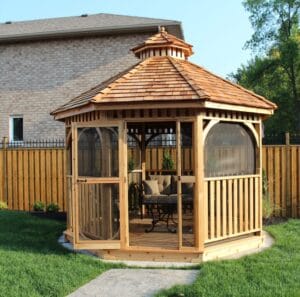
A gazebo is a free-standing structure in your garden with open sides and a roof. It can be a rectangle, square, or round in shape. The typical formation of a gazebo is either eight-sided or six-sided. The roof is supported by posts, but you also can have a gazebo with low walls between the posts that can be used to fix screens, windows, and/or doors. If you are adding walls, you also can fix benches to them to have a permanent seating area. Then there are enclosed gazebos, which are referred to as all-season gazebos, as they can be used throughout the year, even in winter when the weather outside is not conducive to outdoor living.

4 Ways to Make the Most of Your Gazebo

The use of a gazebo is limited by your imagination. Gazebos can be used in many different ways and each way will help maximize your living space and add value to your life.

Relaxation

It is an amazing place to rest and relax. Depending how big your gazebo is, you can add tables, cushioned chairs, and even recliners to enjoy the lovely warmth of the summer sun and absorb the beautiful greenery around. A gazebo is the perfect place to get some me-time with your favorite book and a glass of chilled lemonade.

Entertaining

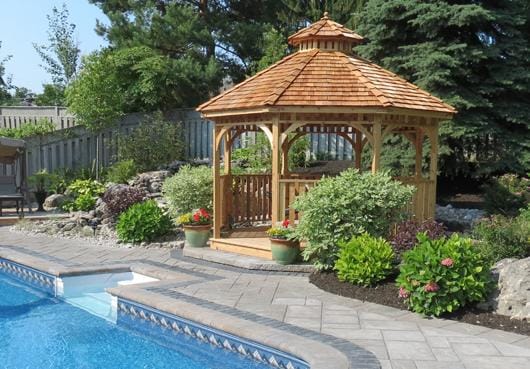
You can use your gazebo to entertain guests. Whether you are looking to host a birthday party or summer barbecue, it is a fantastic place to create fun memories with guests and loved ones. You can install your gazebo near the pool, so that you have a shaded refuge to sit back and keep an eye on the kids while talking to friends and family.

Fitness

You may have never thought of it, but your gazebo can function as a place to perform yoga and meditation. Surrounded by beautiful plants and flowers, you will be able to do the yoga or meditation without getting disturbed by the sounds and noises that prevail in most homes.

Hot Tub Enclosure

Today, many people want to enjoy soaking in a hot tub to de-stress themselves and soothe aching and tired muscles. You can create an enclosure for your hot tub by erecting a gazebo. It will offer you privacy and also protect you and the hot tub from the elements. hot-tub-enclosure-gazebo As you can see there are many uses of a gazebo. You can get your easel and paints out to use it to paint or you can even pot plants in the shade if you want to escape the scorching sun without neglecting your garden. The use of a gazebo is unlimited, so you can do just about anything you want.

What Should Your Gazebo Be Made Of

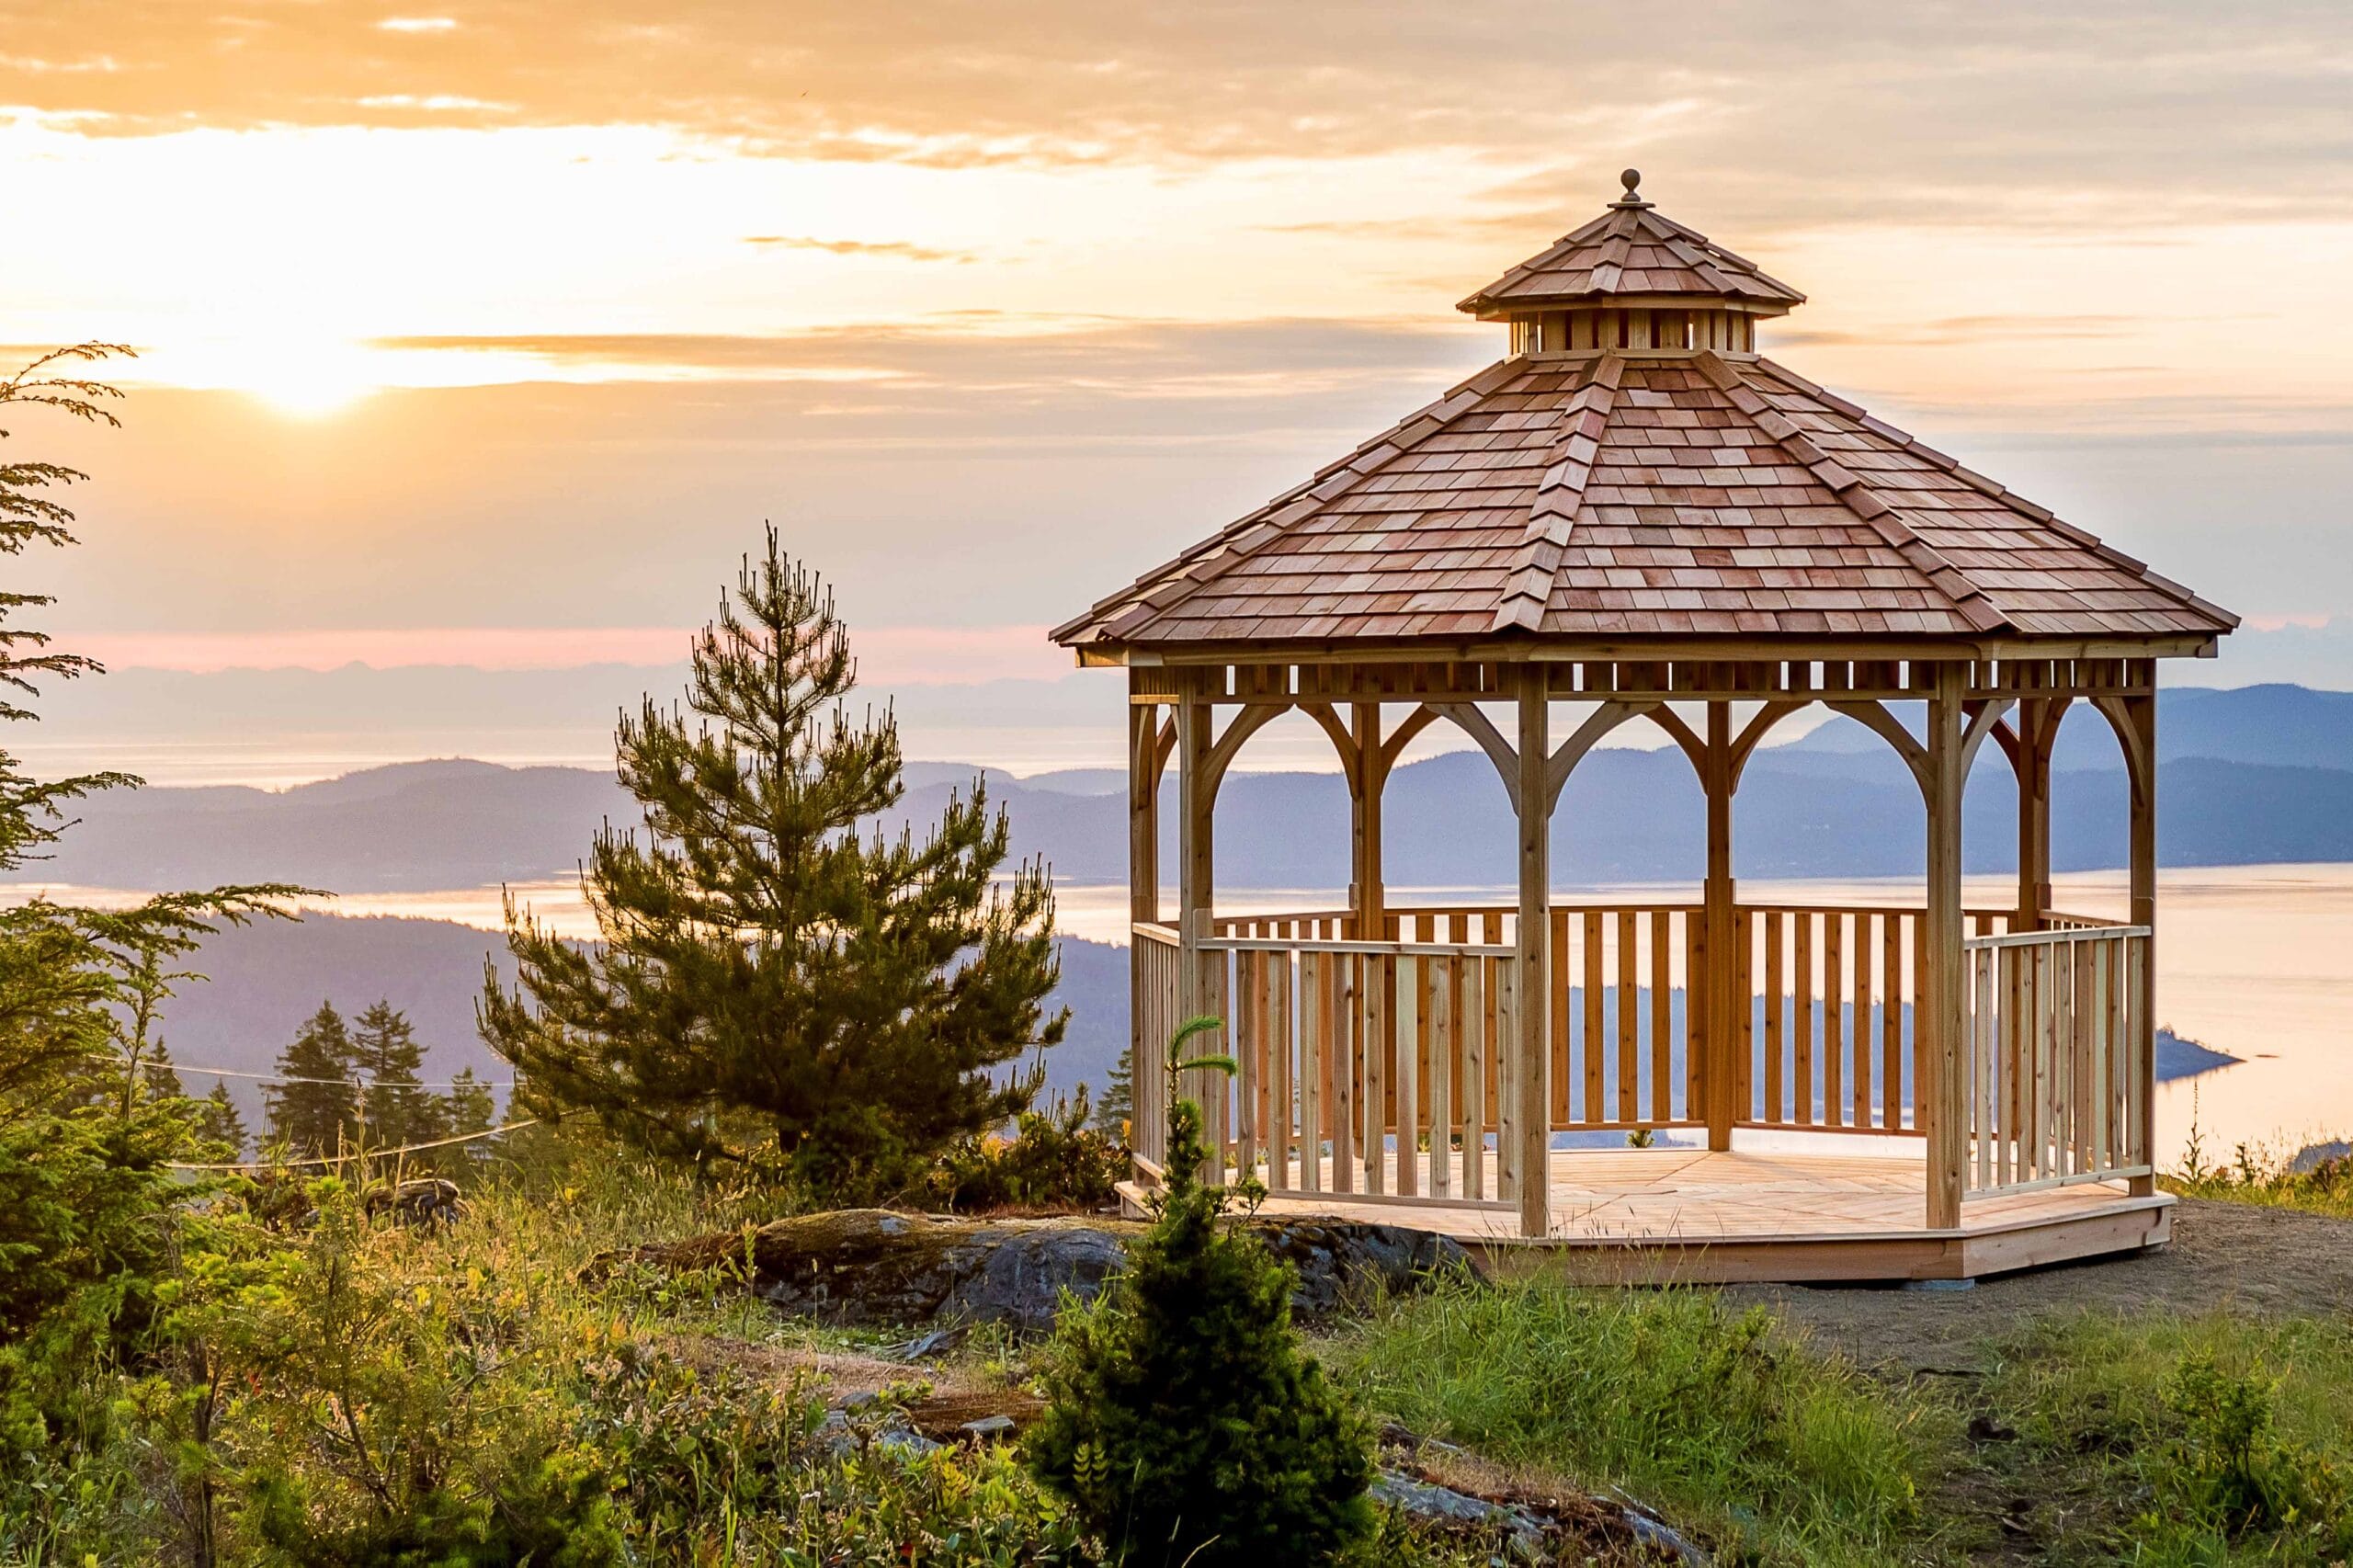
western-red-cedar-gazebosWhile you can get gazebos made from metal, stone, and vinyl, it is best to go with wood. Wood has its own natural charm and fits seamlessly into a garden without looking out of place. The most preferred wood is cedar. It is a soft wood and light in weight. Hence, making it easy to work with it to erect the gazebo. However, the most attractive features of cedar are that it is naturally resistant to decay and rot, making it the perfect choice for this outstanding outdoor feature. Furthermore, cedar has a natural scent that keeps other pests at bay and the scent is extremely calming and soothing. So when you use your gazebo, you will immediately feel relaxed and rejuvenated. Make sure you flip the switch for Western Red Cedar, which is renowned for its durability, beautiful appearance, and longevity. The Western Red Cedar variety is more resistant to decay compared to Eastern Red Cedar.

How To Purchase Your Own Gazebo

You can have your own gazebo in three different ways. One would be to buy the wood yourself and build the gazebo from scratch. However, this would require you to have outstanding carpentry skills and access to a gazebo plan that you can follow. If you don’t have the necessary carpentry skills, you may want to use the services of a professional. While this will allow you to design and build a gazebo to your precise specifications, it will cost you a little more. The last and the most preferred way to have a gazebo in your garden is to go with a high quality gazebo kit. Such a kit will be in the form of either a panelized gazebo kit or precut gazebo kit. The kit will have the necessary hardware and easy-to-follow instructions so that you can assemble your gazebo without too much stress. What many people don’t realize is that gazebo kits come with a huge variety and you can choose a gazebo design to suit your home’s architecture according to your particular lifestyle. If your garden doesn’t have a gazebo, you are missing out on a wonderful opportunity to create a focal point and a unique place to rest, relax, and enjoy. Go ahead, get a gazebo kit today and see what a difference it can make to your home, garden, and life. You won’t regret it!
Read More
How to keep a lawn fresh and green Lawns are part of your social heritage; and most of you have probably inherited lawn-care ideas and how to’s from your predecessors, or your knowledgeable family members. You rarely let your gardener or lawn caretaker give you guidance on how to take care of your lawn. Interestingly enough—back in the 50’s, chemical pesticides were generously used—so much so that the “legacy of overusing chemicals in lawns” led to legislation. In the United States, though a large number of chemical pesticides are still in use,  American citizens are gradually becoming concerned about the negative impact of chemicals on their environmental eco-system and are learning the keep their lawns fresh and green using greener methods. Good lawn-care practice constitutes regular mowing, watering, feeding, and fertilizing. If the soil content is carefully monitored, then automatically the health of your lawn will improve and naturally resist weeds and pests. You will rarely come across pest or weed problems in a well-soiled, watered, fertilized, or properly mowed lawn. Watering  During the summer, water the lawn more frequently than during the winter. This is obvious but there is a reason for stating this simple fact. Overwatering can easily lead to rotting roots, so be careful about how frequently you water the lawn. A little under-watering can lead to temporary browning of grass during the summer months, but the grass will quickly recover once it starts raining again. If you have just planted new grass, then you may have to water the lawn on a regular basis such as once a week. A prudent way to keep the grass moist at all times is to use a water sprinkler a few times a week or set up a water system which will require a landscaper to complete this project. It is up to you how much you want to invest in your lawn. Everyone is in their own financial situation. Aerating Aerate when the soil is moist, usually after a rain or after you have watered the lawn. You will usually aerate when the grass is growing. Aerating enables loosening of the soil and, and prevents thatch buildup. You should never aerate when the soil is dry and hard, because the aerators will not penetrate the soil layers properly. You can aerate any time between spring and autumn. Feeding or fertilizing Feeding the soil is directly related to the soil condition in your lawn. You can incorporate the help of a professional to determine how much soil feed or fertilizer you need for the lawn at any point of time. Also, depending on your geographical location, certain types of fertilizers will be more effective, which a professional can help you select from a lawn care business. Additionally, if you leave the grass clippings on the soil on a schedule, then that will help to enrich the nutrients of the soil. You will also have to use a fertilizer—minimally once a year or more when necessary. Typically, summer and spring soil feeds are very high in nitrogen for growth of the grass. Remember to manually water your lawn within three days’ of feeding if it does not rain. Mowing Throughout the year except winter, you can mow the lawn whenever the grass grows high. Depending on the type of grass you have planted, and depending on the soil and weather condition, the grass on your lawn will grow at its own pace. You have to keep an eye on its growth and come out with a regimen for lawn mowing, based on the needs of your lawn. During the spring, you may have to mow more frequently since this is when plant life springs upward and outward. While mowing, use some container to collect all the clippings for composting. From summer to autumn, the growth rate of the grass varies widely, so the lawn mowing schedule will have to be adjusted accordingly. Once a week is usually pretty good. Weeding Options Generally, you will need to have the soil’s pH checked to determine when to start weeding. The normal rule of thumb is the more acidic the soil, the greater the chance of weed growth. You can use any standard weed killer product to maintain your lawn from the summer to autumn. In the winter, you can deploy some calcium nutrients to check the weed growth. You can also engage a gardener to manually uproot weed or fungus during the winter months. You could also just hire a neighborhood kid to complete some of these tasks. Seasonal care In the summer, increase your mowing frequency to keep the grass looking neatly trimmed. Very hot and dry weather can affect the growth and health of the grass. In autumn, the rate of growth will gradually decrease. You may need to mow only once a fortnight (every other week) during this time. Better if you trim the edges to keep the lawn looking properly trimmed. In the winter, do not feed the grass since that may lead to premature growth and destruction of the lawn in severe cold weather. In the spring, the grass will automatically start growing again. Allow the lawn to recover after the winter, and then begin to employ a trimmer or a lawn mower about once or twice in a two week span.
Read More
Backyard DIY projects for the backyard entertainer If you cannot afford that dream deck or grand cedar gazebo or in-ground pool, there are still ways to create a backyard to keep you and your guests entertained. Hang solar lamps from tree branches Remove the light bulbs from your old chandelier with cheap solar lights and hang them from a tree branch in the backyard. You will have spectacular outdoor lighting without the need for having to run power to the lights. Stuff suet feeder with yarn You can place scraps of yarn in a suet feeder and birds will use them to make their nests. For this you will need a cheap bird suet feeder and scrap yarn cut into lengths of 4-8 inches. Stuff the scraps in the suet feeder and you have created an ideal nesting place for all the birds in your area. People have been doing this for years while you can imagine the joy of seeing a strand of yarn meticulously woven into a nest. Wind chime from old keys and acrylic paint For this you would need old keys, drift wood or stick, string or fishing line and acrylic paint. Paint the keys and string. Tie a string at either ends of the stick to hang it with. Tie a string to the painted keys and the other end of this string should help the key to remain suspended from the stick. Do it for all the sticks.  All keys should be closely suspended from the stick so that they chime when the wind blows. Each time the wind blows you are guaranteed to hear different soothing sounds. Splash pad made out of tarp While the sun continues to beat down with intensity during the summer, it is wise to find ways to stay outdoors rather than be confined to indoors. It is usual to turn on the sprinkler and let the boys cool down and have some fun, but you would also want your girls to enjoy it. Try using a clean, unused tarp from the garage for your slip and slide. Spread it out in the backyard, put a hop-scotch sprinkler mat and you have a large area for the kids to hop, skip and splash around in. The water remains on the tarp and becomes a sort of slip n slide for the children while you get to sit on the tarp with and stay cool with all that water under your feet. Pool noodles for kickball croquet Kids are so fidgety, you better find something to keep them entertained when they are at home to avoid them getting into trouble. Pool noodles could be just what you need. Cut pool noodles into half down the middle so that each pool noodle is sufficient to make two arches. These can be held in place on the lawn using garden stakes. Just collect a few kick balls and kick it through the course in croquet fashion. The first one to knock or transition their ball to the finish wins. Backyard movie theatre For this you will need a DVD player, a projector, speakers, a large surface to project on, and of course, popcorn. You can have the theatre in the backyard if you have access to power and sufficient physical space. Usually, you will want enough room to place the screen and provide enough space to stage a seating area. Also bear in mind that you need space for things other than people. With a projector, speakers, and DVD player, it is certain that you will need to find room for tables and other such knick-knacks. A worthwhile tip would be to free up a surge projector since the audio/video gear will require lot of power. You can always run the surge projector using an extension cord. You can bury this cord or cover it with white plastic chord piping. You may want to have a fly swatter out there too, perhaps more than one of them. Also, a mosquito killer or some poison could help you enjoy the times watching sports and so on outside as well. Backyard scrabble How does a five foot square scrabble board in your very own backyard sound? This can be made with a wooden frame and concrete poured into 3¾-inch squares separated by ¼-inch joints. After the concrete has been cured for a month, you can start painting the squares. Then make 100 3¼-inch square letter tiles from baseboard trim. Buy pre-cut, adhesive-backed vinyl letters and numbers at a sign shop, paste them to the tiles and seal each one with spray lacquer. Preserved in a canvas bag, the lightweight letters fit on metal trays which can be purchased from a metal artist. On summer evenings, games go on late into the night and you will be surprised to find better and newer words strike you in the outdoors rather than the indoors. Human perception based on a person’s surroundings is fascinating.
Read More
How to Maximize your Backyard Space for Play Research states that children love to play outdoors and they should play outdoors as well when they can, and preferably, in natural surroundings. Children also show a marked fondness for natural creations like flowers, plants, animals, or insects when selecting play mates! Thus, natural spaces like back yards have tremendous potential for offering a suitable playground for children. Researchers White and Stoeklin believe that given an opportunity, children would design play grounds in open, outdoor spaces—richly decorated with plants, flowers, a small pond, fish, turtles, birds, or whatever else their wild imagination would include. So, now you may explore how you can free up some space in your crowded backyard to provide a play area for your children. This article will not only provide you tips on freeing up space in your back yard, but also some marvelous design ideas for building an attractive play area for your children. Cut off trees or bushes If your back yard has too many trees or bushes, this is definitely the time to clear them out. An open, green lawn with a shed on one portion of the yard may be more amenable to designing a play area. You can redesign your yard by cutting off long trees or bushes, planting multi-colored, flowering plants, and trimming your grass. This will not only free up space, but also create a clean, clutter-free look for children to enjoy. Clear rotting plants or weeds As you review the ground in your back yard, you have to ensure that all the rotting plants or are cleaned out to recoup space to build the play area. Unless your ground is maintained well, you cannot design a flower garden or a pond. Research states that children are easily attracted to bright, open, colorful spaces—so ideas of a flower garden, a fountain, or a sand box may be right on. Remove odds and ends In most families—odds and ends such as toys, broken bicycles, lawn mower, gardening tools—fill up much of the space in the back yard. You may have to identify all such odds and ends, and remove them to an attic, to a basement, or to a closet to make space in your back yard. You could also take items that do not work and that could be a hazard to the dump or to a recycling operation. After removing all the unnecessary items, you will regain some free space in your back yard. Place foldable furniture This is another poignant idea for freeing up outdoor space. Although wood is the popular choice of furniture in back yards, you may want to replace them with foldable, plastic furniture. This way, whenever the furniture is lying unused, they can be folded and tucked away in the covered plastic shed for storage. If you manage to discover foldable, outdoor furniture in another material, you are free to choose that rather than plastic outdoor furniture. The idea is to create free space. Enlist the support of children Now that you have created space for the children’s play area in your back yard, involve the children in your household to complete the next few steps. Your children, with their natural creativity, are ideally suited to provide you with some awesome design ideas or tips for building a functional and attractive play area. If you are planning to go ahead with the next designing steps, encourage the children to voice their ideas at this stage. The best ideas, as you know, are always born out of collaboration. Create a shed  Once you have the necessary amount of space for a play area in your back yard, the next step may be to build a shed. A plastic shed is practical and suitable, but you may select another material such as western red cedar to build the shed out of. A shed comes in handy for storing stuff. At other times, children can even use the furniture in the shed to relax or play board games as the long as the furniture includes a table. Multi-level beds or steps One unique design philosophy that rules outdoor play areas for children is “multi-level platform.” These ideas can take the shape of multi-level flower beds, multi-level sitting areas, or simple steps to enchant small children. So depending on your available back yard design and available budget, you may think of creating some steps around a small pond or a two-level concrete platform for sitting and playing with nature’s creations. Install hardware for play area Once you have all those ready, now you can carefully select a special area, and install some hardware items to add to the functionality of the play area. Most surveys on children prove that children have a fascination for water and sand; so you can certainly add a pond, or a fountain, or even a sandbox. You can add animals, birds, insects, or whatever else you think your children would love to play with. If your ground is ready for hardware installation, you can think of installing a swing, or a seesaw. Children should have more alternatives than just video games to play with.
Read More
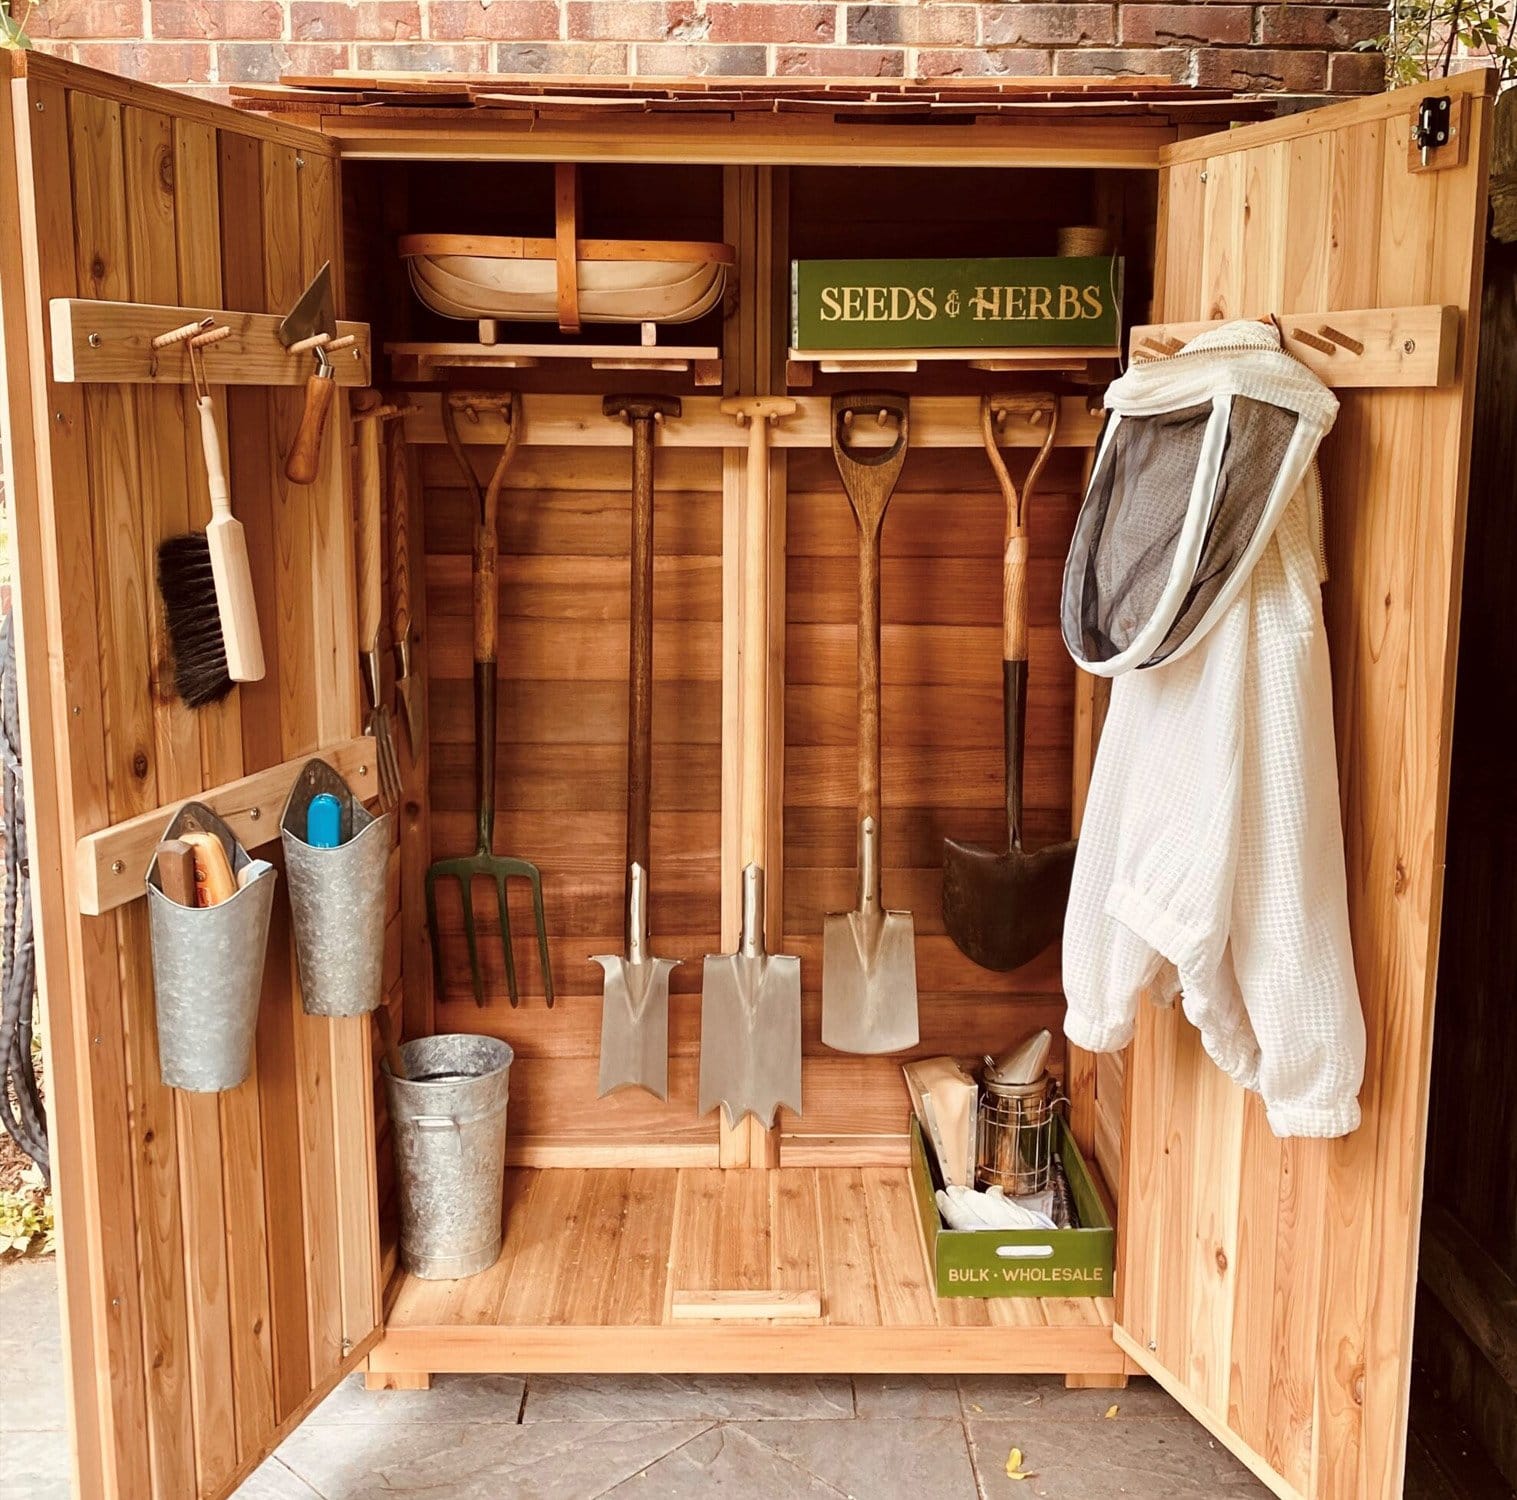
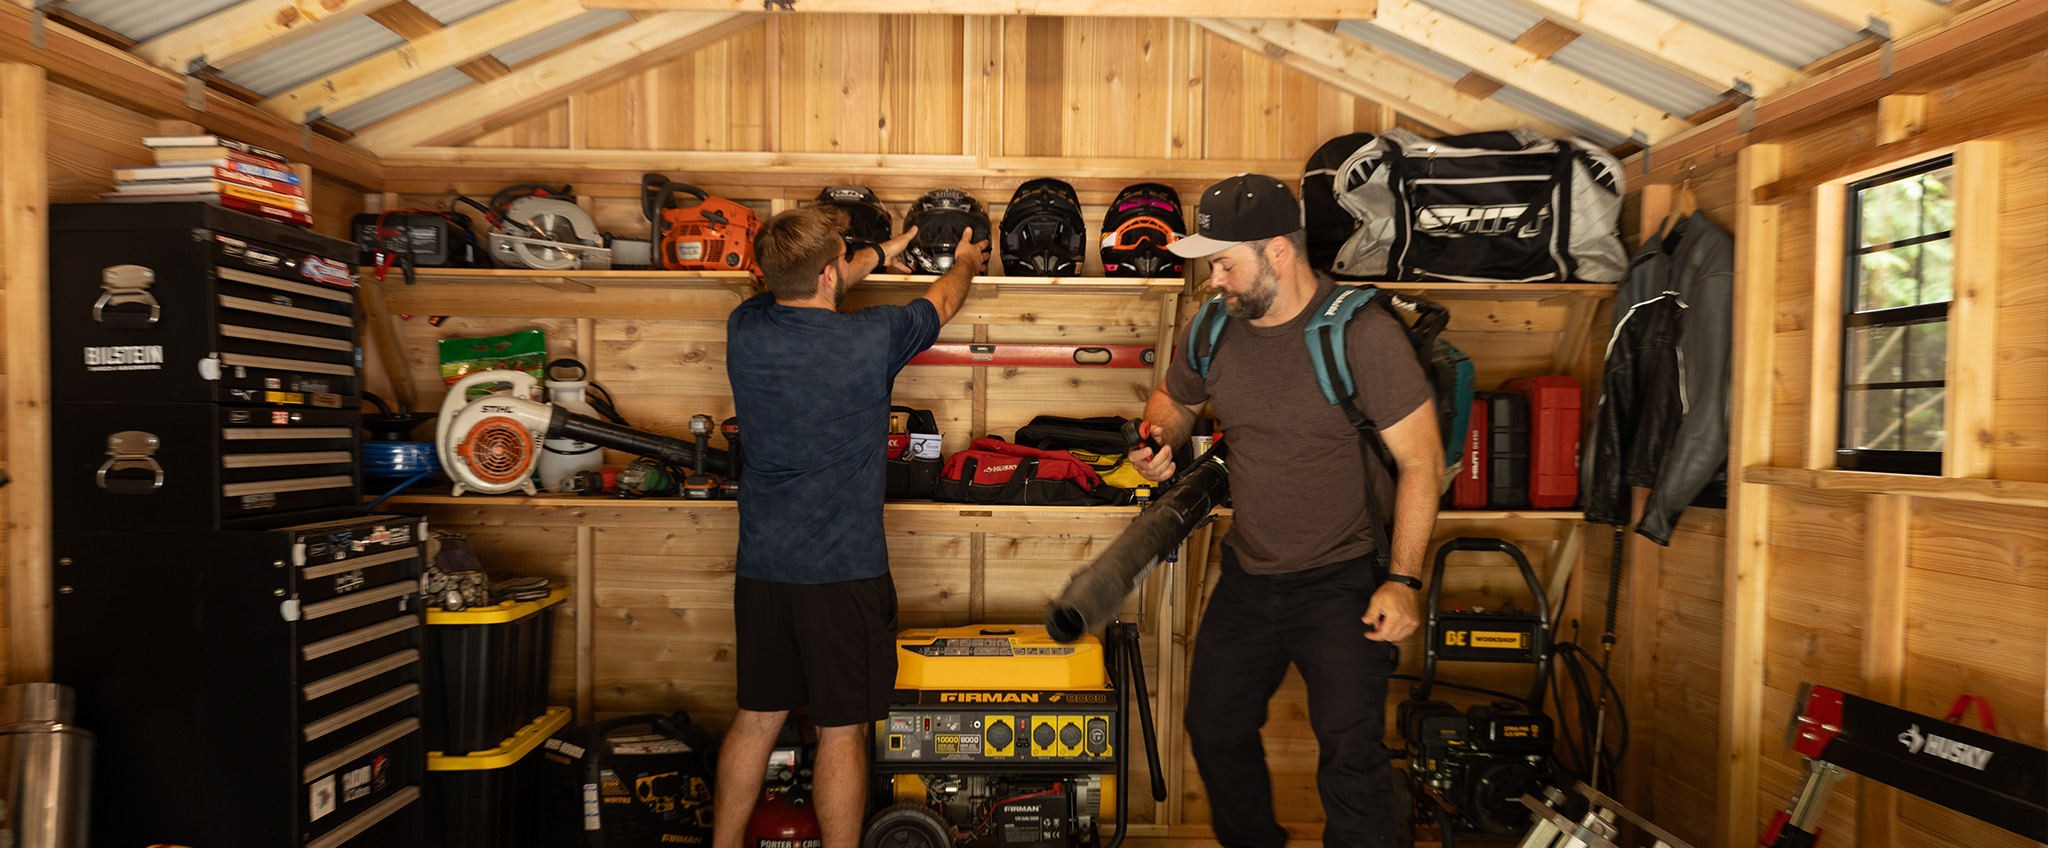
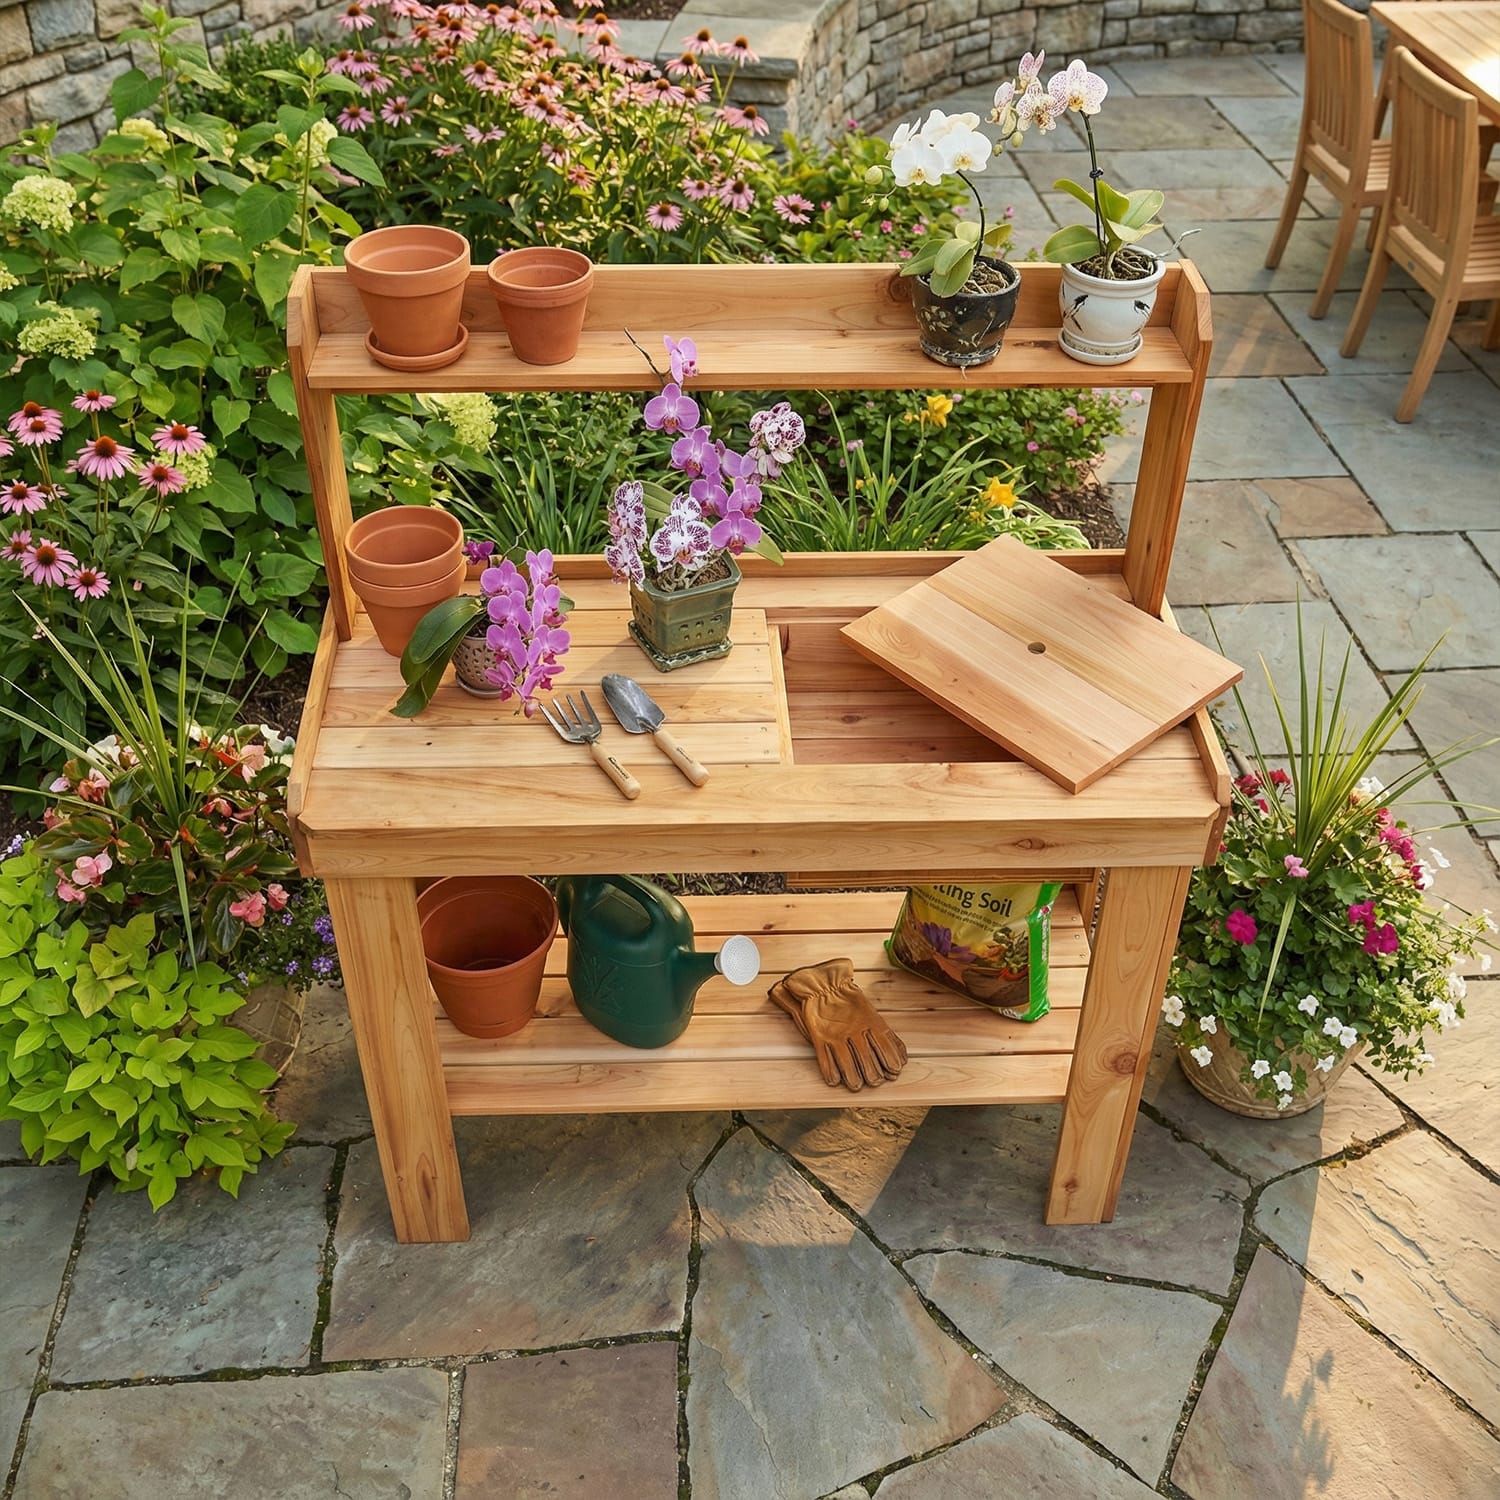
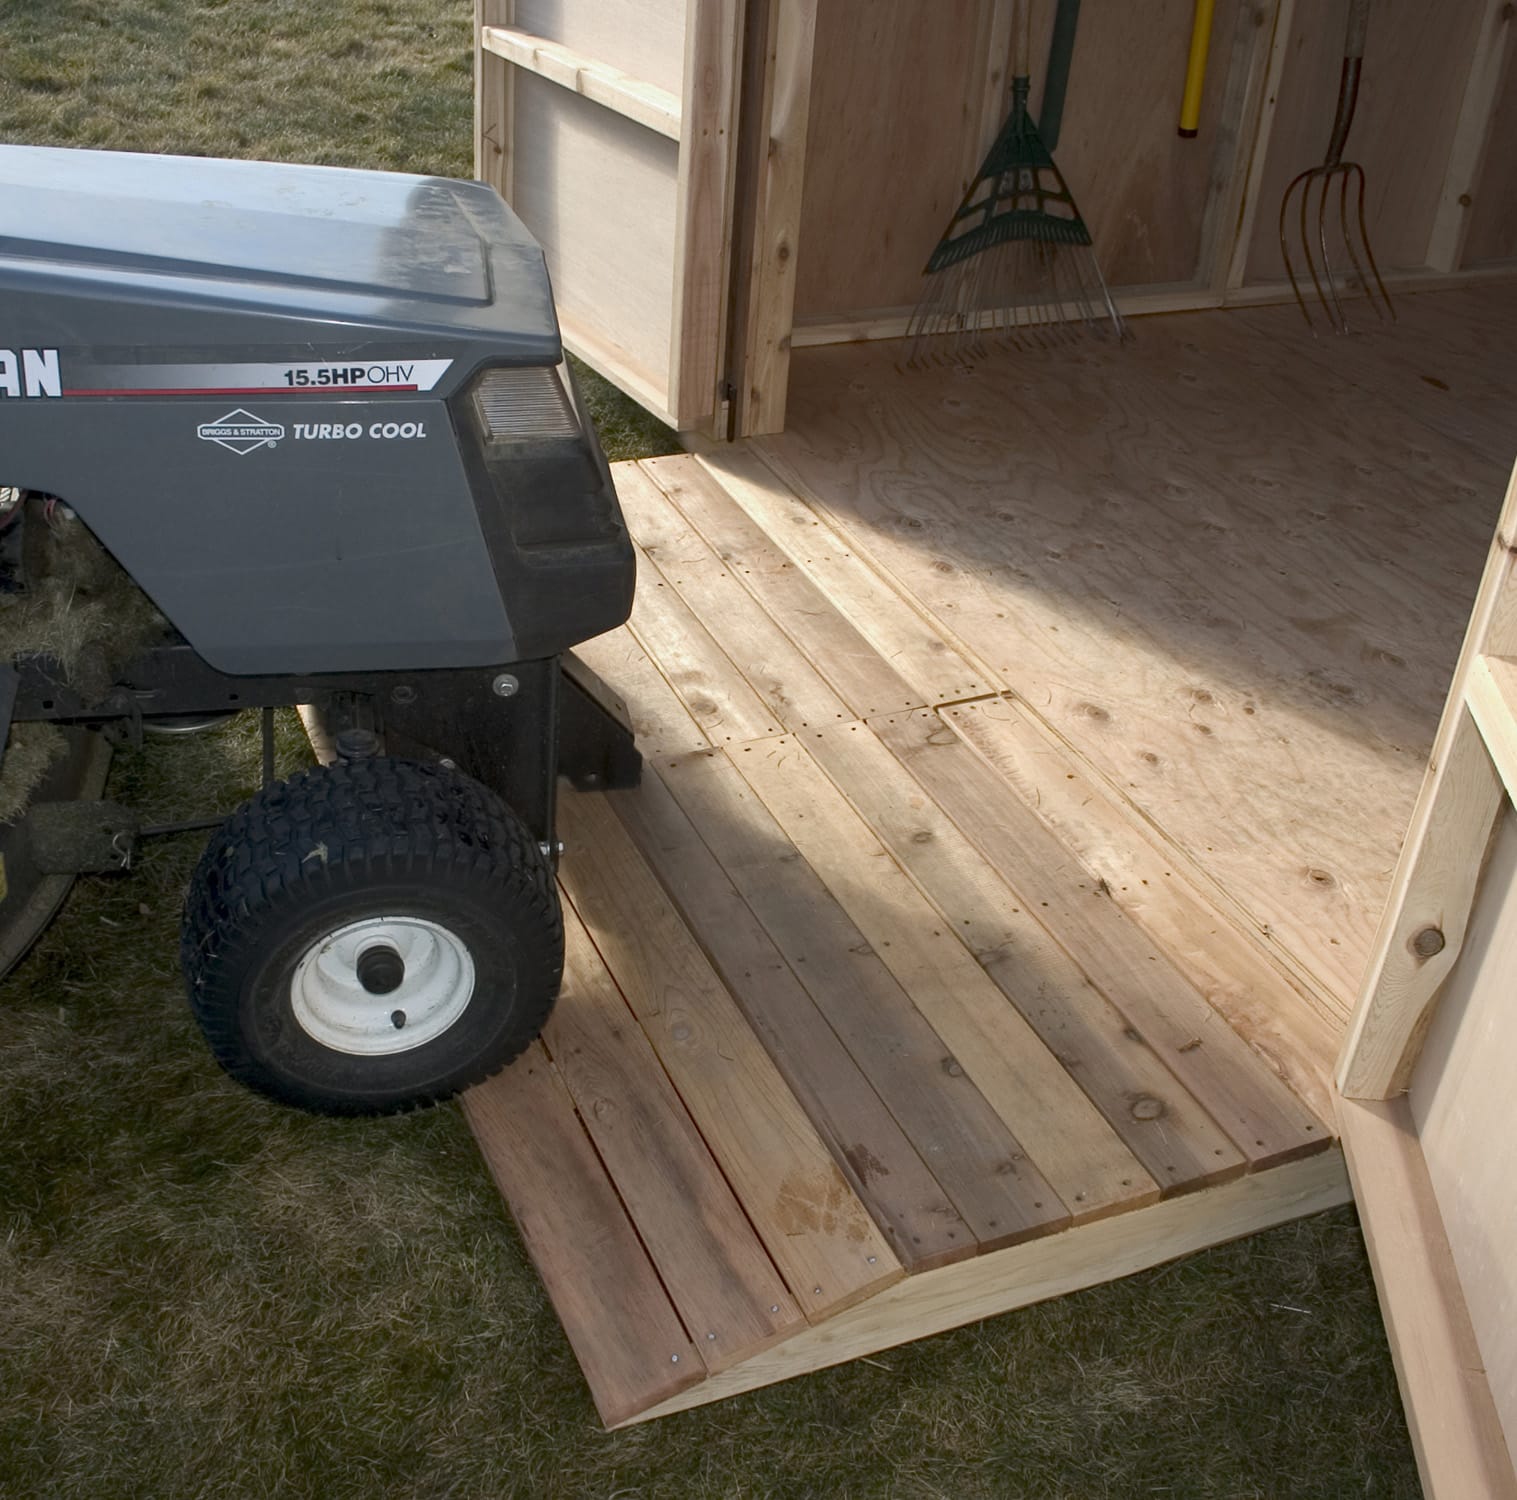
How to organize your shed Everyone understands the benefits of a well-organized garden shed in terms of saving of time, energy, and money. If your tool-shed is uncluttered you will not have to waste time locating your trowel. Gone will be the frustration of having to waste energy moving the wheel barrow and that extra bag of potted soil to get to the lawn mower. And you will not have to waste money on an extra pair of gloves simply because you cannot find your own. Hose keeping If you have ever tripped on a coil of hose and gotten hurt, you will remember how excruciatingly painful it can be. Keeping the coil of hose on a large hook can solve the problem. Choose a hook that has a steep angle to hold the coil of hose in place. Tool hanger Tools with longer handles are best stored where they do not hamper movement and yet can be reached easily. Nailing a tool hanger to the inside of your shed’s door will create ample space on the walls for shelves and benches for pots. Build shelves In tight quarters there’s never sufficient light. As a consequence you must use open metal shelves to allow sunlight to permeate through the shed. Adjustable shelves help to match shelf to tool height. Unclutter Merely using shelves is not enough if everything is ultimately going to be piled up on them. It would be advisable to use metal or plastic bins to store the stuff. Magnetic help Mechanics have for long used magnetic bars to store, and manage their tools. It is always stellar to extend the idea to your garden shed so that your pruning shears and trowels can be store safely. Choose a magnetic strip strong enough to bear the weight of your tools and you will have the tools always readily accessible. Have space for a potting bench Clear some space in the shed and make room for a potting bench. That is the best way to you can plant or repot your favorite plants even on a wet day. The potting bench will also allow your potting mix to remain dry. Maintain a calendar Maintain a calendar of gardening activities and it will save you the trouble of remembering when you last fertilized the lawn or planted seeds. Using a metal one will help create a precious place for plant tags, seed packets, and small parts with magnetic holders. Wicker basket  Something as mundane as a wicker basket suspended from the door of your shed will create a space for small and most frequently used paraphernalia such as shears, trowels, gloves, or, maybe, even a reference book. It’s the easiest place from where you can grab your equipment and begin working. Baskets An old bushel basket can be put underneath the potting bench to store mulch, birdseed, or potting mix. You can easily purchase bushel baskets at the flea market for a bargain, but any basket or bin will be handy for the job. Make wheeling easy You can make wheeling anything in and out of the shed by using a portable ramp. This one will be easy to make. Just a couple of 2x4s and a ½ inch plywood combine to create a ramp high enough to wheel equipment in and out while being use and small enough to store when not. Shed design Before you head to the hardware store to buy stuff that will enable you to build a storage shed of your own just make a pile of all the gear and paraphernalia that you would like stored and measure its aggregate length/size. If you are going to store bigger power tools then it is pretty obvious you will need greater space. Prioritize Once your shed is up, determine which equipment you are going to use more often and which you need less frequently. Equipment that is going to be used often should always be kept at the front and at the center. The rest can be assigned to the back portion. Trowels and gloves should always be kept in a way that they can be readily accessed. Tools to be hung Frequently used tools such as hand rakes, hedge sears, and small saws for cutting small branches and cultivators should be kept hung on the side of your shed doors. This not only protects the blades from inflicting damage on other tools but also help in enhancing their lifespan. However, they should be suspended from the lower part of the wall to protect you from their blades and prongs. Do not store extras Sort objects into groups. For instance, chemicals, cords, seeds, and pots can make up one group. Donate whatever equipment is surplus or discard the ones that are beyond use or repair or are rusted.
Read More
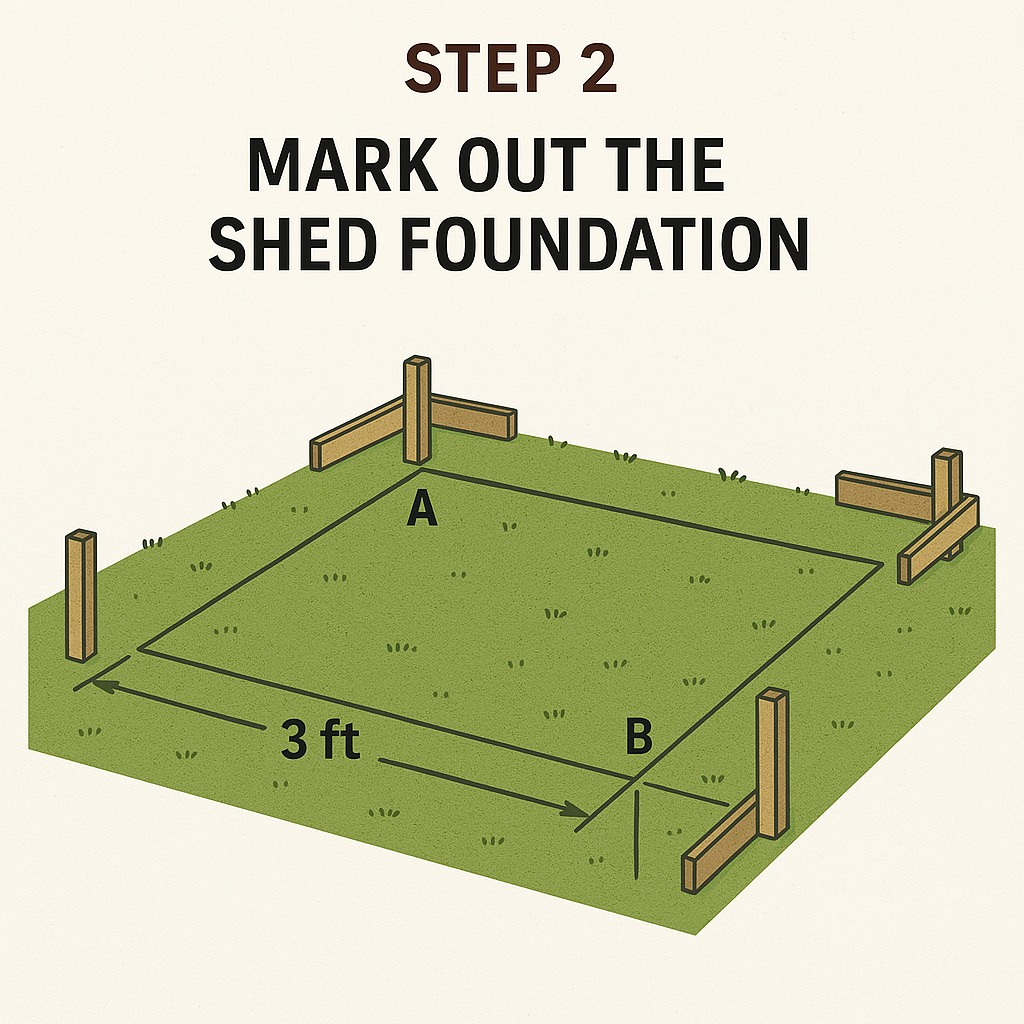
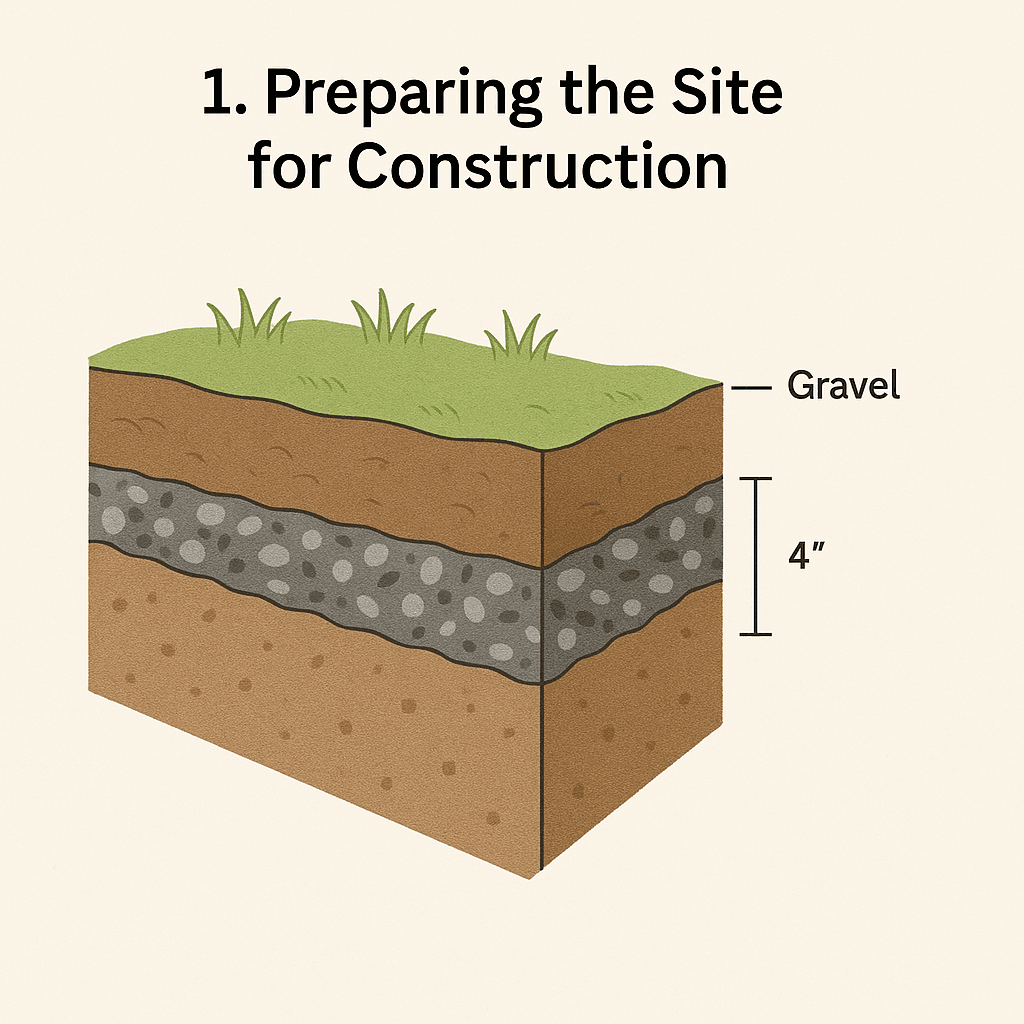
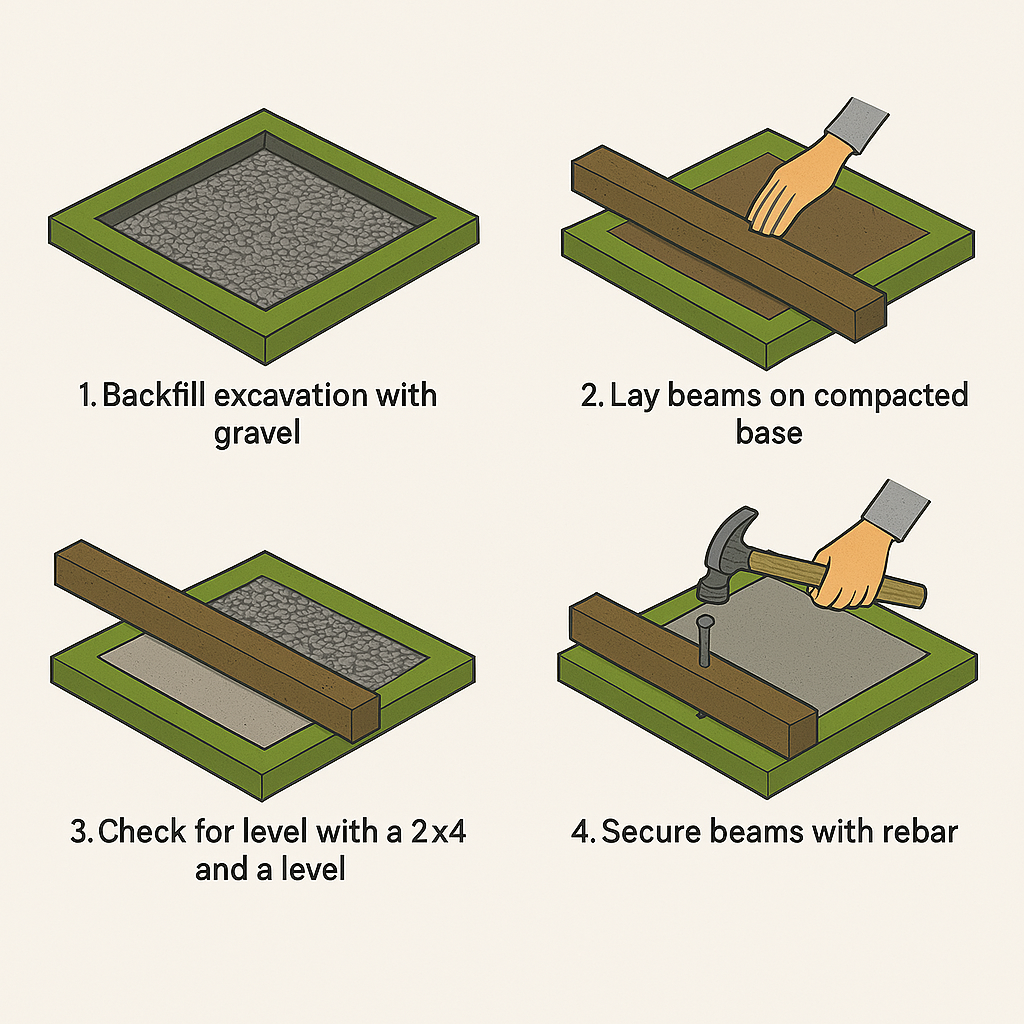
How to Level a Shed Floor properly The most important feature when constructing a garden or storage shed is to start off with a solid level base. There is no guarantee that your backyard or garden space will be completely level despite looking reasonably so. This may not be an issue for many people, but if you are going to have a working bench inside the shed, where you plan to spend much of your hobby time, it is important that the bench is sitting level and not tilted at an angle. Without any doubt, no one would appreciate dining every day at a table that is inclined at an odd angle. You do not want your milk spilled on your lap, you want it sitting just fine in your cup. A Potential Colossal Error  Most importantly, to make it easy to assemble the shed, the base has to be completely level. In case the base is off level, it will only start showing when you get to the point when you have to start assembling the roof and you start running into all sorts of trouble because of the level issues. The easiest way to guarantee that your floor will be level is to buy a few tons of aggrade or crushed stone from your local hardware store. Crushed stone aggregate is a mixture of small stones and fine dust. This mixture after due leveling and compacting will offer the same strength as concrete because the stone will bind into the fine dust and provide the perfect base for your shed’s floor. Setting Out You can begin by marking the levels of the place where you plan to put up your shed. After this is done, drive four small 2’ wooden pegs with spiked edge at one end into the ground at approximately four points that will approximately be the four corner points of your shed. You will need to make your base a little bigger than the base of the shed. It will be a prudent idea to ponder awhile on how your shed is going to look like. Will it be imposing or is it going to obstruct the view or maybe end up blocking light? Only when you are satisfied about the exact position where you want your shed to come up should you move on to the next stage. The next thing is to create four level points at the four corner positions and mark them on the four pegs you hammered into the earth. Later on, if necessary, you can cut the stake down while they are still moored well enough in the earth up to these level points. The simplest way of achieving this is to identify which you think is the highest corner in the space and hammer than peg in the ground, to about 4 – 6 inches of the existing ground level. By doing this you have ensured that the top of the peg sits 4/6” above ground. This exercise is meant to find an average height that would be suitable for all four corners without using too much aggregate. There are several ways of controlling an excavation. But this one being a small excavation, a spirit level used together with a long (8′ or 2.4m) 4×2 timber will be fine. You can use a spade to strip the turf and top soil to a depth of 50mm and then excavate to the depth of 75mm in one corner. Resting the end of the 4×2 on the corner peg, measure down to ground level. It would be prudent if you could cut a piece of timber of this length. You can then take your excavation forward, checking with the 4×2, the spirit lamp and the timber that you are not going too deep. Placing Crushed Stone Layer  Before you have compacted the stones, rake it as level as possible. To compact the stone you could hire a vibrating plate, but if you need to burn those extra calories you can use a hand tamper to compact the ground. Hand tampers are 25 lbs in weight with an area of 4”x4” which you raise repeatedly and let it fall to compact the stone. Keep pounding the stone into the earth until it is compacted and at the same time keep taking levels as you did while excavating. Add or remove the aggrate according to the requirement. Pressure Treated Wood Foundation It is necessary to ensure that the timbers are laid perpendicular to the direction of the floor joists. The pressure treated timbers should be 4”x4”, to permit ventilation under the shed. Usually pressure treated timber has a long lifespan when in contact with the ground but installing the weed barrier and the stone should prolong it further. Moisture is what leads to decay, so remember that any steps taken to ensure dryness will prolong the life of the timber.
Read More